This post may contain affiliate links. Please read our policy page.
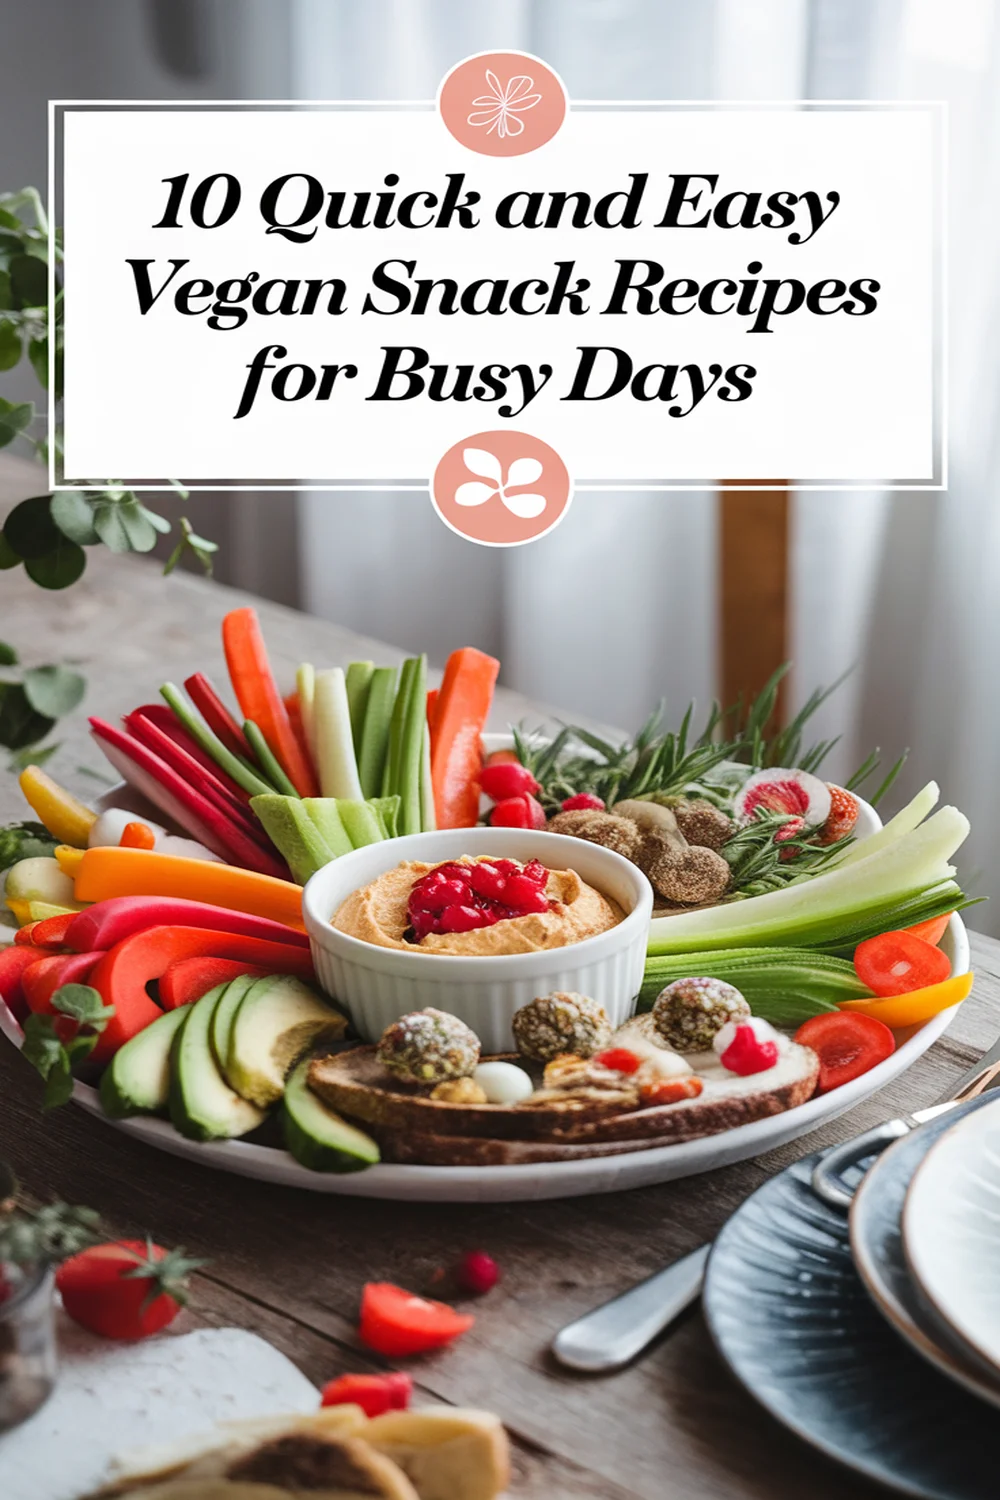
When you’re short on time but hunger strikes, these 10 quick and easy vegan snacks have got you covered! You can whip up no-bake energy bites, whip together vegan banana bread muffins, or enjoy the crunch of spicy roasted chickpeas. Nut butter on rice cakes or hummus with veggies makes for effortless bites. Don’t forget the creamy chia seed pudding and indulgent almond joy energy bars. Stick around to uncover all these delicious recipes and tips!
No-Bake Energy Bites
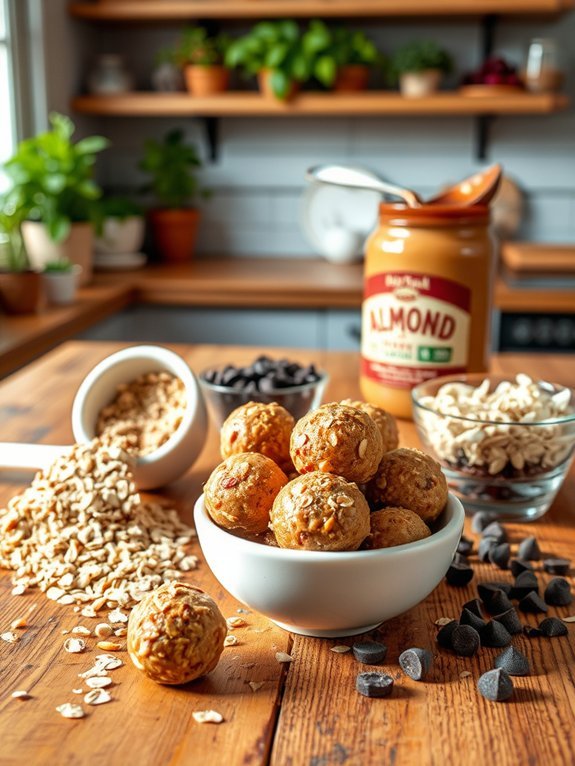
No-Bake Energy Bites are a perfect snack for those looking to fuel their day in a healthy way. These bites are easy to make, require no baking, and are packed with energy-boosting ingredients. Great for a quick breakfast on the go or a post-workout snack, they combine whole grains, healthy fats, and natural sweetness from ingredients like nut butter and maple syrup.
What’s fantastic about this recipe is its versatility. You can mix and match your favorite ingredients, using different nut butters, add-ins like dried fruit or seeds, or even chocolate chips for a touch of indulgence.
These bites can be stored in the refrigerator for a week, making them a convenient snack option for busy individuals and families.
Ingredients:
- 1 cup rolled oats
- ½ cup nut butter (e.g., almond or peanut butter)
- ⅓ cup honey or maple syrup
- ¼ cup ground flaxseed
- ¼ cup chocolate chips or dried fruit
- 1 teaspoon vanilla extract
- A pinch of salt
In a large bowl, combine the rolled oats, nut butter, honey or maple syrup, ground flaxseed, chocolate chips (or dried fruit), vanilla extract, and salt.
Mix thoroughly until all ingredients are well incorporated. Once the mixture is ready, use your hands or a cookie scoop to form small balls, about 1 inch in diameter. Place the energy bites on a baking sheet lined with parchment paper and refrigerate for at least 30 minutes to firm up.
When making No-Bake Energy Bites, feel free to experiment with different flavors and textures. You can add ingredients like chia seeds, shredded coconut, or protein powder to boost the nutritional value.
Additionally, rolling the bites in crushed nuts or coconut flakes can add an appealing exterior. Remember, the key to making the perfect energy bites is achieving the right balance of stickiness and solidity, so adjust the amount of nut butter or oats as needed based on the consistency.
Recommended Items
Ready to whip up some delicious vegan snacks? Check out our favorite products and equipment!
Vegan Banana Bread Muffins
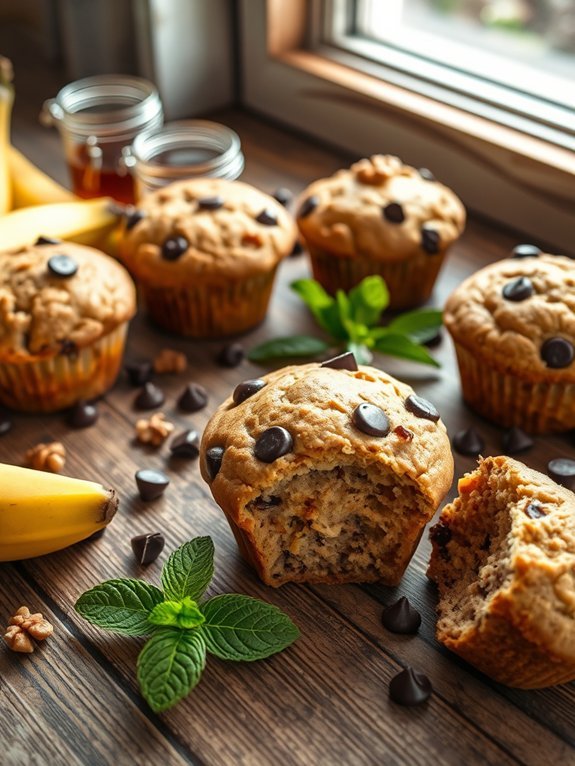
Vegan banana bread muffins are a delightful and healthy treat that can easily satisfy your sweet tooth without using any animal products. They’re perfect for breakfast, snacks, or even dessert! The combination of ripe bananas provides natural sweetness and moisture, while the oats and flour contribute to a delightful texture. With simple ingredients and easy preparation, these muffins can be whipped up in no time, making them an ideal choice for both seasoned bakers and novices alike.
These muffins aren’t only tasty but also highly customizable. You can add in ingredients like nuts, chocolate chips, or dried fruits for added flavor and texture. They also store well, so you can make a batch and enjoy them throughout the week, or even freeze some for a quick grab-and-go snack. Once you’ve tasted these vegan banana bread muffins, you might just find yourself making them again and again!
Ingredients:
- 3 ripe bananas, mashed
- 1/3 cup melted coconut oil
- 1/2 cup maple syrup or agave nectar
- 1 teaspoon vanilla extract
- 1 teaspoon baking soda
- 1/4 teaspoon salt
- 1 teaspoon ground cinnamon
- 1 1/2 cups all-purpose flour (or whole wheat flour)
- Optional: 1/2 cup chopped walnuts or chocolate chips
Preheat your oven to 350°F (175°C) and line a muffin tin with paper liners or grease it lightly. In a large bowl, combine the mashed bananas, melted coconut oil, maple syrup, and vanilla extract. Mix well until smooth.
In a separate bowl, whisk together the baking soda, salt, cinnamon, and flour. Gradually mix the dry ingredients into the wet ingredients until just combined; don’t overmix. If you’re adding nuts or chocolate chips, fold them in gently.
Fill each muffin cup about 3/4 full with the batter and bake for 18-20 minutes, or until a toothpick inserted in the center comes out clean. Let the muffins cool in the pan for a few minutes before transferring them to a wire rack.
For the best results, make sure your bananas are very ripe as their natural sweetness is essential for the muffins. You can also experiment with the flour types; for a gluten-free option, try using a 1:1 gluten-free flour blend.
If you’d like to tweak the sweetness, adjust the amount of maple syrup according to your taste. Finally, feel free to store your muffins in an airtight container at room temperature for up to 3 days, or freeze them for longer storage. Enjoy!
Spicy Roasted Chickpeas
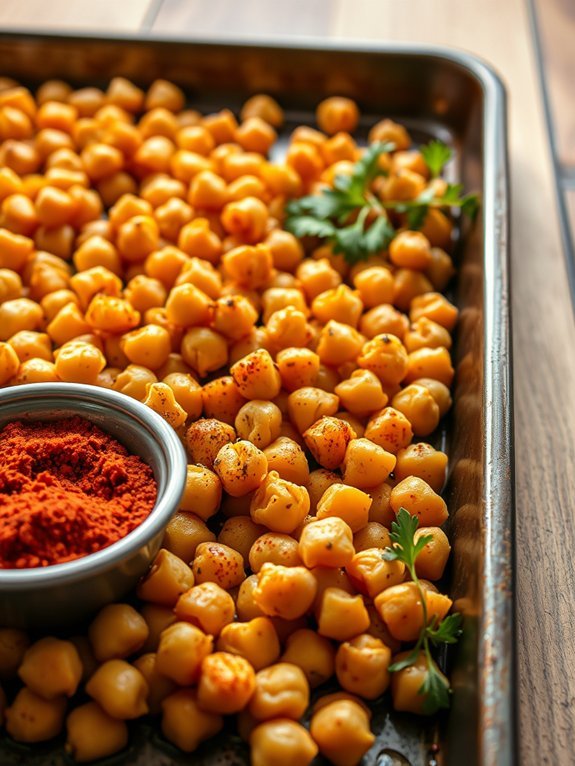
Spicy roasted chickpeas are a fantastic vegan snack that packs a punch with flavors and crispy texture. These little legumes aren’t only healthy but also incredibly versatile, making them perfect for any snacking occasion. The combination of spices adds an exciting dimension, and their high protein content keeps you satiated without weighing you down.
Whether you’re preparing for movie night or looking for a nutritious afternoon pick-me-up, spicy roasted chickpeas are sure to satisfy those cravings.
The simplicity of this recipe allows you to enjoy a guilt-free snack without spending hours in the kitchen. With just a few spices, you can customize the heat level to your liking. Roasting them until they’re golden brown gives the chickpeas that perfect crunch, making them a crunchy alternative to chips.
Once you try making these at home, you won’t want to buy store-bought versions ever again.
- 1 can (15 oz) of chickpeas, drained and rinsed
- 2 tablespoons olive oil
- 1 teaspoon smoked paprika
- 1 teaspoon garlic powder
- 1/2 teaspoon cayenne pepper (adjust to taste)
- 1/2 teaspoon salt
- 1/2 teaspoon black pepper
Preheat your oven to 400°F (200°C). Spread the drained chickpeas on a clean kitchen towel and pat them dry to remove excess moisture. In a mixing bowl, toss the chickpeas with olive oil, smoked paprika, garlic powder, cayenne pepper, salt, and black pepper until they’re evenly coated.
Spread the chickpeas in a single layer on a baking sheet and roast for 25-30 minutes, shaking the pan halfway through, until they’re golden and crispy.
For the best results, make sure the chickpeas are as dry as possible before roasting; this step is key to achieving that delightful crunch.
Don’t hesitate to experiment with different spices or add more heat if you enjoy fiery flavors. You can also store the roasted chickpeas in an airtight container at room temperature for up to a week, but they’re likely to disappear quickly as these snacks are highly addictive!
Step-by-Step Cooking Guide
Nut Butter and Fruit Rice Cakes
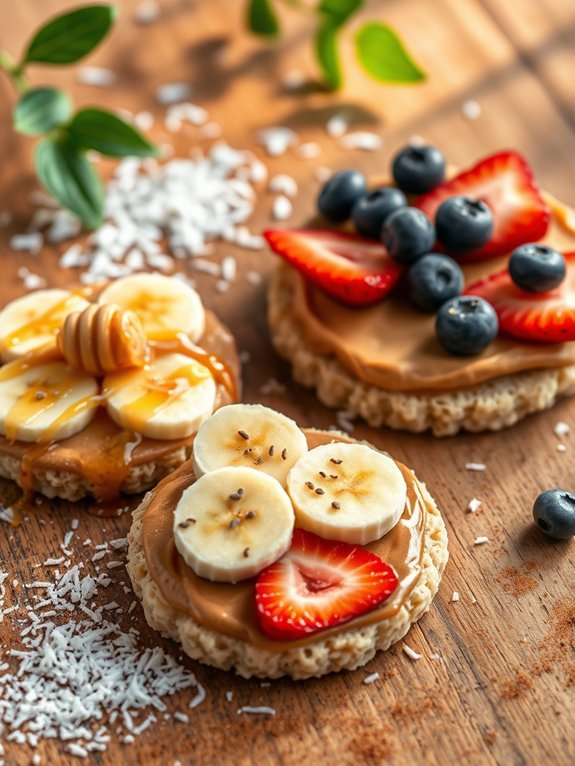
Nut butter and fruit rice cakes are a delightful and nutritious snack that’s perfect for any time of day. They combine the satisfying crunch of rice cakes with the creamy goodness of nut butter, topped off with fresh or dried fruits for added natural sweetness and flavor. This simple snack isn’t only quick to prepare but also packs a punch when it comes to energy, making it ideal for those busy afternoons or post-workout munchies.
To customize your rice cakes, you can experiment with different nut butters such as almond, peanut, or cashew, each of which offers a unique taste profile. Pairing these spreads with a variety of fruits, like bananas, strawberries, or blueberries, creates a colorful and appetizing presentation. This recipe is vegan-friendly and can be adjusted to suit individual preferences or dietary restrictions.
- Rice cakes (plain or flavored)
- Nut butter (peanut, almond, or cashew)
- Fresh or dried fruit (bananas, strawberries, blueberries, or raisins)
- Optional toppings (chia seeds, cinnamon, shredded coconut)
Begin by spreading a generous layer of your chosen nut butter onto each rice cake. Next, slice your fresh fruit or measure out the dried fruit, and arrange them artistically over the nut butter to create a visually appealing snack. For an extra flavor boost, consider adding a sprinkle of chia seeds, cinnamon, or shredded coconut to enhance both taste and nutrition.
When preparing nut butter and fruit rice cakes, feel free to get creative with your ingredient choices. Try swapping out different fruits or experimenting with nut butter blends for unique flavors. Additionally, if you prefer a warm snack, you can lightly toast the rice cakes before adding the nut butter and fruit. This not only adds extra crunch but also enhances the overall flavor experience.
Hummus and Vegetable Sticks
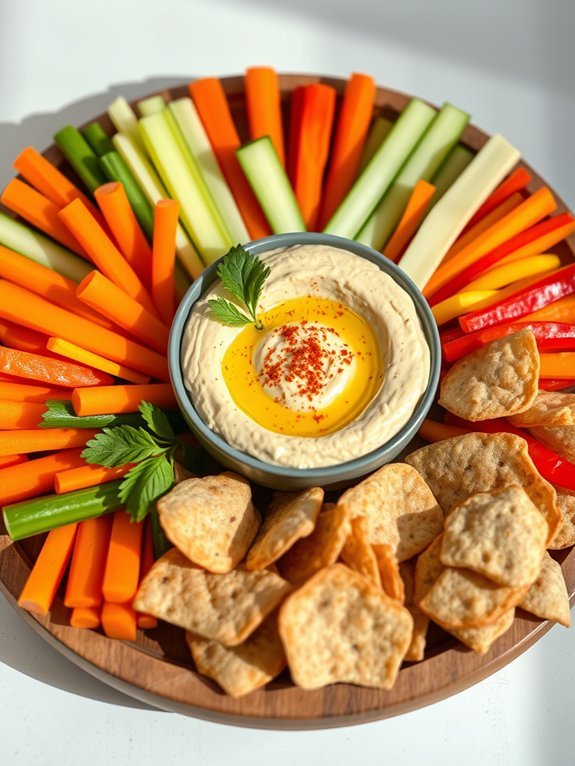
Hummus and vegetable sticks make for a nutritious and satisfying snack that can be enjoyed any time of the day. This delightful combination not only brings a burst of flavor to your palate but also packs in essential vitamins, minerals, and fiber from the fresh vegetables.
Whether you’re hosting a gathering, looking for a quick bite, or simply aiming to incorporate more plant-based foods into your diet, this dish is a perfect choice.
Making your own hummus at home is both easy and rewarding. You can customize the flavors to your liking, from classic garlic and lemon to spicy variations with roasted red peppers or jalapeños.
Pairing this creamy spread with crisp vegetable sticks like carrots, celery, cucumber, and bell peppers creates a colorful and enticing display that’s sure to please both eyes and taste buds.
Ingredients:
- 1 can (15 oz) chickpeas, drained and rinsed
- 2 tablespoons tahini
- 2 tablespoons olive oil
- 2 tablespoons lemon juice
- 1 clove garlic, minced
- 1/2 teaspoon ground cumin
- Salt and pepper, to taste
- 1/4 cup water (or more for desired consistency)
- Assorted vegetable sticks (carrots, celery, cucumber, bell peppers)
To prepare the hummus, combine the drained chickpeas, tahini, olive oil, lemon juice, minced garlic, cumin, salt, and pepper in a food processor.
Blend until smooth, gradually adding water until you reach your desired consistency. Transfer the hummus to a serving dish and surround it with an assortment of fresh vegetable sticks, ready for dipping.
For a more flavorful hummus, try adding additional ingredients like fresh herbs (such as parsley or cilantro), spices (like paprika or cayenne pepper), or roasted garlic.
Additionally, let the hummus sit for at least 30 minutes before serving to allow the flavors to meld together. Don’t hesitate to experiment with different vegetables or to serve it alongside whole-grain pita chips for extra crunch and variety.
Avocado Toast With Toppings
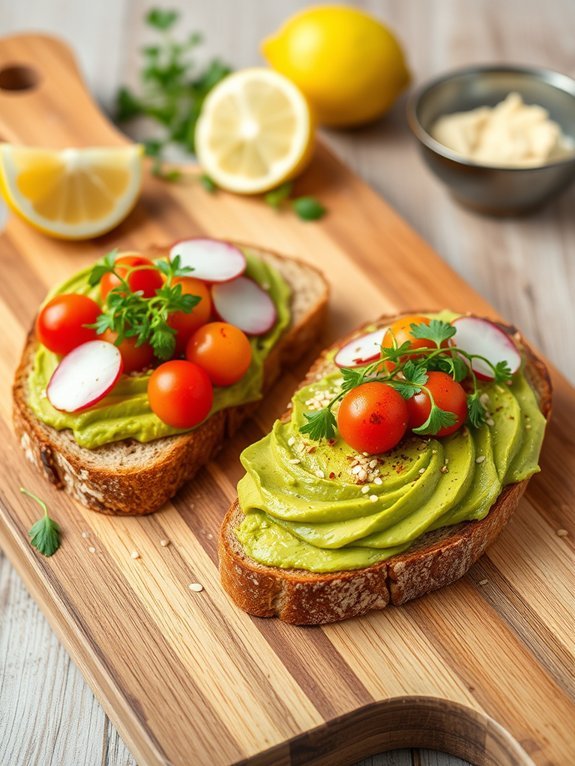
Avocado toast has become a beloved staple in the world of vegan cuisine, celebrated for its creamy texture and versatility. Perfect as a breakfast item, snack, or light lunch, this dish combines the nutritious benefits of avocados with a variety of delicious toppings that add flavor and excitement to every bite. Not only is it simple to prepare, but avocado toast also serves as a blank canvas allowing you to get creative with different ingredients.
To make an exceptional avocado toast, the key is using ripe avocados that are creamy and flavorful. The base is typically a piece of toasted bread, which can range from whole grain to sourdough, depending on your preference. Once the bread is toasted to perfection, you can mash the avocado directly onto the toast, and then it’s time to embellish it with toppings that complement both its taste and texture. With countless possibilities, each presentation can be unique and customized to suit your palate.
- 1 ripe avocado
- 2 slices of your favorite bread (whole grain, sourdough, etc.)
- Salt (to taste)
- Pepper (to taste)
- Red pepper flakes (optional)
- Lemon juice (optional)
- Olive oil (optional)
- Toppings of your choice (e.g., cherry tomatoes, radishes, cucumber, sprouts, nutritional yeast, sesame seeds)
To prepare the avocado toast, start by toasting the slices of bread until golden brown and crispy. In the meantime, cut the ripe avocado in half, remove the pit, and scoop the flesh into a bowl. Mash the avocado with a fork, and add a sprinkle of salt, pepper, and a squeeze of lemon juice to taste. Once the bread is toasted, spread the mashed avocado generously on each slice and add your chosen toppings for an extra burst of flavor and texture.
A few tips to keep in mind include ensuring your avocados are perfectly ripe for the best flavor and creaminess. If you’re preparing this dish for a gathering, consider setting up a “toast bar” where guests can choose their toppings.
Additionally, if you’re planning to make several toasts, consider preparing your avocado mixture in advance, but be sure to add lemon juice to help prevent browning. Remember, the key is to enjoy the process and have fun experimenting with different combinations!
Chia Seed Pudding
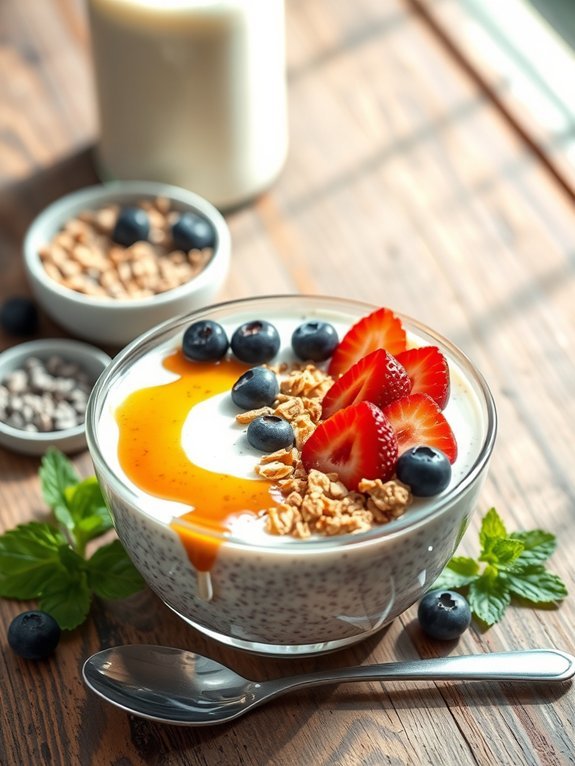
Chia seed pudding is a delightful and nutritious vegan snack that’s easy to prepare and can be customized to suit your taste. Chia seeds are small, nutrient-dense seeds that swell and absorb liquid, turning into a gel-like consistency when soaked. This makes them ideal for creating a creamy pudding without the need for dairy. Plus, they’re packed with omega-3 fatty acids, fiber, and protein, making them a great option for a healthy snack or breakfast.
Making chia seed pudding requires minimal ingredients and can be adapted with various flavors and toppings to keep it exciting. Whether you prefer it sweet or savory, this versatile pudding can be enjoyed on its own or as a base for additional toppings like fruit, nuts, or granola. With just a little prep time, you can have a satisfying treat ready to enjoy at any moment.
- 1/4 cup chia seeds
- 1 cup almond milk (or any plant-based milk)
- 2 tablespoons maple syrup (or agave nectar)
- 1/2 teaspoon vanilla extract
- Pinch of salt
- Fresh fruit and nuts for topping (optional)
In a mixing bowl, combine the chia seeds, almond milk, maple syrup, vanilla extract, and salt. Stir the mixture well to prevent clumps from forming. Allow it to sit for about 5 minutes, then stir again to guarantee even distribution of the chia seeds. Cover the bowl and place it in the refrigerator for at least 2 hours or overnight to achieve the desired pudding-like texture.
For the best results, make certain to stir the chia seed pudding halfway through its chilling time so that the seeds are evenly dispersed and don’t clump together. You can experiment with different kinds of plant-based milk, and feel free to add spices like cinnamon or cocoa powder for a fun twist.
Additionally, don’t hesitate to personalize your pudding with your favorite toppings such as sliced bananas, berries, or a sprinkle of granola to add texture and flavor.
Almond Joy Energy Bars
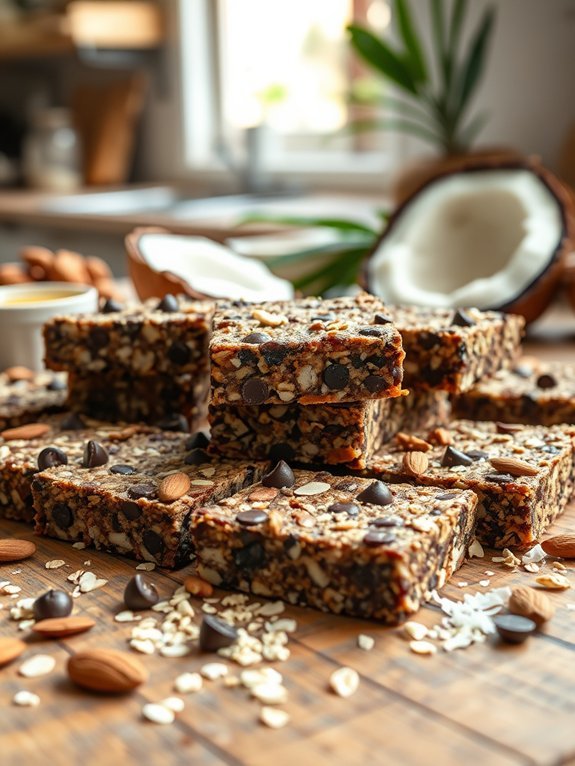
Almond Joy Energy Bars are a deliciously satisfying vegan snack that will give you a boost of energy any time of day.
Combining the rich flavors of chocolate with the creaminess of coconut and the crunch of almonds, these bars are reminiscent of the classic candy bar but with a healthier twist. Made from wholesome ingredients, they’re perfect for a quick breakfast, post-workout snack, or a midday treat.
This no-bake recipe is incredibly easy to prepare, requiring minimal effort and time. With just a few simple ingredients, you can whip up a batch of these energy bars and store them in your fridge for a grab-and-go snack.
Plus, they’re rich in nutrients and free from refined sugars, making them an excellent choice for anyone looking to indulge without the guilt.
- 1 cup rolled oats
- 1 cup almond flour
- 1/2 cup unsweetened shredded coconut
- 1/2 cup maple syrup
- 1/2 cup almond butter
- 1/4 cup dark chocolate chips
- 1/4 cup chopped almonds
- 1 teaspoon vanilla extract
- Pinch of salt
In a medium-sized mixing bowl, combine the rolled oats, almond flour, shredded coconut, maple syrup, almond butter, vanilla extract, and salt.
Stir until all ingredients are well incorporated. Fold in the dark chocolate chips and chopped almonds.
Once the mixture is well combined, transfer it to a lined 8×8-inch baking dish, pressing it down firmly to guarantee it’s compact. Refrigerate for at least 2 hours, then cut into bars and enjoy.
For added flavor and texture, consider customizing your Almond Joy Energy Bars by incorporating different nuts, seeds, or dried fruits.
Alternatively, you can swap the almond butter for other nut or seed butters, such as cashew or sunflower seed butter, to suit your taste. Enjoy these bars cold for a reviving treat, or slightly warm them in the microwave for a gooey, decadent dessert experience.
Baked Sweet Potato Fries
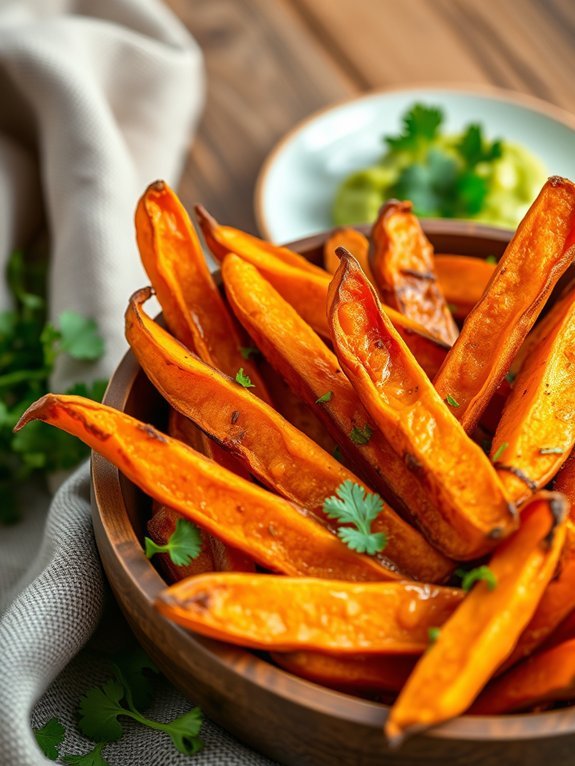
Baked sweet potato fries are a delicious and healthier alternative to traditional fried potatoes, and they’re perfect for snacking or as a side dish. Made from naturally sweet and nutrient-rich sweet potatoes, they’re packed with vitamins A and C, fiber, and antioxidants. With a few simple ingredients and minimal preparation, you can enjoy a flavorful and guilt-free treat that will satisfy your cravings without sacrificing your dietary preferences.
In addition to being simple to make, baked sweet potato fries are also incredibly versatile. You can season them with various herbs and spices to suit your taste. Whether you prefer a classic blend of salt and pepper or want to add a spicy kick with cayenne pepper or paprika, these fries can easily adapt to fit your flavor profile.
Additionally, they can be served with your favorite dipping sauces, such as homemade guacamole, salsa, or a vegan aioli, making them a hit for gatherings or casual movie nights.
Ingredients:
- 2 large sweet potatoes
- 2 tablespoons olive oil
- 1 teaspoon paprika
- 1/2 teaspoon garlic powder
- 1/2 teaspoon salt
- 1/4 teaspoon black pepper
- Optional: cayenne pepper for heat
Preheat your oven to 425°F (220°C) and line a baking sheet with parchment paper. While the oven is heating up, wash and peel the sweet potatoes, then cut them into thin strips or wedges.
In a large bowl, toss the sweet potato fries with olive oil, paprika, garlic powder, salt, and black pepper until evenly coated. Spread the fries in a single layer on the prepared baking sheet, making sure they aren’t overcrowded.
Bake for 25-30 minutes, flipping halfway through, until golden brown and crispy.
To achieve perfectly baked sweet potato fries, it’s essential not to overcrowd the baking sheet; this allows the fries to bake evenly and become crispier. You can also experiment with different seasonings, such as adding a touch of cinnamon for a sweet twist or using fresh herbs for a more aromatic flavor.
If you prefer extra crunch, consider broiling the fries for the last few minutes of baking to reach your desired crispiness.
Coconut Yogurt Parfaits
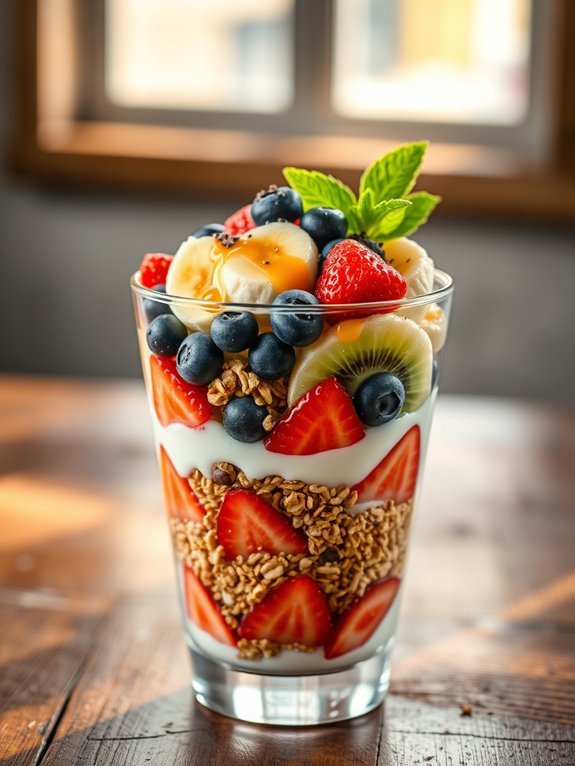
Coconut yogurt parfaits are a delicious and nutritious way to enjoy a snack or breakfast that’s both satisfying and completely vegan. The creaminess of coconut yogurt, combined with layers of fresh fruits and crunchy granola, creates a delightful mix of textures and flavors. This parfait isn’t only visually appealing, but it also provides a great balance of healthy fats, vitamins, and fiber, making it a perfect option for any time of day.
Creating a coconut yogurt parfait is quick and simple, which makes it an ideal recipe for busy individuals or anyone looking to whip up a wholesome treat in no time. You can customize the parfait however you like, choosing your favorite fruits, nuts, and even a drizzle of maple syrup or agave for added sweetness.
Whether you’re enjoying it as a morning meal or a light snack, coconut yogurt parfaits are sure to please both vegans and non-vegans alike.
- 1 cup coconut yogurt (unsweetened)
- 1 cup granola (choose a vegan variety)
- 1 cup mixed fresh fruits (e.g., berries, banana, kiwi)
- 2 tablespoons maple syrup (optional)
- 1 tablespoon chia seeds (optional)
- Mint leaves for garnish (optional)
In a clear glass or bowl, start by layering the coconut yogurt at the bottom. Add a layer of granola over the yogurt, followed by a layer of your mixed fresh fruits. If desired, sprinkle chia seeds for added nutrition.
Repeat the layers until you reach the top of your glass, finishing with a layer of fruits and a drizzle of maple syrup, if using. Garnish with fresh mint leaves for a revitalizing touch.
When making coconut yogurt parfaits, try to use seasonal fruits for the best flavor and freshness. You can also experiment with different nut butters or add toppings such as coconut flakes, almonds, or walnuts for extra crunch.
If you’re preparing these ahead of time, be cautious with the granola, as it may become soggy; adding it just before serving will keep that satisfying crunch.

