This post may contain affiliate links. Please read our policy page.
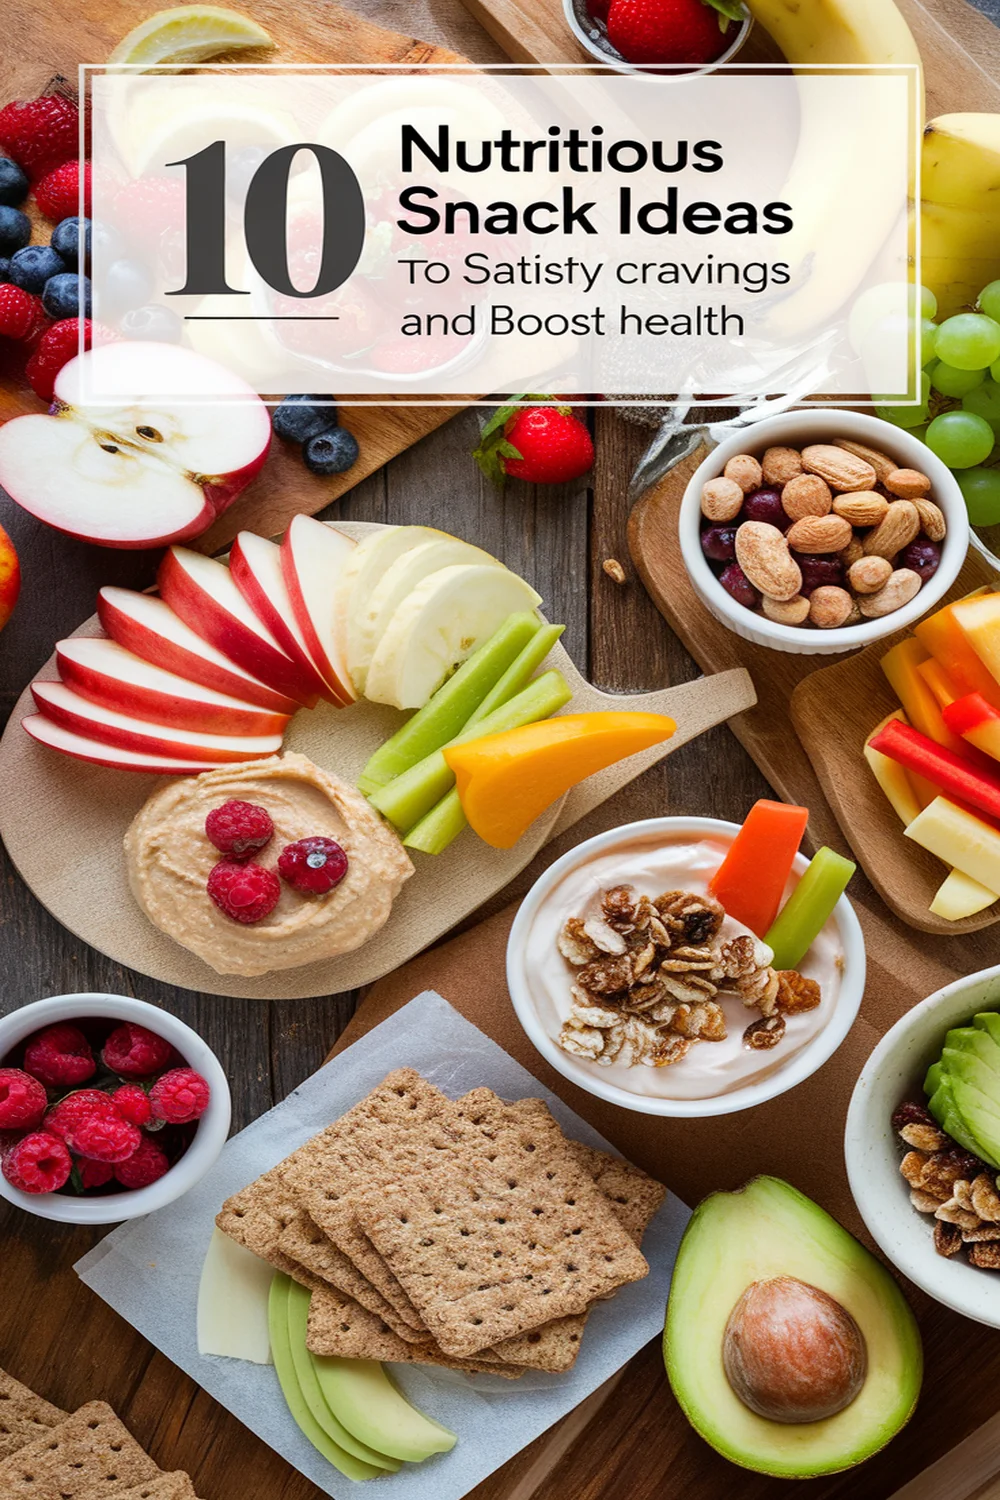
When you’re looking for nutritious snacks, opt for Greek yogurt with berries, hummus and veggie sticks, or almonds paired with dark chocolate. Apple slices with peanut butter and overnight oats with chia seeds are great choices too. For a crunchy mix, try trail mix with nuts and dried fruit or rice cakes topped with avocado. Don’t forget celery sticks with cream cheese and popcorn seasoned with nutritional yeast for flavor and nutrition. There’s so much more to explore!
Greek Yogurt With Berries
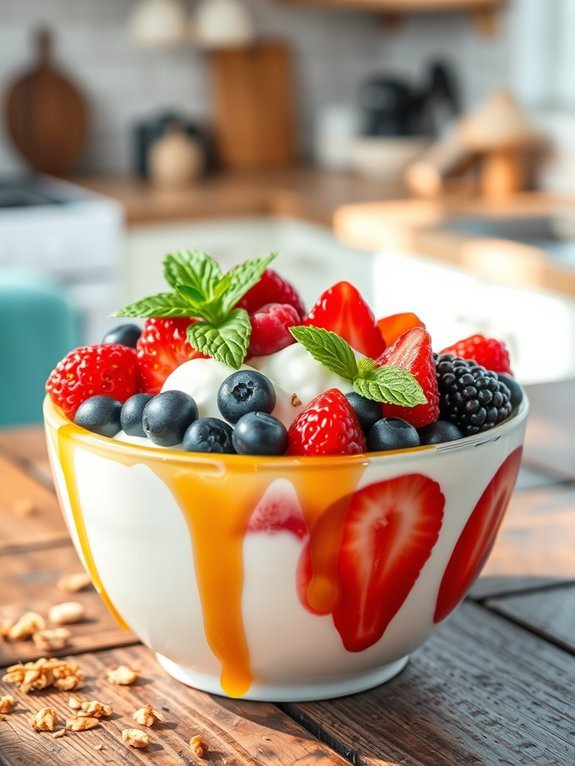
Greek yogurt with berries is a delicious and nutritious snack that combines the creamy texture of yogurt with the fresh, vibrant flavors of various berries. This dish isn’t only quick and easy to prepare, but it also packs a punch of protein, vitamins, and antioxidants. Greek yogurt is known for its thick consistency and higher protein content compared to regular yogurt, making it a satisfying choice to help curb hunger and provide lasting energy throughout the day.
This snack can easily be customized based on personal preferences or seasonal availability of berries. Whether you prefer the sweet taste of strawberries, the tangy flavor of blueberries, or the tartness of raspberries, you can mix and match to create a delightful combination. Additionally, you can experiment by adding toppings like honey, nuts, or granola for extra flavor and texture.
- 1 cup Greek yogurt (plain or flavored)
- 1/2 cup mixed berries (such as strawberries, blueberries, raspberries, or blackberries)
- 1 tablespoon honey (optional)
- A sprinkle of granola or nuts (optional)
In a bowl, spoon the Greek yogurt and top it with the mixed berries. If desired, drizzle with honey for added sweetness and sprinkle with granola or chopped nuts for crunch. Mix together gently to guarantee the berries are well-distributed among the yogurt, and enjoy immediately.
When preparing Greek yogurt with berries, it’s important to choose fresh, ripe berries for the best flavor. You can also use frozen berries, but be sure to thaw them first and drain any excess liquid to maintain the texture of the yogurt.
Experiment with different flavor combinations, such as adding a dash of cinnamon or a splash of vanilla extract to the yogurt for added depth. Enjoy this nutritious snack as a quick breakfast, a post-workout treat, or a satisfying afternoon pick-me-up!
Hummus and Vegetable Sticks
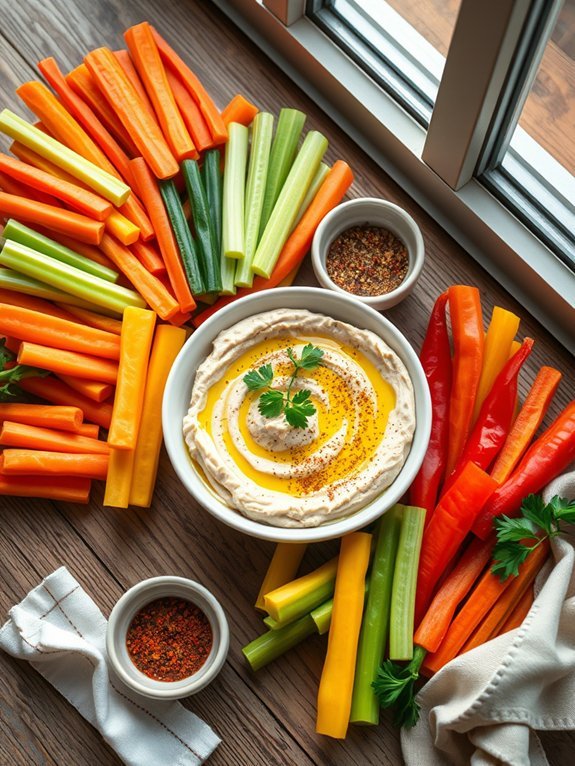
Hummus and vegetable sticks make for a delicious and nutritious snack that’s perfect for any time of day. They’re a fantastic way to incorporate fresh veggies into your diet while also enjoying the creamy goodness of hummus. With a variety of colorful vegetables and the rich flavors of hummus, this snack isn’t only healthy but also visually appealing, making it great for parties or even a quiet night in.
Making your own hummus can be incredibly rewarding, allowing you to customize it to your taste preferences. Whether you prefer classic garlic hummus, a roasted red pepper version, or something with a hint of spice, the options are endless.
Paired with crunchy vegetable sticks, it creates a satisfying and invigorating snack that can keep you energized and satiated.
Ingredients:
- 1 can (15 oz) chickpeas, drained and rinsed
- ¼ cup tahini
- 2 tablespoons olive oil
- 2 tablespoons lemon juice
- 1 garlic clove, minced
- ½ teaspoon ground cumin
- Salt, to taste
- Water, as needed for consistency
- Carrots, cut into sticks
- Celery, cut into sticks
- Cucumber, cut into sticks
- Bell peppers, cut into sticks
To make the hummus, combine the chickpeas, tahini, olive oil, lemon juice, minced garlic, cumin, and salt in a food processor. Blend until smooth, adding water gradually to achieve your desired consistency. Adjust seasoning to taste.
Once the hummus is ready, prepare the vegetable sticks by cutting them into uniform sizes for even dipping. Arrange the vegetable sticks on a plate and serve alongside the hummus for a delightful snack.
For the best texture and flavor, let the hummus sit in the refrigerator for at least 30 minutes before serving to allow the flavors to meld together. You can also experiment with different seasonings, such as smoked paprika or a pinch of cayenne pepper, for an extra kick.
Additionally, feel free to incorporate other vegetables like radishes or snap peas, and get creative with presentation for events or gatherings.
Almonds and Dark Chocolate
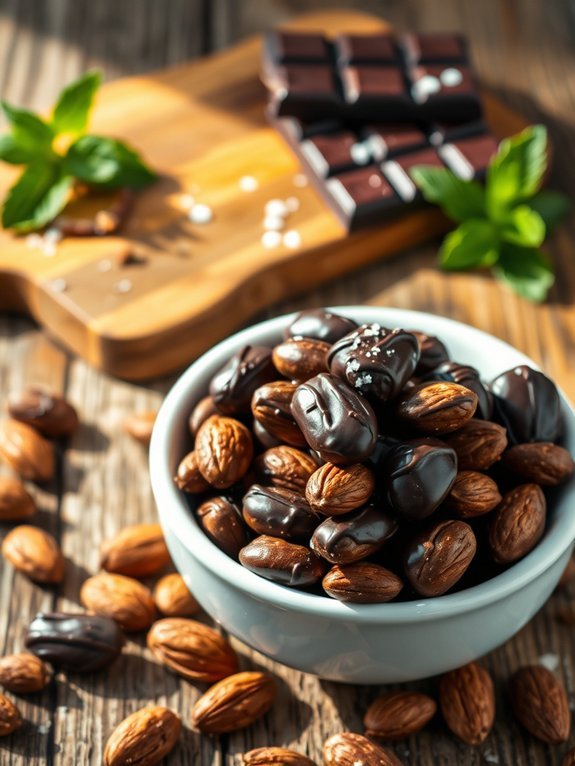
Almonds and dark chocolate make for a delectable and nutritious snack that can satisfy your sweet tooth while providing health benefits. Almonds are packed with protein, fiber, and vitamin E, promoting heart health and aiding in weight management.
When paired with dark chocolate, they create a beautiful contrast in flavors and textures, offering a rich, satisfying treat without the guilt. Plus, dark chocolate is known for its antioxidants and potential mood-boosting properties, making this combination a perfect health-conscious indulgence.
To prepare this delightful snack, you only need a few ingredients and minimal effort. You can enjoy these chocolate-covered almonds as a standalone snack, add them to your trail mix, or use them to elevate a dessert dish. Not only are they perfect for a midday pick-me-up, but they also make for a thoughtful gift for friends and family who appreciate healthful treats.
Just make sure you use high-quality dark chocolate for the best flavor and health benefits.
- 1 cup raw almonds
- 1 cup dark chocolate chips (60% cocoa or higher)
- Sea salt (optional, for garnish)
In a double boiler or a microwave-safe bowl, melt the dark chocolate chips until smooth. If using a microwave, heat them in 30-second intervals, stirring between each interval to avoid overheating.
Once the chocolate is melted, remove it from heat and dip each almond into the chocolate, making certain it’s well-coated. Place the chocolate-covered almonds on a parchment-lined baking sheet and sprinkle with sea salt, if desired. Allow them to cool at room temperature or place them in the refrigerator to set quickly.
When preparing almonds and dark chocolate, consider using roasted almonds for an added depth of flavor. You can also experiment with different types of chocolate, like milk chocolate or white chocolate, depending on your preference.
For a twist, add your favorite spices, such as cinnamon or chili powder, to the melted chocolate for a unique flavor profile. Just be cautious to watch the chocolate closely while melting to prevent it from burning, as this can alter its taste and texture.
Apple Slices With Peanut Butter
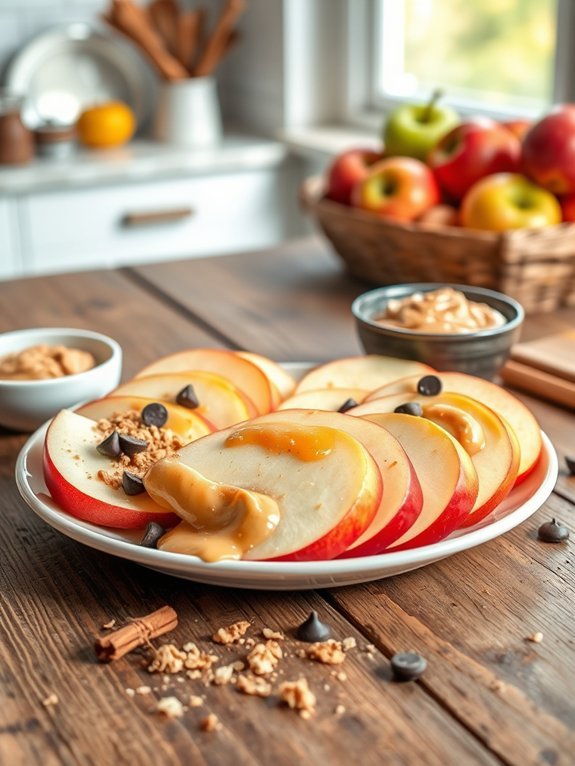
Apple slices with peanut butter is a classic and nutritious snack that combines sweet and savory flavors, making it a delightful treat for both kids and adults alike. This simple yet satisfying snack is perfect for a quick energy boost, as it provides a great source of fiber, protein, and healthy fats. With just a few ingredients and minimal preparation time, you can whip up this snack in no time.
To prepare this delicious dish, you’ll only need fresh, crisp apples and creamy or crunchy peanut butter—whichever you prefer. The combination of the natural sweetness from the apples with the rich, nutty flavor of peanut butter creates a perfect balance that can satisfy cravings for both a healthy snack and a sweet treat. Enjoy it on its own or pair it with additional toppings for an elevated snack experience.
- 1 apple (any variety)
- Peanut butter (creamy or crunchy)
- Optional toppings: cinnamon, honey, granola, or chocolate chips
To make apple slices with peanut butter, start by thoroughly washing the apple under cold water. Once clean, slice the apple into rings or wedges, depending on your preference. Next, spread a generous amount of peanut butter over each slice or wedge. You can also lightly sprinkle cinnamon on top for an added touch of flavor if desired.
When preparing apple slices with peanut butter, it’s best to choose a fresh apple for the best taste and texture. For a fun twist, you can experiment with different types of peanut butter, such as almond or cashew butter, and try various toppings like a drizzle of honey or crunchy granola for added texture.
To keep apple slices from browning, consider using a citrus juice, such as lemon or lime, on the cut surfaces before serving. Enjoy this snack guilt-free as a midday pick-me-up or a healthy treat any time of the day!
Overnight Oats With Chia Seeds

Overnight oats with chia seeds are a delicious and nutritious snack or breakfast option that can easily be prepared in advance. This no-cook recipe allows you to combine wholesome ingredients and enjoy a satisfying meal without the hassle of morning preparations.
With the creamy texture of oats and the health benefits of chia seeds, it’s a great way to fuel your day with energy and nutrients.
To make overnight oats, the key is to find the right balance of flavors and textures. You can experiment with various fruits, nuts, and plant-based or dairy milk to customize your creation.
Allowing the mixture to sit overnight helps the oats absorb liquid, resulting in a yummy, pudding-like consistency that’s appealing and easy to digest. Whether it’s for breakfast on a busy morning or a nourishing snack, overnight oats with chia seeds are versatile and satisfying.
Ingredients:
- 1/2 cup rolled oats
- 1 tablespoon chia seeds
- 1 cup almond milk (or any milk of your choice)
- 1 tablespoon honey or maple syrup (optional)
- 1/2 teaspoon vanilla extract
- Fresh fruit (such as berries or banana) for topping
- Nuts or seeds for topping (optional)
- A pinch of salt
In a mixing bowl, combine the rolled oats, chia seeds, almond milk, honey or maple syrup (if using), vanilla extract, and a pinch of salt.
Stir thoroughly to guarantee that the oats and chia seeds are evenly mixed. Pour this mixture into a jar or container with a lid and refrigerate overnight, allowing the oats and chia seeds to absorb the liquid and swell.
In the morning, give it a good stir, and top with your choice of fresh fruits, nuts, or seeds before enjoying.
For the best results, use old-fashioned rolled oats, as they provide the perfect texture.
You can also prep multiple servings at once by scaling up the ingredients and storing them in separate jars for convenience.
Feel free to try different flavor combinations, such as adding cocoa powder or nut butter for a richer taste. If you prefer a thicker consistency, add an extra tablespoon of chia seeds or reduce the amount of milk.
Recommended Items
Discover our top picks for delicious snacks and handy tools to elevate your health journey!
Products
Cottage Cheese and Pineapple
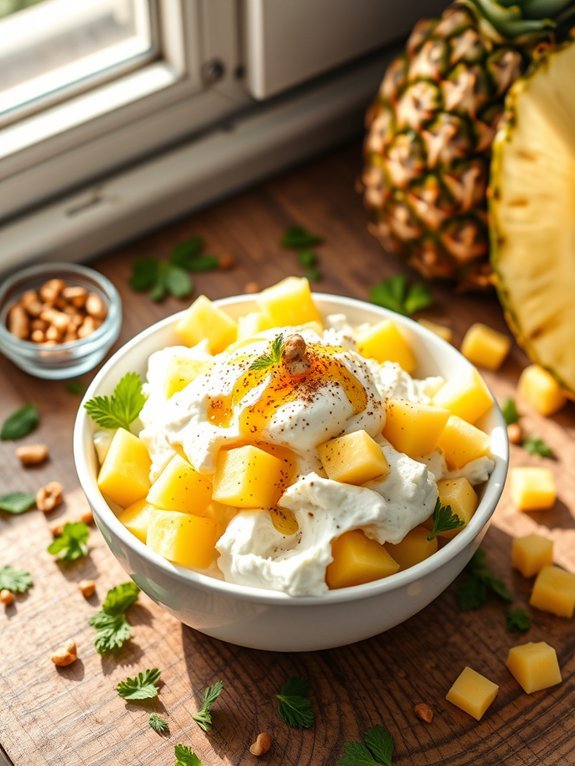
Cottage cheese and pineapple is a delightful combination that offers an invigorating taste and a nutritious boost. This snack is perfect for any time of the day, whether you need a quick breakfast, a post-workout treat, or a light dessert. The creaminess of cottage cheese pairs beautifully with the sweetness of pineapple, creating a satisfying dish that’s high in protein and vitamins.
Making this snack is incredibly simple and requires minimal preparation. With just a few ingredients, you can whip up a delicious and healthful snack in no time. This recipe celebrates the natural flavors of cottage cheese and pineapple while providing a balanced option that can easily be tailored to your taste preferences.
- 1 cup of cottage cheese
- 1 cup of fresh pineapple chunks (or canned, drained)
- 1 tablespoon of honey or maple syrup (optional)
- A sprinkle of cinnamon (optional)
- Mint leaves for garnish (optional)
In a medium bowl, combine the cottage cheese and pineapple. If desired, drizzle honey or maple syrup over the mixture and stir gently to combine. Add a sprinkle of cinnamon for added flavor if you like.
Once everything is mixed thoroughly, transfer the dish to a serving bowl or individual cups. Garnish with fresh mint leaves if desired, and enjoy immediately!
For a fun twist on this classic snack, consider adding other complementary toppings such as chopped nuts for crunch, chia seeds for extra nutrition, or different fruits like berries or bananas for added flavor.
Feel free to adjust the sweetness according to your preference, and use low-fat or non-fat cottage cheese if you’re looking for a lighter option. This dish is versatile, so don’t hesitate to experiment with flavors and textures to create your perfect nutritious snack!
Snack Preparation Guide
Trail Mix With Nuts and Dried Fruit
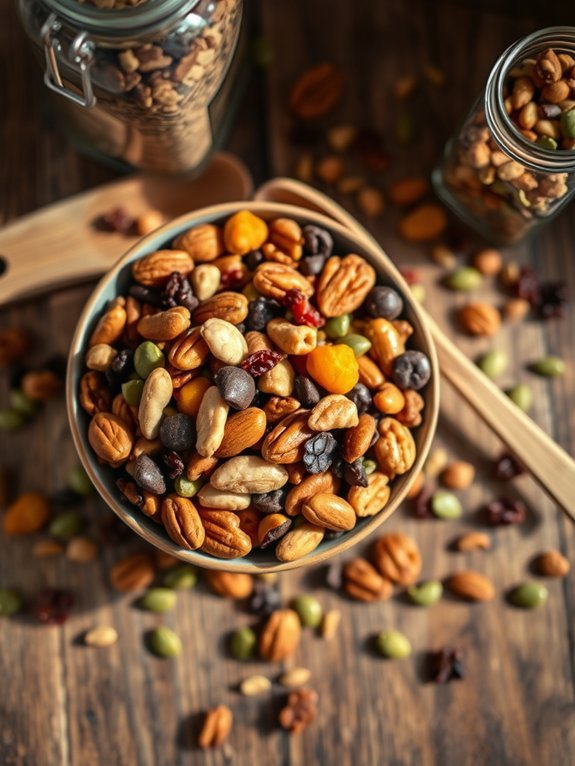
Trail mix is a fantastic snack that offers a combination of flavors and textures, making it both satisfying and nutritious.
Creating your own trail mix with nuts and dried fruit allows you to customize the ingredients based on your preferences, providing a healthy alternative to store-bought options that often contain added sugars and preservatives. Plus, this homemade trail mix can be a great energy booster for any activity, whether you’re hiking, working, or simply need a quick snack at home.
In just a few simple steps, you can whip up a batch of delightful trail mix that isn’t only delicious but also packed with essential nutrients.
The nuts provide a good source of protein and healthy fats, while the dried fruits add natural sweetness along with vitamins and minerals. You can easily adjust the ratios and types of nuts and fruits to suit your taste, making this snack both versatile and fun to make.
Ingredients:
- 1 cup mixed nuts (almonds, walnuts, cashews, pecans)
- 1 cup dried fruits (raisins, cranberries, apricots, or mango)
- 1/2 cup dark chocolate chips or chunks (optional)
- 1/2 cup seeds (pumpkin seeds or sunflower seeds)
- 1 teaspoon cinnamon (optional)
- 1/2 teaspoon sea salt (optional)
In a large bowl, combine all the ingredients: mixed nuts, dried fruits, chocolate chips (if using), seeds, and any additional spices or salt you choose to add. Toss everything together until well mixed.
Once combined, transfer the trail mix to an airtight container or zip-lock bags for easy transport and storage.
When preparing your trail mix, feel free to experiment with different nuts, seeds, and dried fruits to find the perfect combination that you love.
You can also consider adding extra ingredients like coconut flakes, granola, or even a sprinkle of nutmeg or vanilla for added flavor.
Store your trail mix in a cool, dry place or in the fridge for longer freshness, and remember that mixing in a bit of protein powder can enhance the nutritional value if you’re using it as a meal replacement or post-workout snack.
Rice Cakes With Avocado
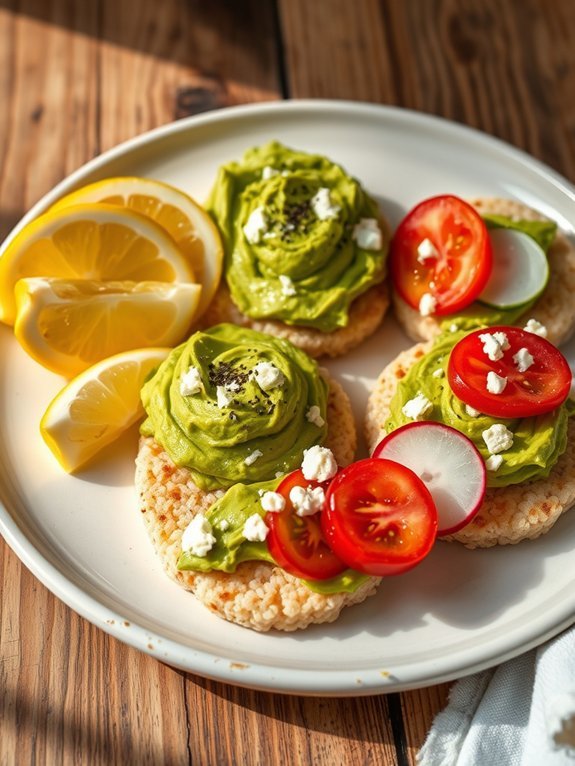
Rice cakes with avocado are a delightful and nutritious snack that’s simple to prepare yet incredibly satisfying. This dish combines the light, airy texture of rice cakes with the creamy richness of avocado, making it a perfect option for a quick midday pick-me-up or a light appetizer for gatherings. Not only are rice cakes low in calories, but avocados are packed with healthy fats, vitamins, and minerals, providing you with a boost of energy and nourishment.
To elevate the flavor profile, consider adding a pinch of salt, a dash of pepper, or even a squeeze of lemon juice to the avocado before spreading it on the rice cake. You can also customize your topping with additional ingredients such as sliced tomatoes, radishes, or a sprinkle of feta cheese for an extra burst of flavor. With endless possibilities, rice cakes with avocado can be tailored to suit your taste preferences.
- Rice cakes
- Ripe avocado
- Salt
- Pepper
- Lemon juice (optional)
- Toppings of your choice (e.g., sliced tomatoes, radishes, feta cheese)
Start by mashing the ripe avocado in a bowl, adding a pinch of salt, pepper, and a squeeze of lemon juice if desired. Spread the mashed avocado evenly over the rice cakes and then layer your choice of toppings on each one, arranging them as desired for visual appeal.
For an upgraded flavor experience, consider toasting the rice cakes lightly in a toaster or skillet before spreading the avocado. This adorable crunch will create a more satisfying texture.
If you’re preparing these snacks ahead of time, assemble the rice cakes with avocado just before serving to maintain the freshness of the ingredients. Enjoy experimenting with different toppings and seasonings to find the combination that best pleases your palate!
Celery Sticks With Cream Cheese
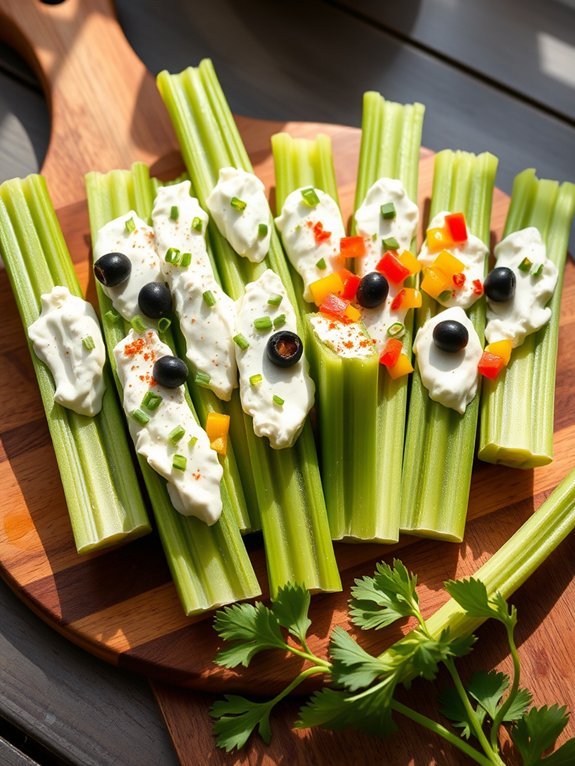
Celery sticks with cream cheese is a delightful and nutritious snack that brings together the crunchy freshness of celery and the smooth, rich flavor of cream cheese. This simple recipe is perfect for busy days when you need a quick bite or a nutritious option for gatherings.
Celery is low in calories and provides a healthy dose of fiber, while cream cheese adds a creamy texture that elevates this snack to a whole new level. Not only is this concoction easy to prepare, but it can also be customized with various toppings and seasonings to suit your taste.
Adding herbs, spices, or even a hint of paprika can provide new and exciting flavors. Great for both adults and kids, celery sticks with cream cheese make an ideal choice for lunch boxes or as party appetizers.
- Fresh celery sticks
- Cream cheese (softened)
- Optional toppings: sliced olives, chopped chives, paprika, or diced bell peppers
To prepare your celery sticks with cream cheese, start by washing and trimming the celery stalks. Cut them into manageable lengths, typically around 3-4 inches each. Spread a generous amount of softened cream cheese inside the celery grooves, filling them nicely, but ensuring it doesn’t overflow.
If desired, sprinkle your chosen toppings over the cream cheese for added flavor and visual appeal. When preparing this dish, be sure to use room-temperature cream cheese as it spreads much easier than when cold.
You can also experiment with flavored cream cheeses, such as herb or garlic-infused varieties, to give your celery sticks an extra burst of taste. For a fun twist, consider using a combination of cream cheese and cottage cheese for a lighter spread, or introduce nut butter for a unique flavor sensation while retaining the healthy aspect of your snack.
Popcorn Seasoned With Nutritional Yeast

Popcorn seasoned with nutritional yeast isn’t only a delightful snack but also a nutritious option that can elevate your movie night or afternoon munching. Nutritional yeast has a cheesy, nutty flavor that pairs perfectly with the light and airy texture of popcorn, making for a satisfying and healthy treat. This snack is packed with B vitamins and protein and is a great option for those following vegan or dairy-free diets.
Making popcorn seasoned with nutritional yeast is an easy and quick process that can be customized to your taste. Whether you enjoy a light sprinkle or a generous coating, you can adjust the amount of nutritional yeast to suit your preferences.
Additionally, feel free to experiment with other add-ins such as garlic powder, onion powder, or chili flakes to make your popcorn even more flavorful.
Ingredients:
- 1/2 cup popcorn kernels
- 2 tablespoons coconut or vegetable oil
- 1/4 cup nutritional yeast
- 1 teaspoon garlic powder (optional)
- 1 teaspoon onion powder (optional)
- Salt to taste
Simply heat the coconut or vegetable oil in a large pot over medium heat. Add a few kernels of popcorn to the pot and cover it with a lid. Once those kernels pop, you can add the remaining popcorn kernels.
Cover the pot with a lid, and gently shake it occasionally to guarantee even popping. Once the popping slows down, remove it from the heat, and transfer the popcorn to a large bowl.
While the popcorn is still warm, sprinkle it generously with nutritional yeast, garlic powder, onion powder, and salt, tossing well to coat evenly.
For an even more delicious experience, try to serve your popcorn right after you make it. The nutritional yeast adheres better when the popcorn is warm, enhancing the flavor.
You can also mix in some herbs or spices for different flavor profiles—think smoked paprika for a smoky flavor or even a touch of cayenne for some heat.
Additionally, store any leftover popcorn in an airtight container to maintain its crunchiness.

