This post may contain affiliate links. Please read our policy page.
For an energy boost at work or school, try Greek yogurt with fresh berries, hummus with veggie sticks, or overnight oats with nuts and seeds. Nut butter energy balls and trail mix with dried fruits and nuts are perfect for on-the-go snacking. Hard-boiled eggs and whole grain crackers with cheese provide satisfying protein, while smoothie packs offer quick nutrition. Don’t forget indulgent dark chocolate-covered almonds for a sweet treat. Discover more great snack ideas to keep your day energized!
Greek Yogurt With Fresh Berries
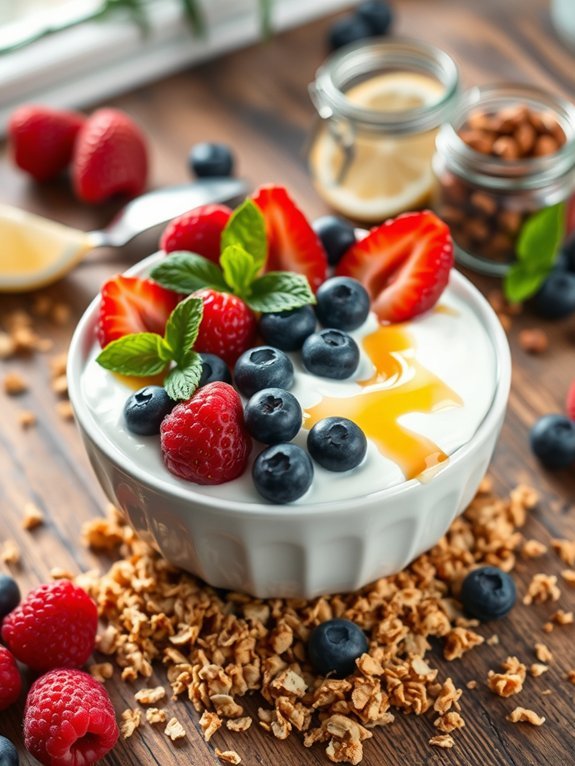
Greek yogurt with fresh berries is a delicious and nutritious snack that’s perfect for work and school. It combines the creamy texture and tangy taste of Greek yogurt with the natural sweetness and vibrant flavors of fresh berries. This delightful combination not only satisfies your sweet tooth but also provides a good balance of protein, healthy fats, and antioxidants, making it an ideal choice to keep you energized throughout your day.
Preparing Greek yogurt with fresh berries is incredibly simple and can be customized based on your taste preferences. You can use any combination of berries that you like, such as strawberries, blueberries, raspberries, or blackberries. Not only does this dish taste great, but it also offers numerous health benefits thanks to the probiotics found in Greek yogurt and the vitamins and minerals present in the berries. It’s a wholesome snack that can be enjoyed anytime, whether it’s at your desk or during a mid-morning break.
- 1 cup of Greek yogurt (plain or flavored)
- 1/2 cup of fresh berries (strawberries, blueberries, raspberries, blackberries)
- 1 tablespoon of honey or maple syrup (optional)
- A sprinkle of granola or nuts (optional)
- Mint leaves for garnish (optional)
In a bowl, scoop out the Greek yogurt and spread it evenly. Next, carefully wash your fresh berries, pat them dry with a paper towel, and place them directly on top of the yogurt. If desired, drizzle honey or maple syrup over the berries for added sweetness.
Finish by sprinkling a handful of granola or nuts on top for some crunch, and garnish with fresh mint leaves if you want an elegant touch.
When preparing this dish, opt for high-quality Greek yogurt to enhance the flavor and texture. Feel free to experiment with different types of berries based on what’s in season or on sale. If you want to make it more filling, consider adding a scoop of protein powder to the yogurt or serving it with whole grain crackers on the side.
This versatile snack can also be made in larger batches for meal prepping, serving as a quick and satisfying option during busy work or school weeks.
Recommended Items
Discover our top picks for snacks and tools that will keep you energized and focused throughout your day!
Products
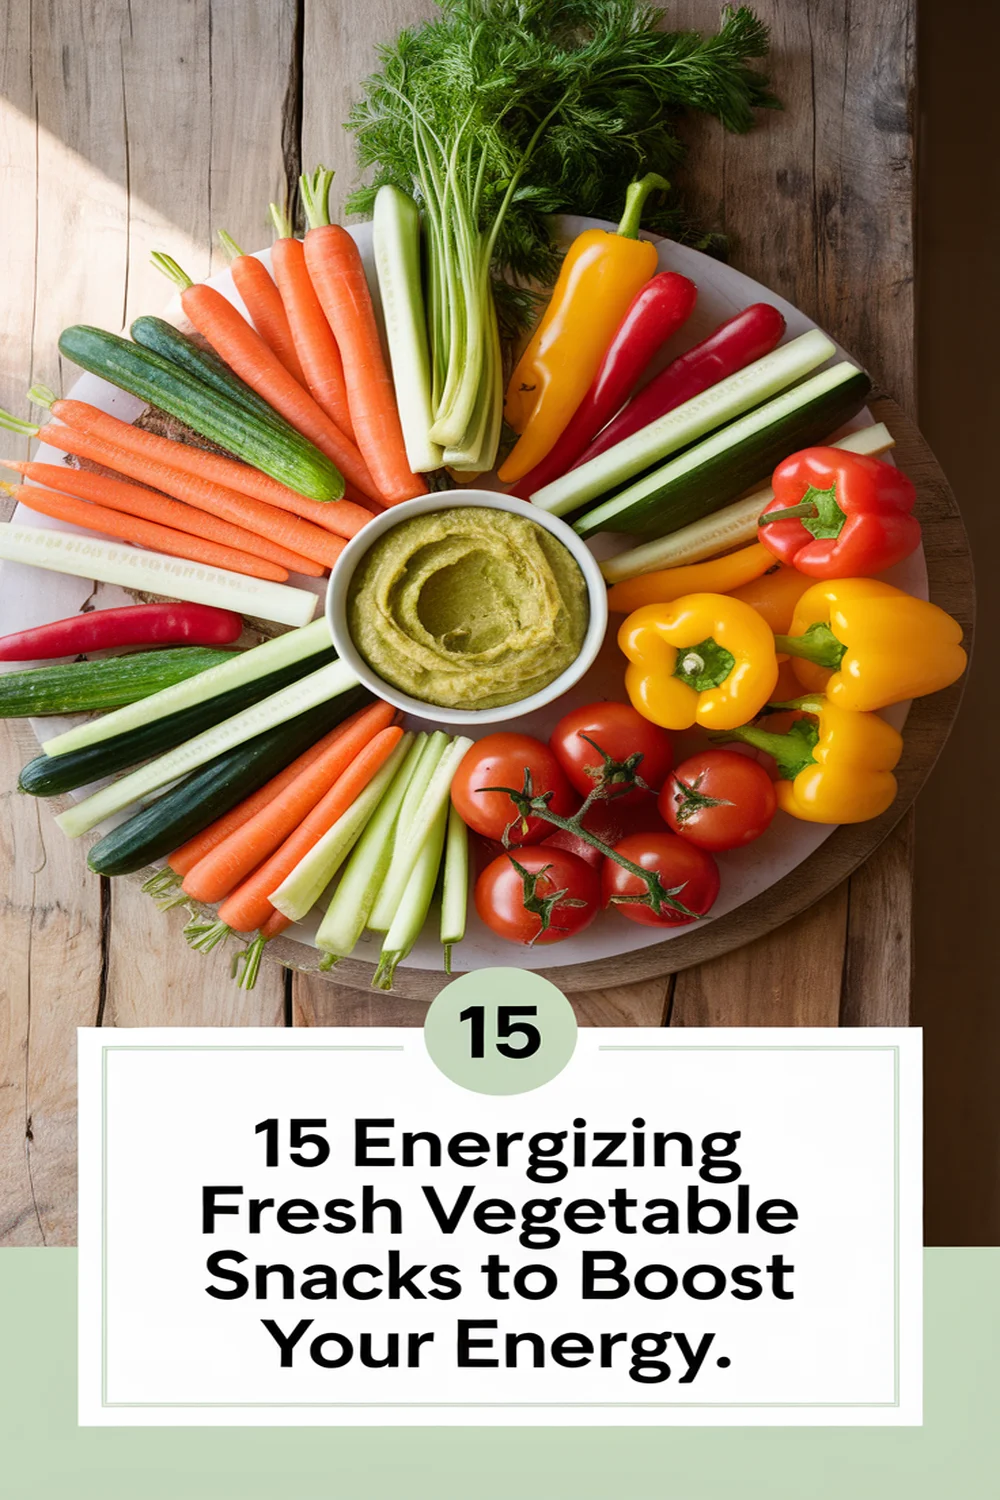
Hummus and Veggie Sticks
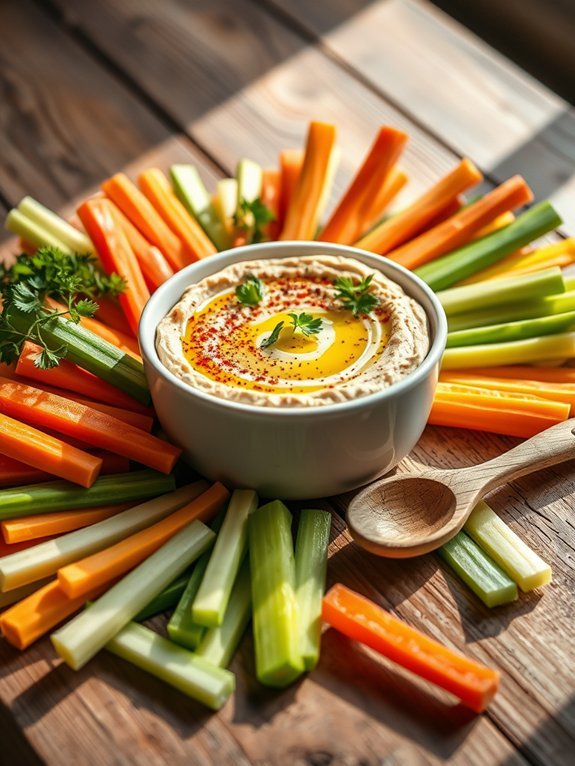
Hummus and veggie sticks make for a perfect snack that’s both nutritious and satisfying. This dish pairs a creamy, flavorful hummus made from chickpeas with a variety of crunchy vegetables that can be dipped, scooped, or enjoyed on their own. It’s a great option for both work and school lunches, providing essential nutrients and keeping you energized throughout the day.
The best part is that you can customize your hummus with different flavors and choose your favorite veggies for dipping.
Making hummus is easier than you might think, and it can be prepared in just a few minutes. You can use store-bought hummus for convenience, but creating it at home allows you to control the ingredients and adjust the flavors to suit your taste.
Fresh vegetables such as carrots, cucumbers, peppers, and celery not only add color to your plate but also bring crucial vitamins and minerals to your diet. This snack is a delicious way to encourage healthier eating habits at work or school.
Ingredients:
- 1 can (15 oz) chickpeas, drained and rinsed
- 1/4 cup tahini
- 1/4 cup olive oil
- 2 tablespoons lemon juice
- 1 clove garlic, minced
- 1/2 teaspoon ground cumin
- Salt to taste
- Raw vegetables (carrots, cucumbers, bell peppers, celery, etc.)
To prepare the hummus, combine the chickpeas, tahini, olive oil, lemon juice, garlic, ground cumin, and salt in a food processor. Blend until smooth, adding a little water if the mixture is too thick.
Adjust the seasoning as needed, then transfer the hummus to a serving bowl. Cut your chosen raw vegetables into sticks or bite-sized pieces and arrange them around the hummus for dipping.
When making hummus, try experimenting with different flavors by adding roasted red peppers, fresh herbs, or spices like smoked paprika to create unique variations.
Additionally, store any leftover hummus in an airtight container in the fridge, where it can keep for several days. This makes it easy to prepare a larger batch on the weekend, ensuring you have a quick and healthy snack ready when you need it!
Overnight Oats With Nuts and Seeds
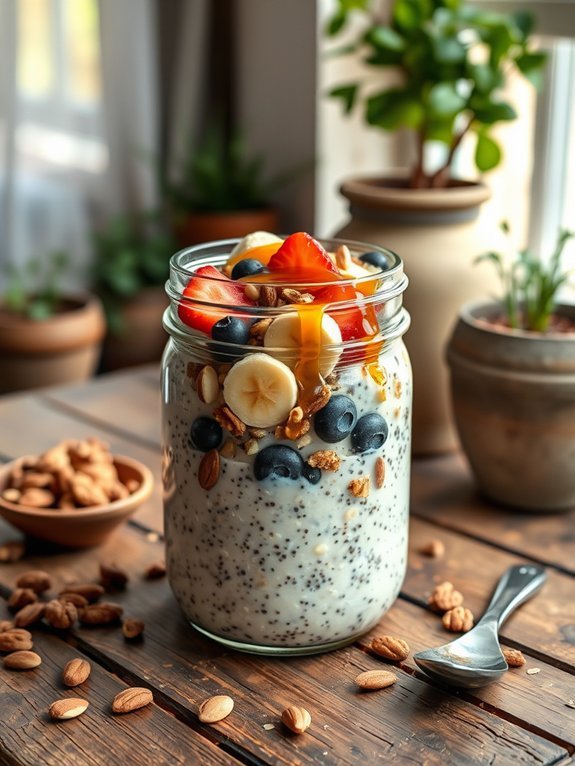
Overnight oats with nuts and seeds are a fantastic choice for a quick and nutritious breakfast or snack that can easily fit into a busy schedule. Not only are they packed with fiber and protein, but they also provide a delightful combination of textures and flavors that can keep you energized throughout your day.
Preparing them the night before means you’ll have a delicious meal ready to go as soon as you wake up, making early mornings a little less hectic.
The beauty of overnight oats lies in their versatility; you can customize them according to your taste preferences or availability of ingredients. By mixing together oats, milk (or a dairy-free alternative), nuts, and seeds, you create a wholesome base that can be varied with fruits, spices, and sweeteners for additional flavor.
The soaking process also softens the oats, resulting in a creamy and satisfying dish that can be enjoyed chilled or at room temperature.
- 1 cup rolled oats
- 1 cup milk (dairy or plant-based)
- 2 tablespoons chia seeds
- 2 tablespoons nut butter (such as almond or peanut)
- 1/4 cup mixed nuts (chopped)
- 2 tablespoons seeds (e.g., pumpkin seeds or sunflower seeds)
- 1 tablespoon honey or maple syrup (optional, for sweetness)
- 1/2 teaspoon vanilla extract (optional)
- Fresh fruit (e.g., berries or banana, for topping)
In a mason jar or airtight container, combine the rolled oats, milk, chia seeds, nut butter, mixed nuts, seeds, honey or maple syrup, and vanilla extract if using. Stir well to guarantee all ingredients are evenly mixed.
Seal the container tightly and refrigerate overnight. In the morning, give the mixture a good stir and top with fresh fruit before enjoying.
A great tip for making overnight oats even more enjoyable is to experiment with different flavor profiles and toppings. Try adding spices like cinnamon or nutmeg for warmth, or swap the fruits to keep things exciting.
Storing them in individual portions also makes it easy to grab and go, and you can prep multiple jars for the week ahead to guarantee you have a healthy snack ready whenever you need it.
Nut Butter Energy Balls
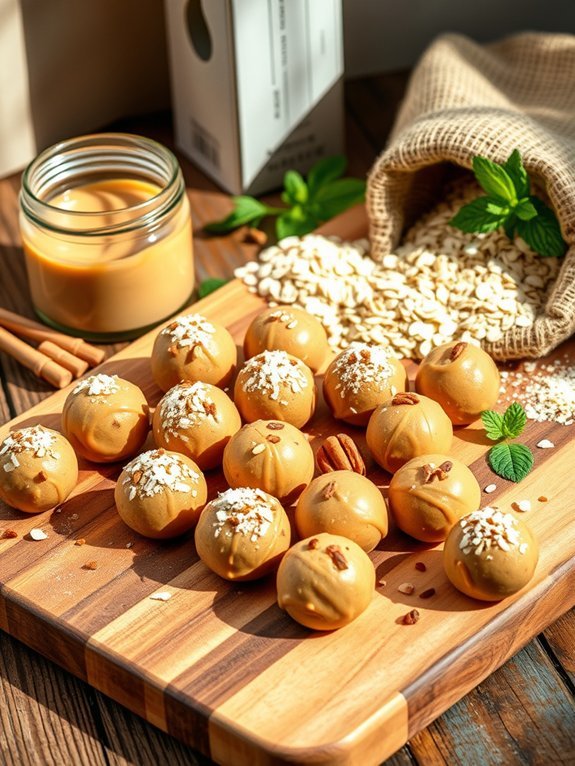
Nut Butter Energy Balls are a perfect snack for both work and school, offering a delicious and nutritious way to give you that extra boost of energy when you need it most. Packed with wholesome ingredients, these little bites aren’t only easy to make but also customizable to fit your flavor preferences.
Whether you’re craving chocolate, fruit, or a nutty taste, there’s an energy ball recipe to satisfy your cravings. They’re great for on-the-go snacking, making them a fantastic option to keep in your bag, lunchbox, or at your desk.
Making your own Nut Butter Energy Balls means you can control the ingredients, ensuring they align with your dietary needs and taste. With minimal preparation time, these energy balls can be whipped up in a pinch and stored for days. Plus, they’re no-bake, so you can enjoy them right away after mixing—all you need is a bowl and a little elbow grease for mixing!
Ingredients:
- 1 cup rolled oats
- ½ cup nut butter (peanut, almond, or cashew)
- ¼ cup honey or maple syrup
- ½ cup ground flaxseed
- 1 teaspoon vanilla extract
- ½ cup chocolate chips or dried fruit
- A pinch of salt
In a large mixing bowl, combine all the ingredients: rolled oats, nut butter, honey or maple syrup, ground flaxseed, vanilla extract, chocolate chips or dried fruit, and a pinch of salt. Mix everything together until well combined.
If the mixture seems too dry, add an extra spoonful of nut butter or a splash of water. Once thoroughly mixed, scoop out small portions and roll them into bite-sized balls with your hands. Place the energy balls on a baking sheet lined with parchment paper and refrigerate them for at least 30 minutes to firm up.
When making Nut Butter Energy Balls, feel free to get creative! You can swap out ingredients based on what you have on hand or your dietary preferences. For an added crunch, consider mixing in some chopped nuts or seeds.
Similarly, to introduce new flavors, try adding spices like cinnamon or cocoa powder. Store your energy balls in an airtight container in the fridge, where they’ll keep fresh for up to a week. Enjoy them as a convenient, satisfying snack throughout your busy day!
Trail Mix With Dried Fruits and Nuts
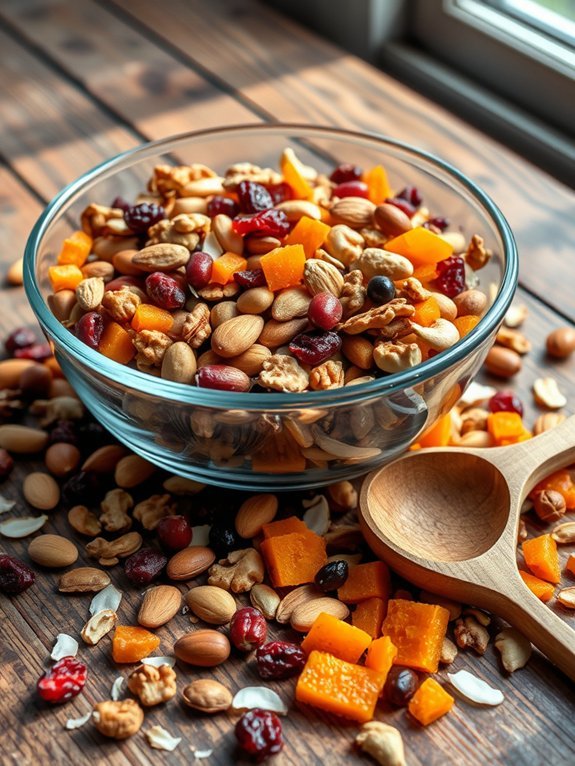
Trail mix is a delightful and versatile snack that can easily be customized to suit your taste preferences. Combining dried fruits and nuts offers a delicious mix of sweetness and crunch, making it a perfect pick-me-up for a busy day at work or an energizing treat during school hours.
The beauty of trail mix lies in its adaptability; you can mix and match the ingredients depending on what’s in your pantry or what seasonal fruits are available. Preparing trail mix isn’t only simple, but it’s also a fun way to experiment with different flavor combinations. You can opt for a classic blend with peanuts and raisins or get adventurous with more exotic ingredients like coconut flakes and dark chocolate.
This snack is also highly portable, which means you can easily pack a serving into reusable containers or zipper bags for a quick grab-and-go option.
- 1 cup raw almonds
- 1 cup walnuts
- 1 cup cashews
- 1 cup dried cranberries
- 1 cup raisins
- 1 cup dried apricots, chopped
- ½ cup pumpkin seeds
- ½ cup unsweetened coconut flakes (optional)
- ½ cup dark chocolate chips (optional)
Start by preheating your oven to 350°F (175°C) if you prefer roasted nuts for added depth of flavor. Spread the nuts (almonds, walnuts, and cashews) in a single layer on a baking sheet and toast them for about 10-12 minutes, stirring once halfway through to guarantee even roasting.
Once the nuts are cooled, combine them with the dried fruits, pumpkin seeds, and any optional ingredients in a large mixing bowl. Stir until well mixed, then transfer the trail mix to an airtight container for storage.
When preparing your trail mix, remember that the ratios of nuts to dried fruits can be adjusted based on your personal preference. If you enjoy a sweeter mix, consider adding more dried fruits or a sprinkle of coconut flakes.
Additionally, store your mix in a cool, dry place, and it can stay fresh for up to a month. For an added health benefit, you might want to include a handful of seeds or spices like cinnamon for an extra flavor kick!
Rice Cakes With Avocado and Tomato
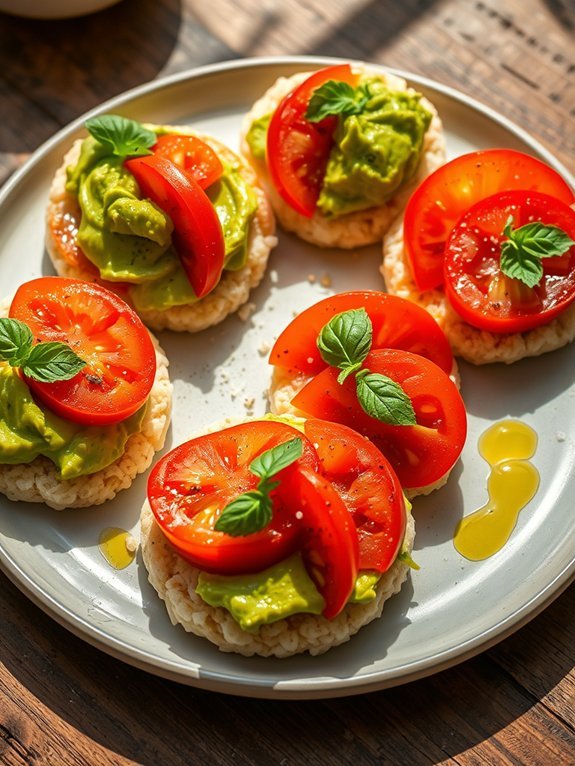
Rice cakes with avocado and tomato are a delicious and nutritious snack that’s easy to prepare. They offer a delightful combination of flavors and textures, making them perfect for a quick bite at work or school. By using simple, fresh ingredients, this recipe provides a healthy option that can be customized according to your tastes or dietary needs.
Avocado is known for its creamy texture and healthy fats, while tomatoes add a touch of acidity and liveliness. Together, they create a revitalizing topping for rice cakes, which serve as the perfect crunchy base. This snack not only satisfies your hunger but also provides a good dose of vitamins and minerals, making it an ideal choice for a mid-afternoon treat or a light lunch.
- Rice cakes
- Ripe avocado
- Fresh tomatoes
- Salt
- Pepper
- Olive oil (optional)
- Lemon or lime juice (optional)
- Fresh herbs (like basil or cilantro, optional)
To prepare, start by slicing the ripe avocado in half, removing the pit, and scooping out the flesh into a bowl. Mash the avocado with a fork until it reaches your desired consistency (smooth or chunky), then season with salt, pepper, and a squeeze of lemon or lime juice.
Next, slice the fresh tomatoes into thin rounds. To assemble, spread the mashed avocado evenly over each rice cake, top with tomato slices, and drizzle with a bit of olive oil if desired.
For an extra burst of flavor, feel free to experiment with different toppings, such as crumbled feta cheese or crushed red pepper flakes. If you prefer a heartier version, consider adding protein by including cooked chickpeas or sliced hard-boiled eggs.
Keep in mind that this snack is best enjoyed fresh, so try to assemble it just before you’re ready to eat to prevent the rice cakes from becoming soggy.
Snack Ideas for Boosting Energy
Hard-Boiled Eggs
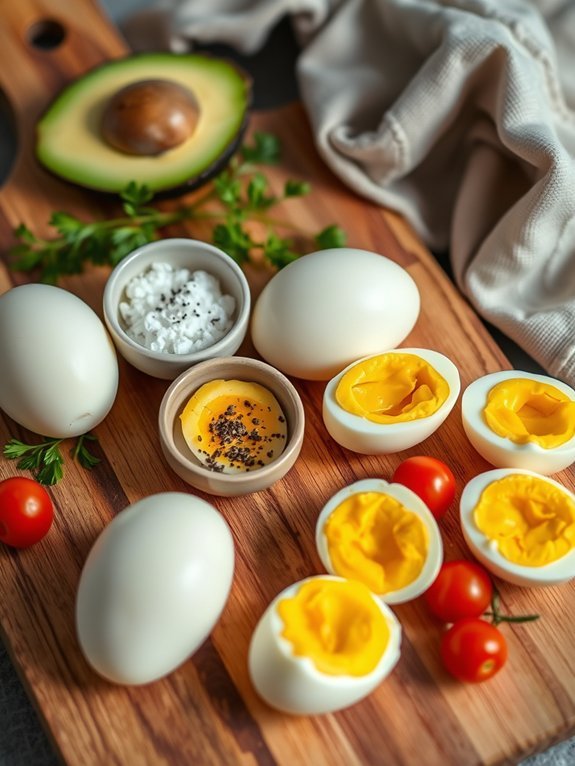
Hard-boiled eggs are a nutritious snack that can easily be prepared in advance, making them perfect for busy workdays or school lunches. Packed with protein, vitamins, and minerals, they provide a satisfying and healthy option to tide you over until your next meal.
These eggs are versatile, as they can be eaten plain, sprinkled with salt and pepper, or used in various dishes such as salads, sandwiches, or even deviled eggs.
Cooking hard-boiled eggs may seem straightforward, but getting that perfect texture can be a bit tricky. The ideal hard-boiled egg has a firm yolk with a bright yellow color and no greyish ring around it. This ring occurs due to overcooking, which can sometimes lead to a less appealing appearance and texture. By following a simple method for boiling your eggs, you can achieve the perfect hard-boiled egg every time.
- Fresh eggs
- Water
- Ice (for ice bath)
Place the eggs in a single layer in a saucepan and cover them with cold water, making sure there’s about an inch of water above the eggs. Bring the water to a boil over medium-high heat.
Once boiling, remove the saucepan from the heat, cover it with a lid, and let the eggs sit for about 9-12 minutes, depending on your preferred doneness. After the time has elapsed, carefully transfer the eggs to an ice bath to stop the cooking process.
To make peeling easier, try purchasing eggs that are a few days old rather than using very fresh eggs, as fresh eggs can sometimes be harder to peel. Additionally, cracking the eggshell gently all over before peeling can help in removing the shell more easily.
For the best results, always cool the eggs in an ice bath for at least five minutes post-cooking, as this won’t only help with peeling but also guarantee that the yolks remain a brilliant yellow and not discolored.
Whole Grain Crackers With Cheese
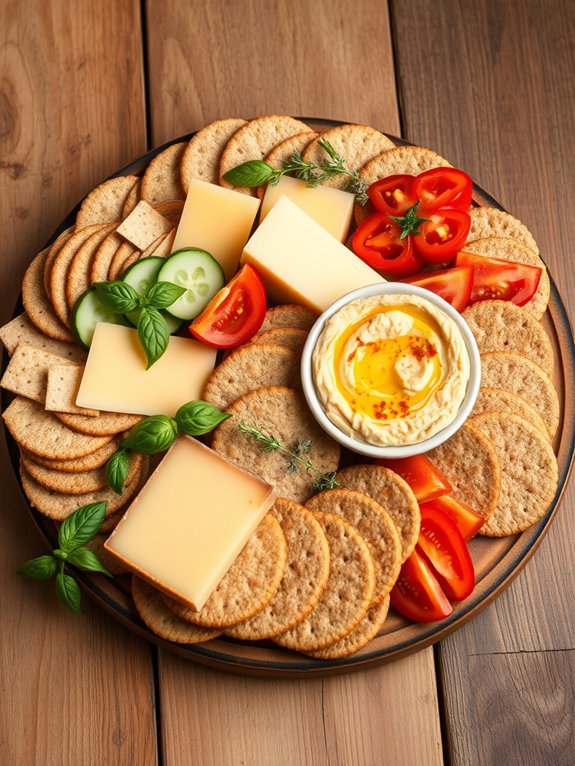
Whole grain crackers with cheese are a convenient and nutritious snack option that can elevate your lunch break or provide an energizing boost during a busy workday. This simple treat pairs the satisfying crunch of whole grain crackers with the creamy richness of cheese, making it both delicious and filling. Whole grain crackers aren’t only a source of complex carbohydrates but also offer essential fibers, making them a wise choice for sustained energy levels.
Creating this snack is effortless and requires minimal preparation time. You can customize your choice of cheese based on personal preference—whether you prefer mild cheddar, sharp gouda, or creamy brie, each selection brings a unique flavor profile to the dish. Additionally, feel free to add toppings or spreads to enhance the flavor even more, transforming a simple snack into a wholesome delight.
- Whole grain crackers
- Cheese (choose your favorite type)
- Optional: sliced vegetables (like cucumbers, bell peppers, or tomatoes)
- Optional: spreads (such as hummus, mustard, or pesto)
- Optional: herbs or spices (like black pepper, oregano, or basil)
To prepare, simply lay your whole grain crackers on a plate. Slice the cheese into manageable pieces and place them on top of each cracker. If you’re adding any optional ingredients like vegetables or spreads, layer them on top of or beside the cheese.
Arrange everything nicely for an appealing presentation, and serve immediately or pack them into a container for later.
When preparing whole grain crackers with cheese, be sure to keep the crackers crisp by assembling them just before enjoying. If you plan to make them in advance, consider packing the cheese and crackers separately and assembling them on-site for a fresher bite.
Additionally, you can explore various combinations of cheeses and toppings to suit your taste or dietary preferences, making each snack time a new experience.
Smoothie Packs
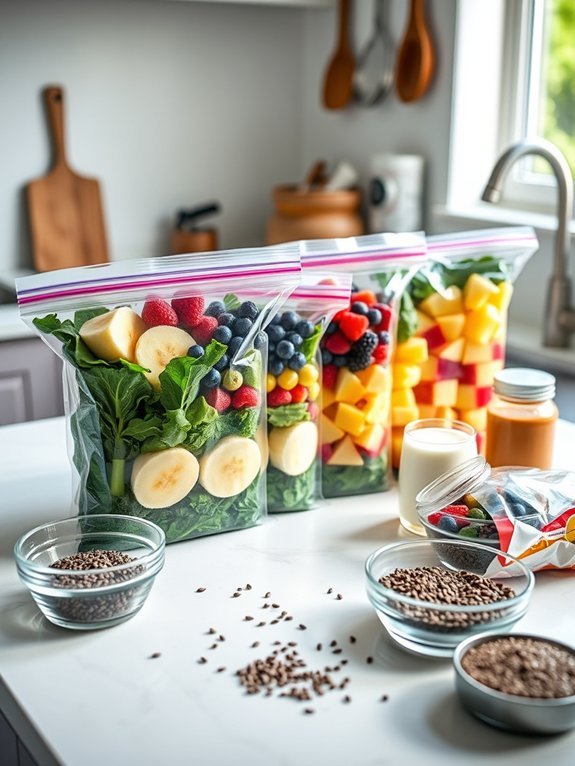
Smoothie packs are an incredibly convenient and nutritious option for anyone looking to enjoy a quick breakfast or snack at work or school. These pre-prepared packs not only save time but also reduce food waste and encourage a healthier lifestyle. By assembling your smoothie packs in advance, you can simply grab one from the freezer, blend it in the morning, and enjoy a delicious drink on the go. You can tailor the ingredients to your liking, making them as fruity, green, or creamy as you desire.
Creating smoothie packs is a fun and creative way to experiment with different flavors and combinations. You can use a variety of fruits, vegetables, and other nutritious ingredients, such as yogurt or protein powders. The possibilities are endless, making it easy to avoid boredom with your snacks while guaranteeing you’re getting the nutrients your body needs. Let’s explore how to prepare these handy smoothie packs.
- 2 cups of fresh spinach or kale
- 1 banana (sliced)
- 1 cup of frozen mixed berries (strawberries, blueberries, raspberries)
- 1/2 cup of pineapple chunks (fresh or frozen)
- 1/2 cup of Greek yogurt or a dairy-free alternative
- 1 tablespoon of nut butter (peanut or almond)
- 1 tablespoon of chia seeds or flaxseeds
- 1 cup of almond milk or coconut water
In a clean, dry freezer bag, layer the spinach or kale first, followed by the banana slices, mixed berries, pineapple chunks, Greek yogurt, nut butter, chia seeds, and finally, pour in the almond milk or coconut water. Seal the bag tightly, making sure there’s minimal air left inside to prevent freezer burn. Label each bag with the date and contents, and store them in the freezer until you’re ready to blend.
When preparing your smoothie packs, feel free to mix and match ingredients and adjust to your personal taste preferences. Consider using other fruits like mango or peaches, or add in extras such as protein powder for an energy boost.
Just be mindful of portion sizes to guarantee your smoothie is both filling and healthy. If you find the smoothie too thick after blending, simply add a splash of milk or water to reach your desired consistency. Enjoy experimenting with different combinations to keep your snacks exciting and nutritious!
Dark Chocolate-Covered Almonds
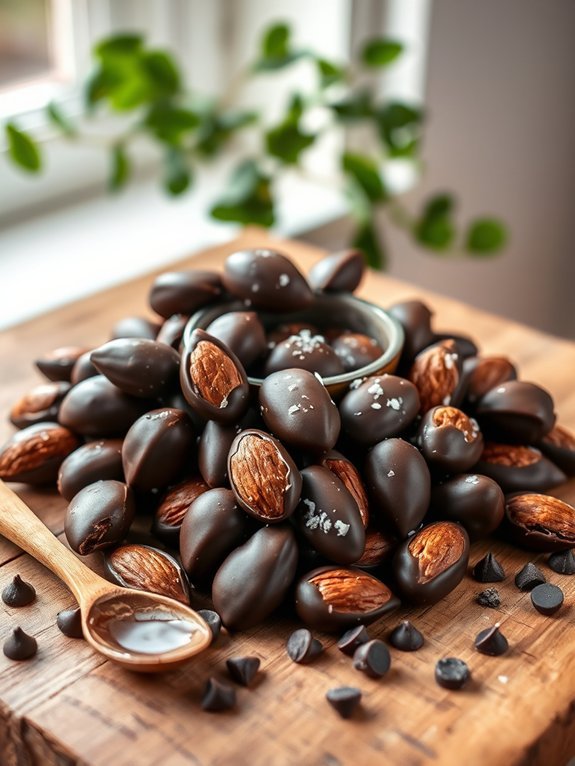
Dark chocolate-covered almonds are a delicious and nutritious snack that combines the rich flavor of dark chocolate with the crunchy texture of almonds. Not only are they satisfying for your sweet tooth, but they also offer health benefits such as antioxidants from the dark chocolate and protein and healthy fats from the almonds.
This simple recipe makes it easy to indulge in this tasty treat, allowing you to take a break at work or enjoy a sweet moment while studying at school.
Making dark chocolate-covered almonds is a fun and rewarding process. The best part is that you can customize them according to your preferences, whether you like them plain, with a sprinkle of sea salt, or even coated with an additional layer of spices or toppings.
With just a few ingredients and a little bit of patience, you can create a delightful snack that’s perfect for sharing or keeping all to yourself.
- 1 cup raw almonds
- 1 cup dark chocolate chips (70% cocoa or higher)
- 1 teaspoon coconut oil (optional for smoother chocolate)
- Sea salt (optional for sprinkling)
To prepare the dark chocolate-covered almonds, start by gently roasting the raw almonds in a preheated oven at 350°F (175°C) for about 10 minutes, stirring halfway through to guarantee even roasting.
Allow them to cool for a few minutes, then melt the dark chocolate chips in a microwave-safe bowl or over a double boiler, adding the coconut oil if desired to achieve a smoother consistency.
Once the chocolate is melted, stir in the roasted almonds until they’re fully coated, then use a fork or slotted spoon to lift the almonds out, letting any excess chocolate drip off.
Place the almonds on a parchment-lined baking sheet and sprinkle with sea salt if desired, then refrigerate until the chocolate hardens, about 30 minutes.
For the best results, confirm the almonds are fully dry before coating them in chocolate, as moisture can cause the chocolate to seize.
Additionally, experiment with different types or flavors of chocolate, such as milk or white chocolate, to create variations that cater to your taste.
If you want to add a decorative touch, consider rolling the coated almonds in crushed nuts, coconut flakes, or even a dusting of cocoa powder before they set.
Store the finished snack in an airtight container to keep them fresh for a longer duration.


