This post may contain affiliate links. Please read our policy page.
Looking for fun and nutritious snacks for your kids? Try colorful fruit kabobs or yogurt parfaits with granola for a tasty treat. Homemade energy bites keep their energy up, while veggie dippers with hummus introduce them to healthy vegetables. Cheesy cauliflower poppers and apple chips with cinnamon make for delightful, crunchy options. Oatmeal mini muffins and popcorn trail mixes are perfect for on-the-go. Sweet potato fries are a healthy alternative to regular fries. Keep exploring for more delicious ideas!
Colorful Fruit Kabobs
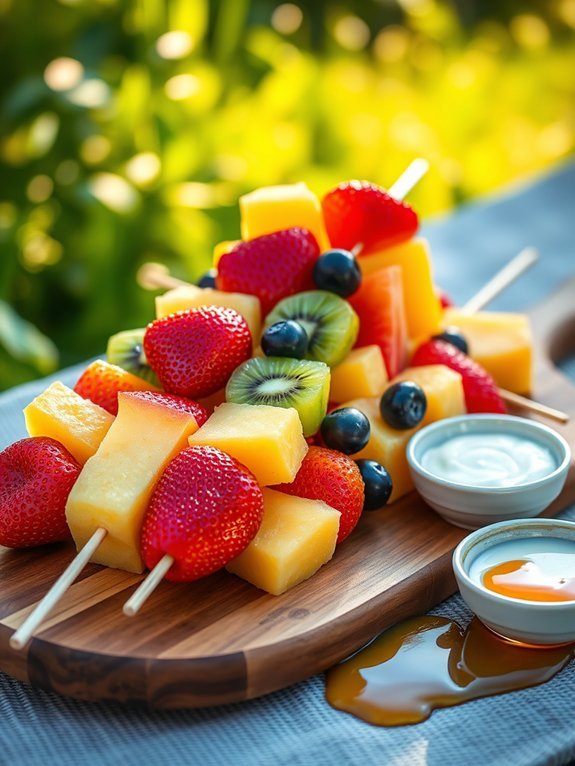
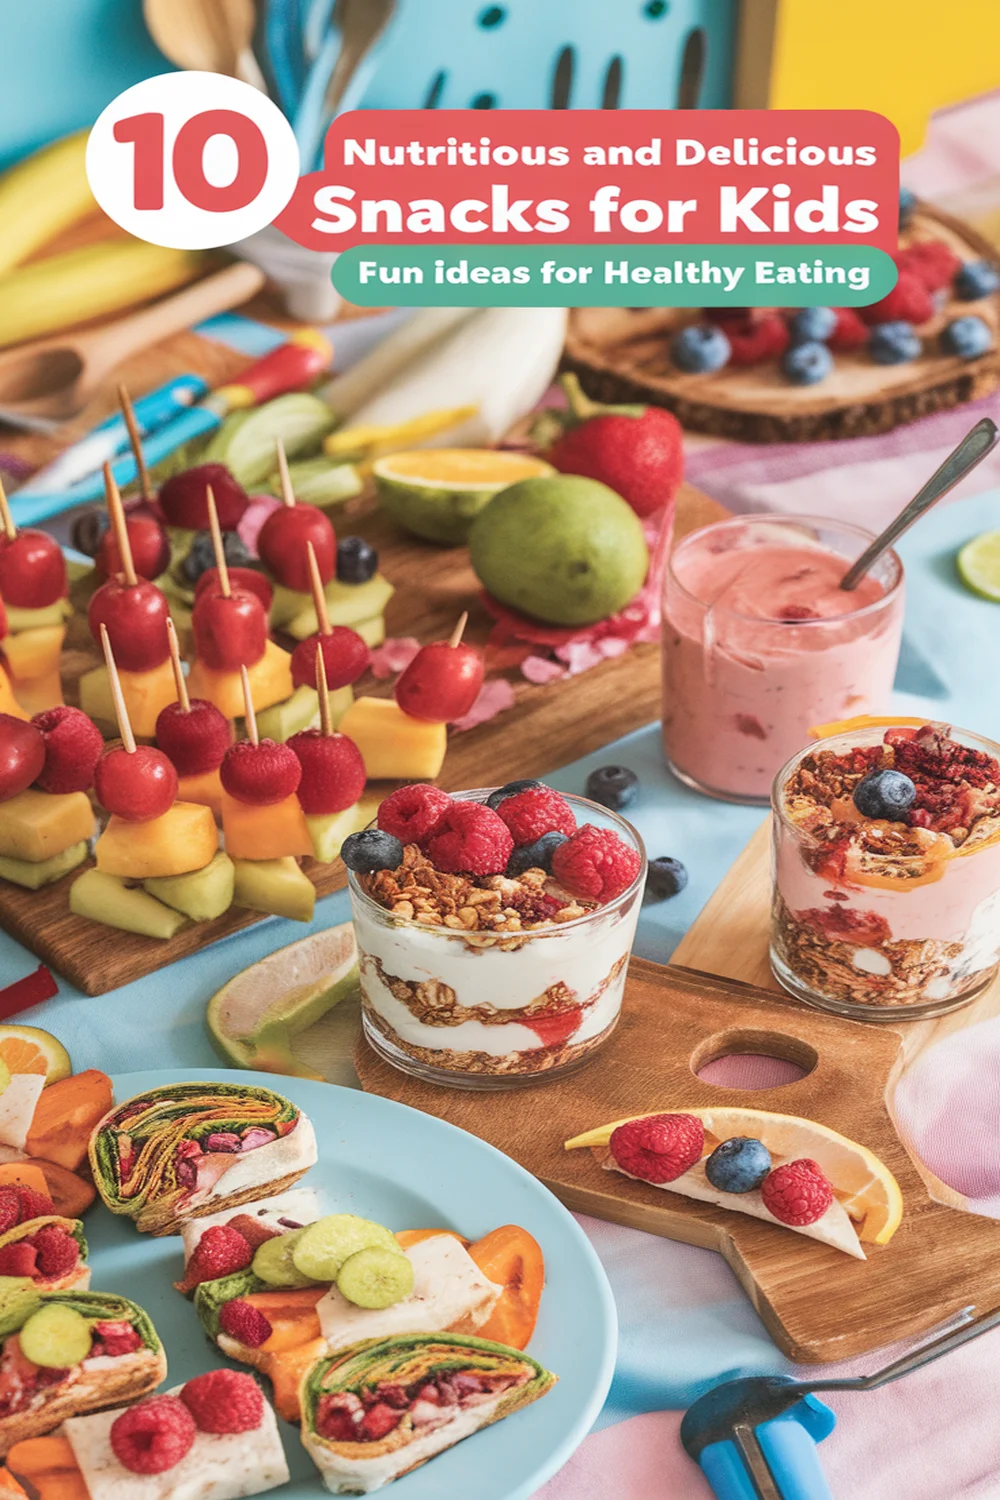
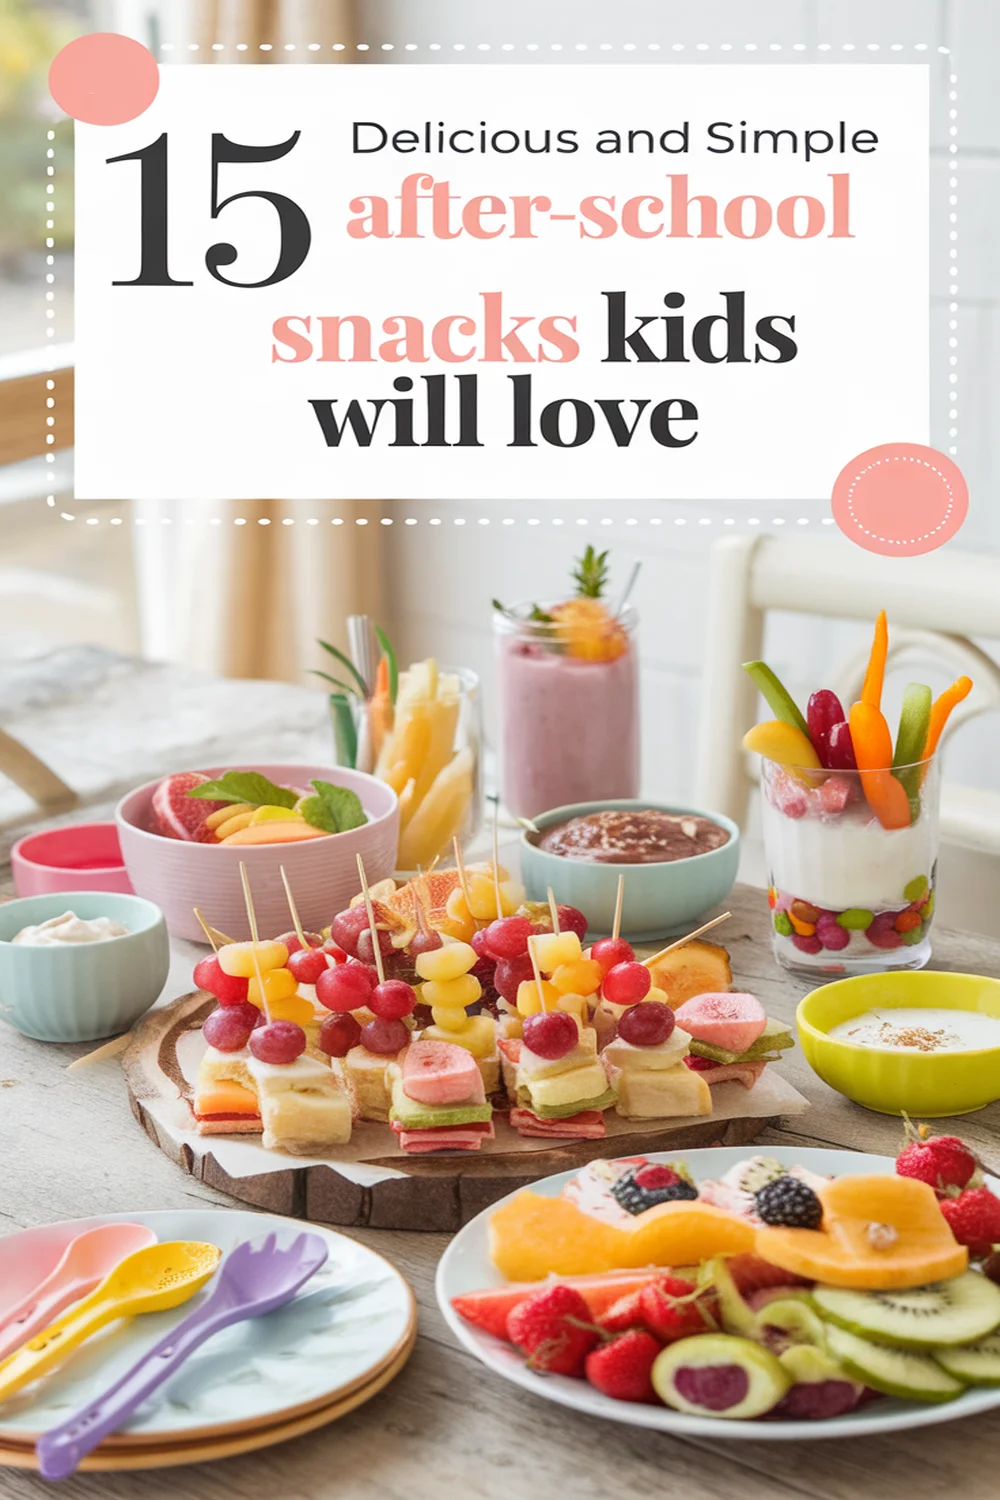
Colorful fruit kabobs are a fun and healthy snack option that kids will love. Not only are they visually appealing with their vibrant colors, but they also provide essential vitamins and minerals.
Fruit kabobs allow for creativity—children can help choose their favorite fruits or even assist in assembling the skewers. This makes it a great activity for family bonding while promoting healthy eating habits.
Making colorful fruit kabobs is simple and quick, making it an ideal snack or a delightful addition to parties, picnics, or school lunches. You can mix and match fruits based on the season or create a theme with colors. The possibilities are endless, and the result is a rejuvenating treat that’s both nutritious and delicious!
- Strawberries
- Pineapple chunks
- Grapes
- Blueberries
- Kiwi, peeled and sliced
- Banana, sliced
- Skewers or toothpicks
Begin by washing all the fruits thoroughly and patting them dry with a clean towel. Cut the larger fruits like strawberries, pineapple, and kiwi into bite-sized pieces.
Next, take a skewer and start threading the fruit in a colorful pattern—alternating between different fruits to create a visually appealing kabob. Be sure to leave some space at the end of each skewer to make it easy to hold.
For the best experience, consider involving your kids in the preparation. Allow them to pick their favorite fruits and participate in assembling the kabobs. This not only makes it more enjoyable but also encourages them to be more interested in eating healthy snacks.
You can also dip the finished kabobs in yogurt or serve them with a side of honey for added flavor.
Yogurt Parfaits With Granola
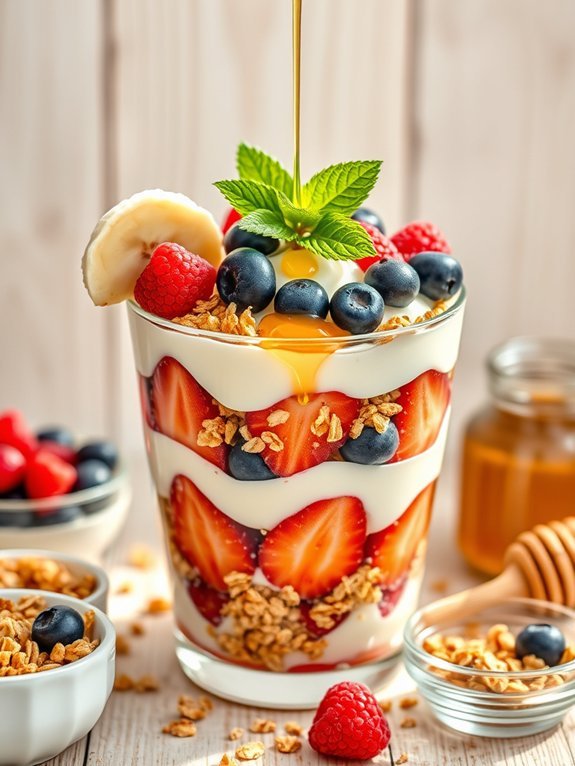
Yogurt parfaits with granola are a delightful and nutritious snack that can be enjoyed at any time of day. They’re simple to prepare and offer a customizable option to cater to your child’s taste preferences. Layering creamy yogurt with crunchy granola and vibrant fruits creates a visually appealing treat that kids will love. Not only are these parfaits delicious, but they also provide essential nutrients, making them an excellent choice for a healthy snack or a light meal.
To make yogurt parfaits, you can use plain or flavored yogurt, and any type of granola your family prefers. Fresh fruits such as berries, bananas, or even diced apples add natural sweetness and a burst of color. The combination of textures—from the smooth yogurt to the crunchy granola and juicy fruits—ensures that every bite is enjoyable.
Plus, assembling the parfaits can be a fun activity for kids, allowing them to get creative with their ingredients.
Ingredients:
- 2 cups of yogurt (plain or flavored)
- 1 cup of granola
- 1 cup of fresh fruit (berries, bananas, or apples)
- Honey or maple syrup (optional, for sweetness)
Layer the yogurt, granola, and fresh fruits in a clear glass or bowl, starting with yogurt at the bottom, then a layer of granola, followed by a layer of fruit. Repeat the layers until the glass is filled to your liking, finishing off with a sprinkle of granola and a drizzle of honey or maple syrup if desired.
For added nutrition and flavor, consider incorporating different toppings such as chia seeds, shredded coconut, or even a dollop of nut butter. You can also mix in spices like cinnamon for extra warmth or zest to elevate the flavor profile of the yogurt.
To keep the parfaits fresh, prepare individual servings in jars that can be stored in the refrigerator for a quick grab-and-go snack option!
Recommended Items
Get ready to make snack time fun and healthy with these great product and equipment recommendations!
Products
Homemade Energy Bites
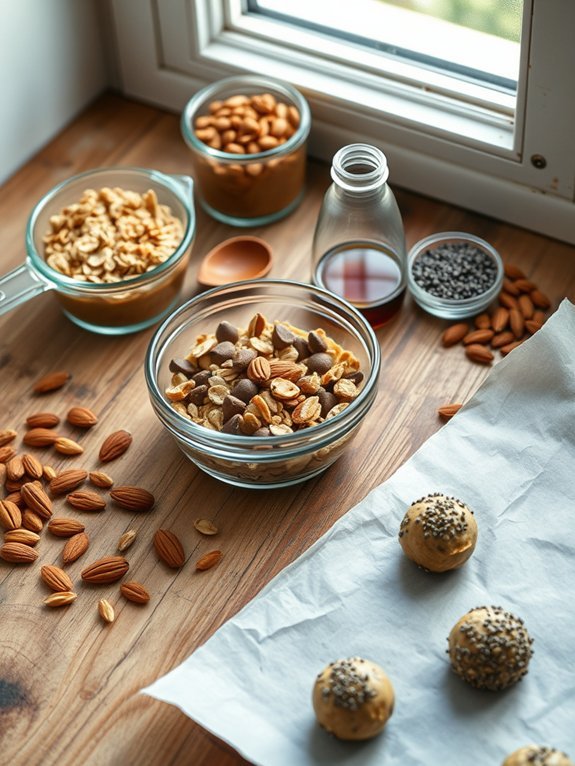
Homemade energy bites are a fantastic way to provide your kids with a nutritious and delicious snack. These small bites are packed with energy-boosting ingredients, making them perfect for after-school snacks, sports events, or as a healthy treat any time of day.
They’re quick to prepare, require no baking, and are entirely customizable to suit your kids’ taste preferences. With a combination of oats, nut butter, and sweeteners, these bites provide essential nutrients while keeping your little ones satisfied.
The beauty of homemade energy bites is that you can easily tailor the ingredients to incorporate what you have on hand or what your children enjoy. Want to add some crunch? Toss in a handful of chopped nuts or seeds. Looking to boost the sweetness? A dash of honey or maple syrup can do the trick.
Plus, these energy bites are a great way to sneak in some superfoods like chia seeds, flaxseeds, or even protein powder. With just a few simple steps, you’ll have a healthy snack ready to go!
Ingredients:
- 1 cup rolled oats
- 1/2 cup peanut butter or almond butter
- 1/3 cup honey or maple syrup
- 1/2 cup mini chocolate chips or dried fruit
- 1/4 cup ground flaxseed or chia seeds
- 1 teaspoon vanilla extract
- A pinch of salt
In a large bowl, combine all the ingredients and mix well until everything is fully incorporated. Scoop out small portions of the mixture and roll them into balls, about the size of a tablespoon. Place the energy bites on a baking sheet lined with parchment paper and refrigerate for at least 30 minutes to firm them up.
Once set, store them in an airtight container in the fridge for up to a week.
When making these energy bites, feel free to experiment with different flavor combinations. You can add spices like cinnamon or nutmeg for warmth, or replace the chocolate chips with shredded coconut or nut pieces for added texture. Additionally, if your kids enjoy specific flavors like peanut butter or cocoa, don’t hesitate to enhance those elements accordingly.
This customization not only makes the energy bites fun but also encourages your children to help in the kitchen.
Proposed Recipe Ideas for Kids Snacks
Veggie Dippers With Hummus
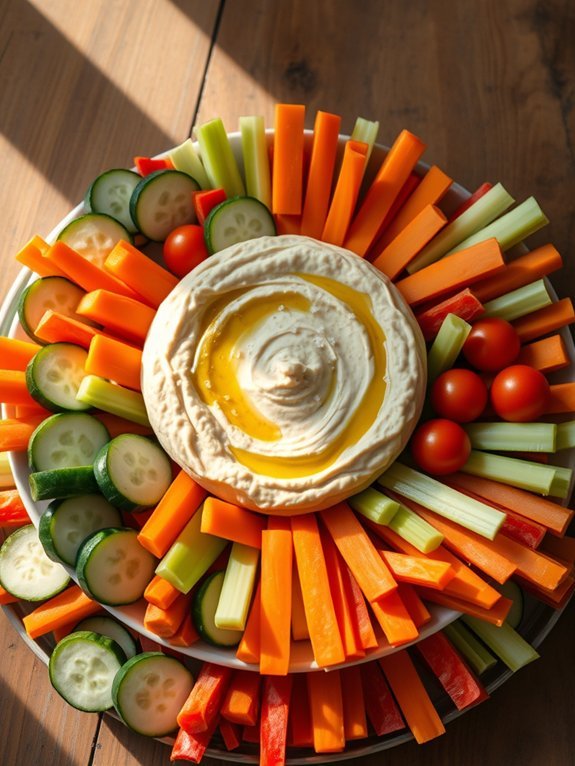
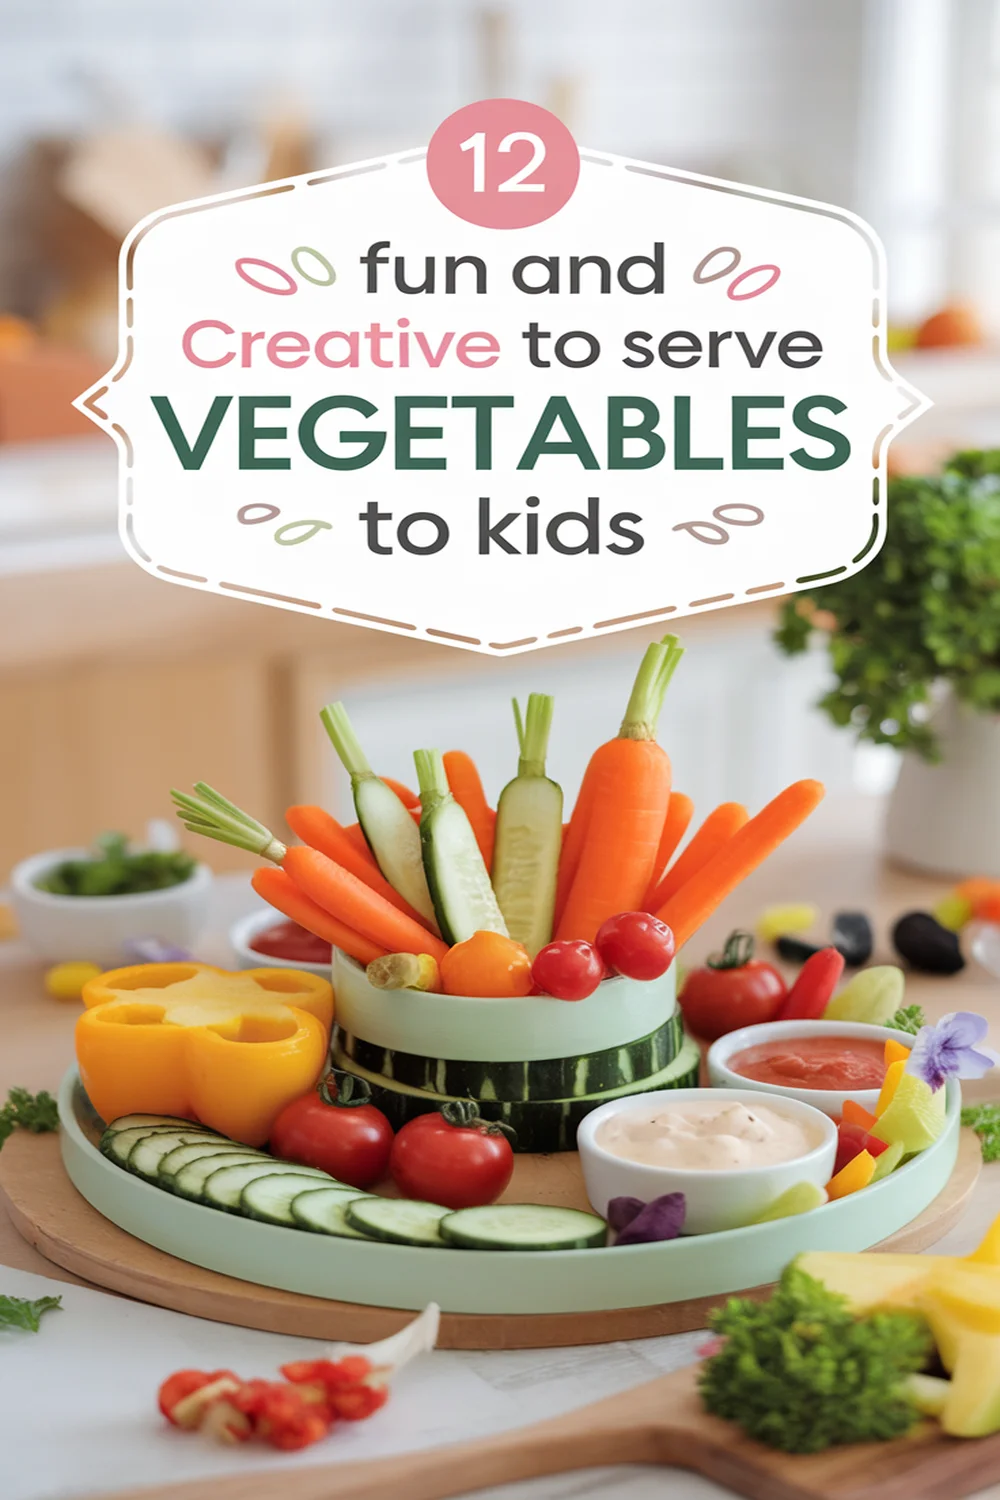
Veggie dippers with hummus make for an incredibly nutritious and fun snack option for kids. This delightful combination not only introduces children to the world of vegetables but also provides them with essential nutrients, fiber, and protein through the chickpeas in hummus.
The vibrant colors and crunchy textures of the veggies can entice even the pickiest of eaters, turning snack time into a tasty adventure.
Making veggie dippers is an engaging activity that can involve kids in the kitchen. They can help select the freshest vegetables, wash them, and even assist in preparing the hummus. This recipe encourages them to explore different flavors and textures, promoting healthier eating habits while enjoying a delicious, homemade snack.
Ingredients:
- 1 cup of hummus (store-bought or homemade)
- 1 cucumber
- 2 carrots
- 1 red bell pepper
- 1 yellow bell pepper
- 1 cup of cherry tomatoes
- 1 stalk of celery
- Olive oil (optional for drizzling)
- Salt and pepper (to taste)
To prepare the veggie dippers, start by washing all the vegetables thoroughly. Next, slice the cucumber into rounds, the carrots into sticks, and the bell peppers into strips.
Cut the celery into long sticks and halve the cherry tomatoes. Arrange the prepared vegetables on a platter and place the hummus in the center for dipping. If desired, drizzle a little olive oil on the hummus and season with salt and pepper for added flavor.
For an extra touch, consider adding spices to your hummus for a unique twist, such as smoked paprika or garlic powder. If your kids are hesitant about certain vegetables, try including a mix of their favorites to make the platter more appealing.
Additionally, you can get creative by using cookie cutters to shape the veggies into fun designs, making healthy eating more exciting.
Cheesy Cauliflower Poppers
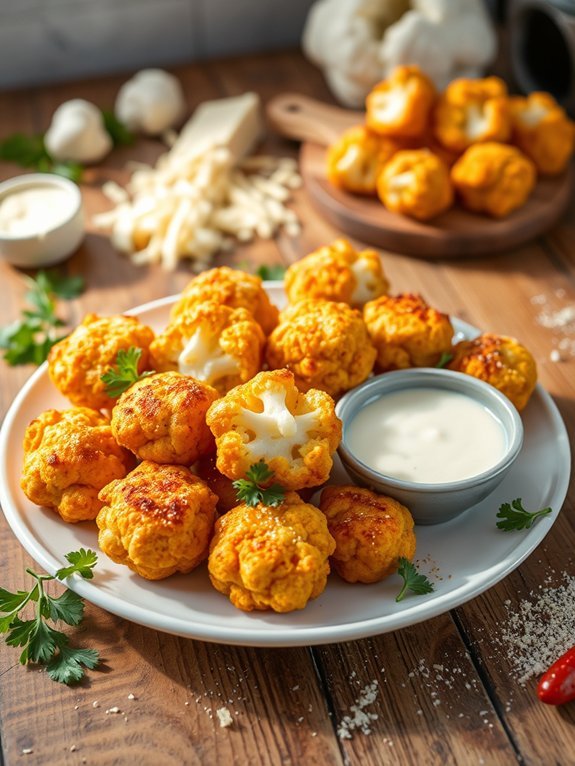
Cheesy Cauliflower Poppers are a delightful and nutritious snack that kids will love. These little bites of goodness pack a punch with flavors while sneaking in some vegetables into your child’s diet. Cauliflower is a fantastic substitute for traditional junk food, mainly because it has a mild flavor that takes on whatever seasonings and cheese you add.
These poppers aren’t only easy to make but also fun to eat, making them a great option for after-school snacks or party treats. To make these poppers even more exciting, you can involve your kids in the cooking process. Allow them to help with mixing the ingredients, shaping the mixture into balls, or even adding their favorite cheese blends.
This engaging activity can provide a great opportunity for family bonding while teaching them about healthy eating habits. Plus, with the cheesiness factor present, it’s likely that even the pickiest eaters will be asking for seconds!
- 1 head of cauliflower, cut into florets
- 1 cup shredded cheese (cheddar, mozzarella, or a blend)
- 1/2 cup breadcrumbs
- 1/4 cup grated Parmesan cheese
- 2 eggs
- 1 teaspoon garlic powder
- 1 teaspoon onion powder
- Salt and pepper to taste
- Cooking spray or olive oil for greasing
Preheat your oven to 400°F (200°C) and line a baking sheet with parchment paper. Steam the cauliflower florets until tender, about 8-10 minutes, then let them cool slightly.
Once cooled, chop the cauliflower into small pieces and place them in a large mixing bowl. Add the shredded cheese, breadcrumbs, Parmesan cheese, eggs, garlic powder, onion powder, salt, and pepper. Mix everything until well combined, then shape the mixture into bite-sized balls and place them on the prepared baking sheet.
Spray or drizzle with olive oil, then bake for 20-25 minutes or until golden brown and crispy. For an extra burst of flavor, consider mixing in some spices like paprika or cayenne pepper for a kick, or add chopped herbs such as parsley or chives for a fresh twist.
If you’re looking to experiment, feel free to substitute the cheese with different varieties or even try dairy-free options. Additionally, these poppers can be frozen after shaping; simply bake them directly from the freezer, adding a few extra minutes to the cooking time. Enjoy!
Peanut Butter Banana Roll-Ups
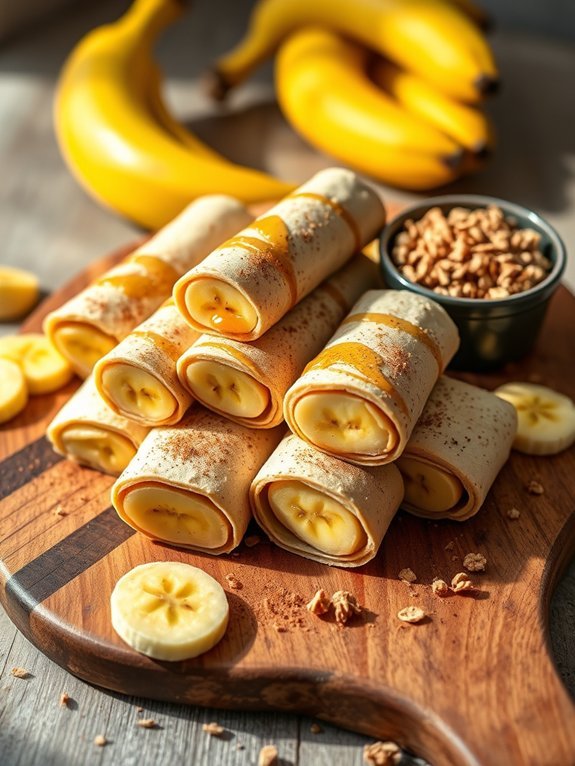
Peanut Butter Banana Roll-Ups are a whimsical and nutritious snack that kids will adore. This playful recipe combines the creamy goodness of peanut butter with sweet, ripe bananas, all wrapped in a soft tortilla.
It’s an easy-to-make snack that offers a delightful mix of flavors and textures, making it a perfect choice for after-school treats or playful lunchbox additions.
The great thing about Peanut Butter Banana Roll-Ups is that you can customize them to your family’s tastes. You can add honey for extra sweetness, sprinkle cinnamon for warmth, or even throw in some granola for an added crunch.
It’s a fun way to encourage kids to get involved in the kitchen while promoting healthy eating habits.
Ingredients:
- 2 tablespoons peanut butter
- 1 whole wheat tortilla or wrap
- 1 medium banana
- Honey (optional)
- Cinnamon (optional)
- Granola (optional)
Spread the peanut butter evenly over the whole wheat tortilla, leaving a small border around the edges.
Place the banana at one end of the tortilla and, if desired, drizzle a little honey or sprinkle cinnamon over the peanut butter. Carefully roll the tortilla around the banana, ensuring it’s snug but not too tight, and slice it into bite-sized pieces.
For a fun twist, consider using flavored peanut butter, such as chocolate or cinnamon, to give a unique taste to your roll-ups.
Additionally, you can substitute the banana with other fruits like strawberries or apples for variety.
This dish not only makes for a quick snack but also offers great opportunities for creativity and experimentation in the kitchen!
Apple Chips With Cinnamon
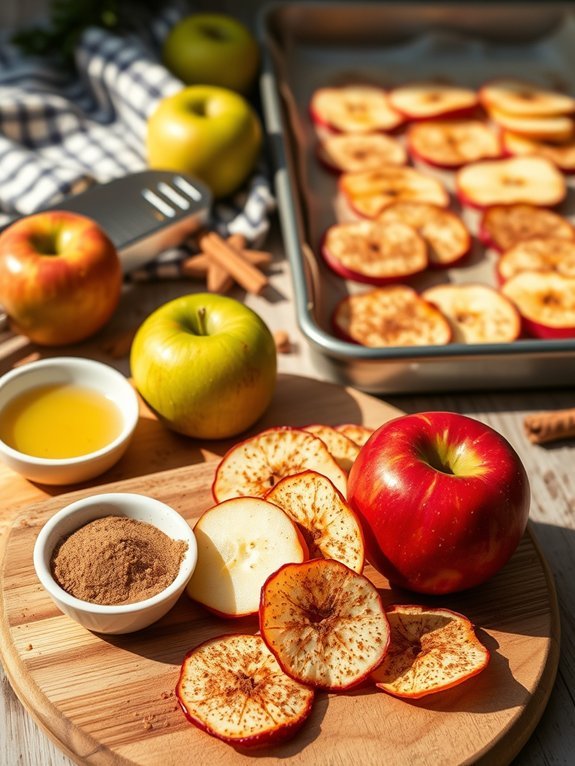
Apple chips with cinnamon make a delightful and healthy snack for kids that’s easy to prepare and perfect for munching any time of day. These crispy treats provide a natural sweetness and are packed with nutrients, making them a great alternative to store-bought snacks that often contain added sugars and preservatives.
The warmth of cinnamon adds a cozy flavor that kids love, helping to turn simple apples into a crunchy delight that will satisfy their cravings.
Making apple chips isn’t only a fun activity for kids to enjoy alongside parents, but it can also teach them about healthy eating habits in a hands-on way. Baking them at a low temperature guarantees they become wonderfully crispy without losing their nutritional value.
Opt for organic apples if possible, as they tend to have fewer pesticides, and feel free to experiment with the types of apples used; tart varieties like Granny Smith combined with sweeter ones like Fuji can create an exciting flavor profile.
- 2 medium-sized apples (any variety)
- 1 teaspoon cinnamon
- 1 teaspoon lemon juice
- Optional: 1 tablespoon of brown sugar or coconut sugar (for added sweetness)
Preheat the oven to 200°F (93°C) and line a baking sheet with parchment paper. Thinly slice the apples using a mandoline or knife, removing the core, and place them in a bowl. Drizzle the lemon juice over the apple slices, and toss gently in the bowl.
Arrange the slices in a single layer on the baking sheet and sprinkle with cinnamon (and sugar if using). Bake for about 2 hours, flipping the apple slices halfway through, until they’re crisp and golden.
For best results, guarantee the apple slices are uniformly thin to promote even cooking. You can also experiment with different spices, such as nutmeg or allspice, for a unique twist.
Store the cooled apple chips in an airtight container to maintain their crispness, and try to consume them within a week for the best flavor and texture.
Enjoy these apple chips as a standalone snack or mix them into your kids’ yogurt or trail mix for added crunch and nutrition!
Oatmeal Mini Muffins
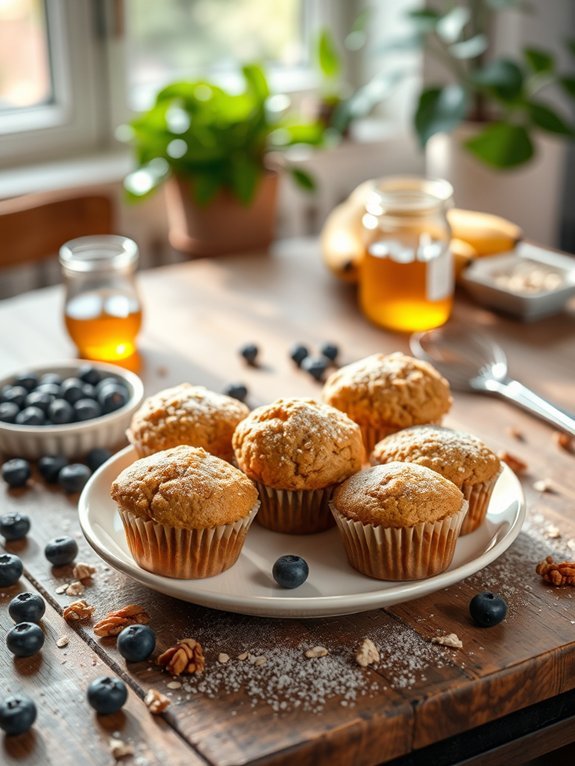
Oatmeal mini muffins are a delightful and healthy snack that kids can enjoy any time of the day. Packed with wholesome ingredients, these mini muffins aren’t only fun to eat but also provide a good source of energy for your little ones.
With their soft texture and subtle sweetness, they make for a perfect addition to lunch boxes or a tasty after-school treat. Plus, the best part is that they’re easy to make, allowing for a fun cooking experience with your kids.
You can customize the recipe by adding your favorite mix-ins, such as blueberries, chocolate chips, or nuts, depending on your child’s preferences. These oatmeal mini muffins are versatile and can easily accommodate seasonal ingredients, making them a year-round favorite.
Whether you whip them up on a Sunday to get through the week or in a hurry before school, your kids will surely love them.
Ingredients:
- 1 cup rolled oats
- 1 cup milk (or a milk alternative)
- 1 ripe banana, mashed
- 1/4 cup honey or maple syrup
- 1/2 cup flour (whole wheat or all-purpose)
- 1 teaspoon baking powder
- 1/2 teaspoon baking soda
- 1/2 teaspoon cinnamon
- 1/4 teaspoon salt
- 1/3 cup mix-ins (e.g., blueberries, chocolate chips, chopped nuts)
In a mixing bowl, combine rolled oats and milk, allowing them to soak for about 10-15 minutes until the oats soften. Then, preheat your oven to 350°F (175°C) and grease a mini muffin tin or use mini muffin liners.
Add the mashed banana and honey (or maple syrup) to the soaked oats, stirring until well combined. In a separate bowl, whisk together the flour, baking powder, baking soda, cinnamon, and salt.
Gradually stir the dry ingredients into the wet mixture until just combined, then gently fold in your choice of mix-ins. Fill each muffin cup about 2/3 full and bake for 15-18 minutes or until a toothpick inserted into the center comes out clean. Allow them to cool for a few minutes before transferring them to a wire rack.
For an extra nourishing boost, consider adding chia seeds or flaxseeds to the batter for added fiber and omega-3 fatty acids. If your kids are fans of a sweeter treat, you can also toss in a few chocolate chips.
Experiment with different fruit purees or spices like nutmeg for varied flavors, and remember to store leftovers in an airtight container to maintain their freshness. Enjoy baking these tasty bites together!
Popcorn Trail Mix
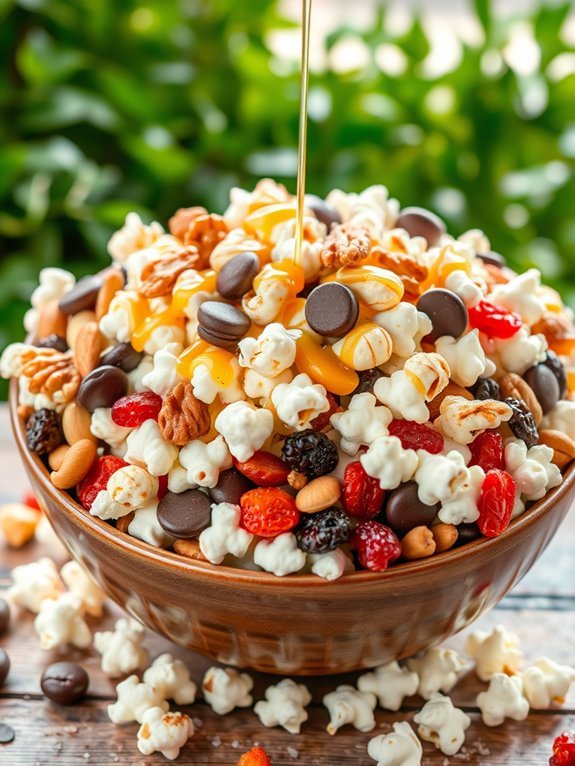
Popcorn trail mix is a fun and healthy snack that’s perfect for kids of all ages. It combines the light, fluffy goodness of popcorn with assorted nuts, dried fruits, and a hint of sweetness. This delightful mix not only provides a satisfying crunch but also packs a nutritional punch, offering a variety of vitamins and minerals.
Making popcorn trail mix is simple and can be a great way to involve your kids in the kitchen, allowing them to choose their favorite add-ins and create a personalized snack.
Not only is popcorn trail mix easily customizable, but it also makes for an excellent on-the-go snack. Whether you’re heading to a road trip, a picnic, or simply looking for a tasty treat at home, this snack is both portable and mess-free. With a combination of textures and flavors, kids will love munching on this inventive mix while you can feel good about what they’re eating.
Ingredients:
- 4 cups of popcorn (popped)
- 1 cup of mixed nuts (almonds, cashews, walnuts)
- 1 cup of dried fruit (raisins, cranberries, apricots)
- 1/2 cup of chocolate chips or yogurt-covered raisins
- 1/4 cup of honey or maple syrup (optional)
- 1/2 teaspoon of cinnamon (optional)
- A pinch of salt
Begin by popping the popcorn using an air popper or on the stovetop with a small amount of oil. In a large bowl, combine the popped popcorn, mixed nuts, dried fruits, and chocolate chips. If you’re using honey or maple syrup, drizzle it over the mixture and give it a good toss to guarantee everything is evenly coated.
Sprinkle the cinnamon and salt (if using) and mix well again. Once combined, your popcorn trail mix is ready to be served or stored in an airtight container.
When preparing popcorn trail mix, feel free to get creative with your ingredients. You can substitute nuts for seeds if allergies are a concern or switch out dried fruits for something else your kids love, such as coconut flakes or banana chips.
Additionally, make certain to let the popcorn cool completely before mixing to prevent it from becoming soggy. Enjoy this delicious and nourishing snack at any time of day!
Sweet Potato Fries
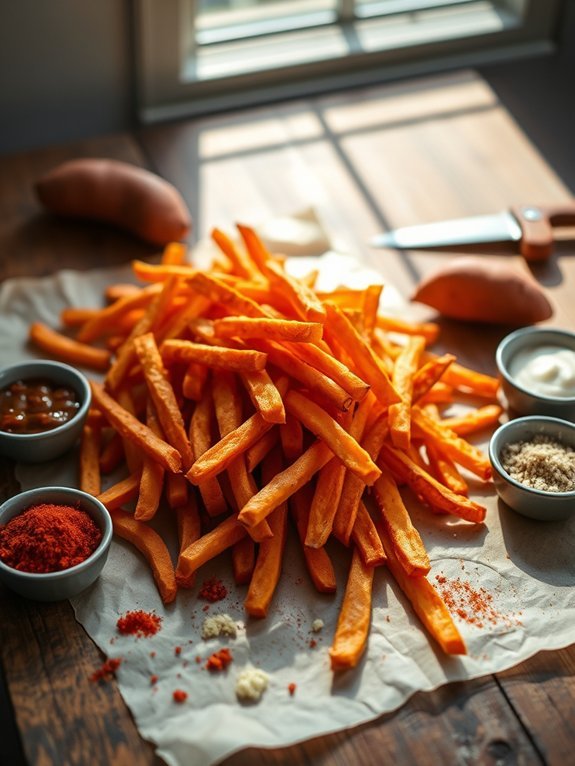
Sweet potato fries are a delightful and nutritious alternative to traditional french fries, making them a perfect snack for kids. They’re packed with vitamins, minerals, and fiber, which can help support healthy growth and development. Not only are sweet potatoes naturally sweet and delicious, but they also offer a visually appealing bright orange hue that can entice even the pickiest of eaters.
This recipe for sweet potato fries is simple and quick, guaranteeing that you can whip up a batch in no time. Plus, they can be seasoned to suit any taste preference, whether you prefer a sprinkle of salt, a dash of cinnamon, or a blend of zesty spices. Let’s get cooking!
Ingredients:
- 2 large sweet potatoes
- 2 tablespoons olive oil
- 1 teaspoon paprika
- 1 teaspoon garlic powder
- ½ teaspoon salt
- ½ teaspoon black pepper
- Optional: 1 teaspoon cinnamon or chili powder (for a twist)
Preheat your oven to 425°F (220°C). Peel the sweet potatoes and cut them into thin strips, resembling fries. In a large bowl, toss the sweet potato strips with olive oil, paprika, garlic powder, salt, and black pepper until evenly coated.
Arrange the seasoned fries in a single layer on a baking sheet lined with parchment paper. Bake for approximately 20-25 minutes, flipping halfway through, until they’re golden and crispy.
For best results, guarantee that the sweet potato strips are cut evenly and thinly so they cook uniformly. Avoid overcrowding the baking sheet, as this can lead to steaming rather than crisping.
If you want extra crispy fries, try soaking the cut sweet potatoes in water for 30 minutes before baking, which can help remove excess starch. Experiment with different seasonings or dips to keep things fun and enjoyable for your kids!

