This post may contain affiliate links. Please read our policy page.
Master essential knife skills to elevate your cooking game and guarantee safety in the kitchen. Start with a proper grip using the pinch and claw techniques for control and protection. Practice the rocking technique for efficient dicing, and learn to mince garlic for maximum flavor. Get comfortable with julienne cuts and carving meats against the grain. Keep your knives sharp for peak performance. There’s so much more to these skills that can transform your culinary experience.
The Basic Hold: Mastering Your Grip

When it comes to kitchen confidence, mastering your grip on a knife is vital. Whether you’re chopping vegetables, slicing meat, or dicing herbs, a secure and proper hold can greatly influence the efficiency and safety of your cooking. Using the pinch grip technique, where your thumb and index finger pinch the blade while the remaining three fingers wrap around the handle, allows for better control and precision in every cut. This foundational skill not only enhances your knife handling but also improves your overall cooking experience.
With a solid grip established, you can easily tackle various recipes with ease. Let’s explore a recipe that’s simple yet allows you to practice those knife skills effectively—Sautéed Garlic Spinach. This vibrant side dish pairs perfectly with any main course and highlights your ability to chop and mince ingredients efficiently. With just a few fresh ingredients, you’ll create a delightful vegetable dish that boasts flavor, color, and nutrition.
Ingredients:
- 1 pound fresh spinach
- 3 cloves garlic, minced
- 2 tablespoons olive oil
- Salt, to taste
- Pepper, to taste
- Lemon wedges (for serving)
Heat the olive oil in a large skillet over medium heat. Once the oil is shimmering, add the minced garlic and sauté for about 30 seconds or until fragrant, being careful not to let it brown.
Add the fresh spinach to the skillet in handfuls, allowing it to wilt down before adding more, stirring occasionally. Cook for 3 to 4 minutes until all the spinach is wilted and tender. Season with salt and pepper to taste, and serve hot with a squeeze of fresh lemon juice over the top.
When preparing sautéed garlic spinach, it’s important to use fresh spinach for the best flavor and nutritional benefits. Make sure to wash the spinach thoroughly before cooking to remove any dirt or grit.
To increase the flavor profile, consider adding a pinch of red pepper flakes for heat or a sprinkle of grated Parmesan cheese before serving. With practice using the right grip on your knife, you’ll find that fruits and vegetables become easier to handle, and you can enjoy the process of creating delicious meals.
The Rocking Technique: Dicing With Ease
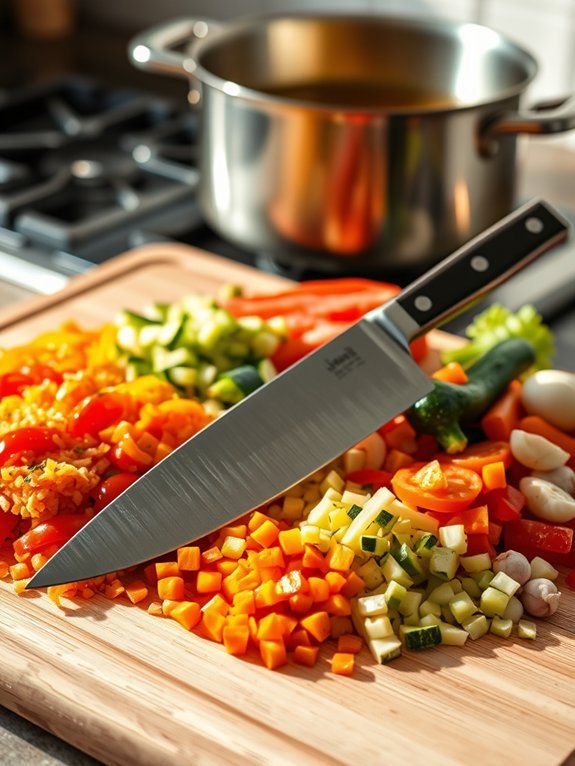
Mastering the rocking technique in knife skills not only enhances your dicing efficiency but also guarantees uniformity in your cuts, leading to beautifully cooked dishes. This technique is particularly useful when preparing vegetables for a variety of recipes, including a hearty vegetable soup.
The rocking motion allows for greater control over the knife and keeps your fingers safely away from the blade, making it an ideal method for home cooks looking to improve their culinary skills while preparing delicious meals.
In this recipe, we’ll create a comforting vegetable soup, perfect for any day of the week. By employing the rocking technique to dice your ingredients, you’ll create consistent sizes that will cook evenly and enhance the overall flavor. This soup isn’t only nutritious but also highly customizable based on what vegetables you have on hand. Let’s embrace the rocking technique and get started on this delightful dish.
Ingredients:
- 2 tablespoons olive oil
- 1 medium onion, diced
- 2 cloves garlic, minced
- 3 carrots, diced
- 2 celery stalks, diced
- 1 bell pepper, diced
- 2 medium potatoes, diced
- 1 zucchini, diced
- 6 cups vegetable broth
- 1 can (15 oz) diced tomatoes
- 1 teaspoon dried thyme
- Salt and pepper, to taste
- Fresh parsley, for garnish
In a large pot, heat the olive oil over medium heat. Add the diced onion and garlic, cooking until fragrant and the onion becomes translucent.
Next, incorporate the diced carrots, celery, and bell pepper. Sauté for about 5 minutes.
Then, add the diced potatoes, zucchini, vegetable broth, diced tomatoes, and thyme. Bring the mixture to a boil, then reduce the heat and let it simmer for 20-30 minutes, or until all vegetables are tender. Season with salt and pepper to taste before serving, garnishing with fresh parsley.
When making vegetable soup, you have the freedom to experiment with different herbs and spices to elevate the flavors further. Consider adding a bay leaf during simmering or mix in a splash of lemon juice right before serving to brighten the dish.
Additionally, if you prefer a heartier soup, include cooked protein like beans or shredded chicken.
Finally, be mindful of maintaining consistency in your dicing. This guarantees even cooking—not only does it look more appealing, but it also affects the texture and mouthfeel of your soup.
Chopping Herbs: Techniques for Fine Cuts

Chopping herbs is an essential skill for home cooks, enhancing the flavor profile of countless dishes. Fresh herbs can elevate a mundane meal, adding layers of flavor and aroma that dried herbs simply can’t replicate. Mastering the art of chopping herbs not only allows for even distribution throughout your dish but also presents a visually appealing garnish that can impress your family and friends.
When preparing to chop herbs, it’s vital to select fresh, vibrant specimens. While some herbs like basil, parsley, and cilantro are tender and should be treated gently, others such as rosemary and thyme can be more robust. Regardless of the type, the technique you use can impact the final result; hence, wielding your knife with confidence is key.
Whether you’re preparing a fresh salsa, a pesto, or simply garnishing a dish, learning the proper method will guarantee your herbs are chopped finely and effectively.
Ingredients:
- 1 cup fresh basil leaves
- 1 cup fresh parsley leaves
- 1/2 cup fresh cilantro leaves
- 1 tablespoon olive oil
- Salt and pepper to taste
- Lemon juice (optional for garnish)
Finely chop the fresh herbs by stacking the leaves of basil, parsley, and cilantro, rolling them tightly into a cigar shape, and slicing across them with a sharp knife to create thin ribbons. Continue chopping until you achieve the desired fineness. Transfer the chopped herbs to a bowl, add olive oil, salt, and pepper, and mix well. If desired, you can squeeze a little lemon juice to brighten the flavors before serving.
When chopping herbs, always use a sharp knife, as this prevents bruising and damaging the delicate leaves, allowing for a cleaner cut.
Consider the amount of chopping needed; for larger quantities, a food processor can be a time-saver. Additionally, if you want to preserve herbs for later use, try finely chopping and freezing them in ice cube trays with a little olive oil. This way, you’ll have freshly chopped herbs on hand whenever you need them, minimizing waste and maximizing flavor in your cooking.
Recommended Items
Ready to elevate your knife skills? Check out our recommended products and equipment for your kitchen journey!
Mincing Garlic: Precision in Small Portions
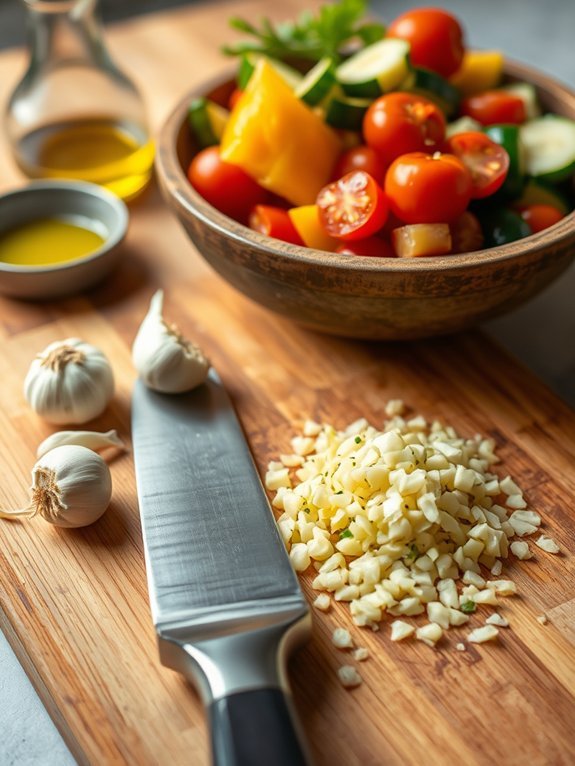
Mincing garlic is a fundamental skill that every home cook should master. The aromatic burst of garlic enhances the flavor of countless dishes, from sauces and soups to marinades and sautés. Knowing how to properly mince garlic allows you to release its vital oils, maximizing its flavor and ensuring even distribution throughout your dish. Whether you’re preparing a simple pasta sauce or a sophisticated risotto, the technique of mincing garlic is vital.
To begin, it’s important to select fresh, firm garlic bulbs. When properly minced, fresh garlic adds depth and complexity to your culinary creations. This recipe will demonstrate not only the mincing technique but also how to use minced garlic in an easy yet delicious sautéed vegetable dish, showcasing the skill in a practical cooking context. The combination of perfectly minced garlic with vibrant vegetables will provide a satisfying side dish or a delicious base for more complex meals.
- 3 cloves of fresh garlic
- 2 tablespoons of olive oil
- 1 bell pepper, diced
- 1 zucchini, sliced
- 1 cup of cherry tomatoes, halved
- Salt and pepper to taste
- Fresh basil (optional for garnish)
Start by peeling the garlic cloves; to do this, crush each clove slightly with the flat side of a knife to loosen the skin. Remove the skin and trim the ends, then finely chop each clove into tiny pieces, using a rocking motion with the knife to create a fine mince.
Once your garlic is minced, heat olive oil in a large skillet over medium heat. Add the minced garlic and sauté for about 30 seconds until fragrant, making sure not to let it brown. Immediately add the diced bell pepper and zucchini, cooking for 5-7 minutes until tender. Finally, toss in the halved cherry tomatoes and season with salt and pepper to taste. Cook for an additional 2 minutes, then remove from heat.
When mincing garlic, remember that sharp knives not only make the task easier but also enhance safety. Always be mindful of your fingers to avoid any accidental cuts. To prevent the garlic from sticking to your knife, you can use a touch of salt while chopping; this also helps to break down the garlic further.
If you have leftover minced garlic, you can mix it with olive oil and store it in the refrigerator to use in other dishes throughout the week. Ultimately, when cooking garlic, be cautious not to burn it, as burnt garlic can become bitter and undesirable in taste.
Julienne Cuts: Creating Uniform Strips
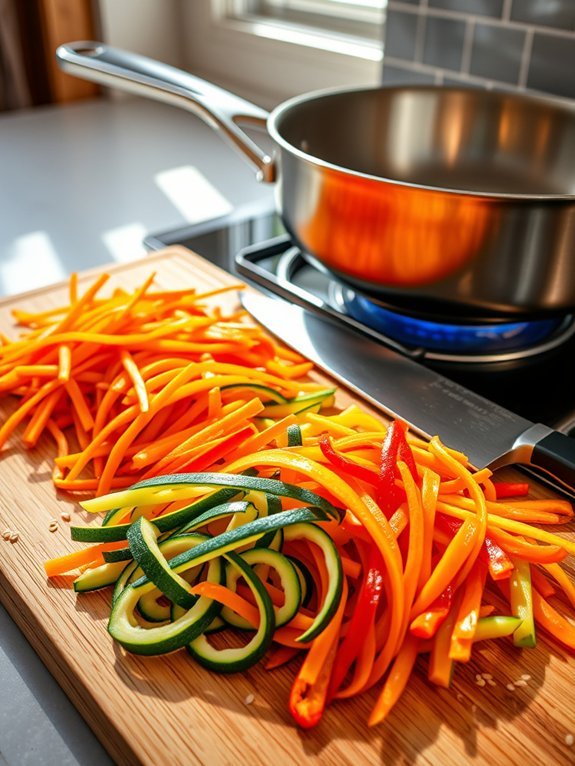
Creating uniform julienne cuts is a fundamental skill that elevates the presentation and texture of various dishes. A julienne cut involves slicing vegetables into thin, matchstick-shaped strips, ideal for stir-fries, salads, or garnishes. By mastering this technique, you can enhance not only the aesthetic appeal of your meals but also guarantee even cooking, allowing the flavors to marry beautifully.
For this recipe, we’ll make a vibrant stir-fried vegetable medley using julienne cuts. This dish showcases the beautiful colors and fresh flavors of the vegetables while maintaining their crunch. The light soy sauce and sesame oil add depth to the flavors, making it a delightful side or a satisfying vegetarian main course.
Ingredients:
- 1 medium zucchini
- 1 medium carrot
- 1 red bell pepper
- 1 yellow bell pepper
- 1 small onion
- 2 tablespoons vegetable oil
- 2 tablespoons soy sauce
- 1 tablespoon sesame oil
- 1 clove garlic, minced
- Salt and pepper to taste
- Optional: sesame seeds for garnish
Heat the vegetable oil in a large skillet or wok over medium-high heat. Once shimmering, add the minced garlic and stir-fry for about 30 seconds until fragrant.
Next, add the julienned zucchini, carrot, bell peppers, and onion to the pan, stirring continuously for 3-5 minutes until the vegetables are tender yet crisp. Pour in the soy sauce and sesame oil, and continue to stir-fry for an additional minute.
Season with salt and pepper to taste, then remove from heat and serve hot, garnished with sesame seeds if desired.
When cooking julienne vegetables, it’s important to guarantee they’re of uniform size to promote even cooking. If you find your vegetables are getting too soft, be mindful of your cooking time and keep the heat relatively high to achieve that perfect balance of crispness and tenderness.
Additionally, feel free to experiment with different vegetables based on what you have on hand; broccoli, snap peas, or even radishes can be excellent additions for added variety and flavor.
Brunoise: The Art of Tiny Cubes
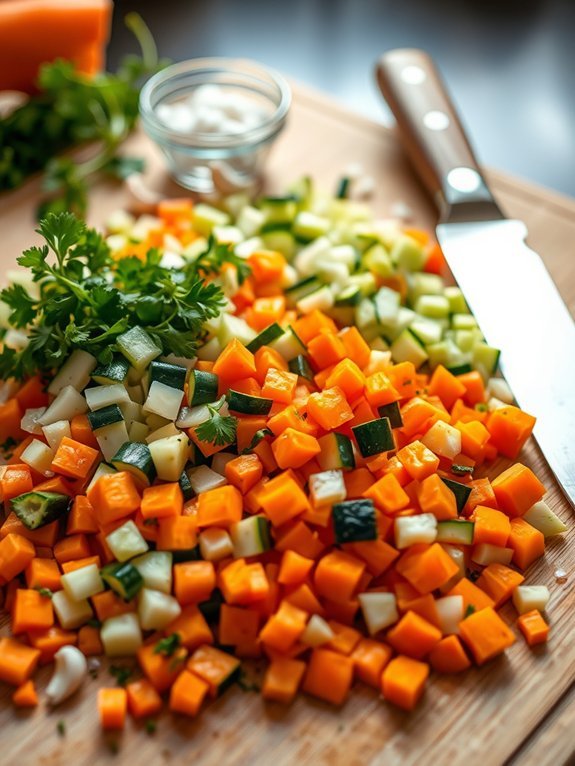
Brunoise is a classic culinary technique that involves chopping vegetables into tiny, uniform cubes, usually measuring around 1/8 of an inch on each side. This skill not only enhances the presentation of your dishes but also allows for even cooking and flavor absorption. The brunoise cut is commonly used with aromatic vegetables such as onions, carrots, and celery, making it a staple preparation method in French cuisine. Perfecting this technique can elevate your home cooking, bringing professional-style finesse to your meals.
To prepare a delicious dish using the brunoise technique, you can create a brunoise vegetable sauté that can be a flavorful side or a bed for proteins like chicken, fish, or tofu. The vibrant colors and distinct flavors of the assorted vegetables come together beautifully, making it not just a visually appealing dish but also an incredibly nutritious one. Additionally, you can add some herbs and seasoning to heighten the flavor profile, creating a delightful experience for your taste buds.
- 1 medium carrot
- 1 stalk of celery
- 1/2 medium onion
- 1 zucchini
- 2 cloves of garlic
- 2 tablespoons olive oil
- Salt and pepper to taste
- Fresh parsley for garnish
Begin by preparing your vegetables: peel the carrot and onion, then dice all the vegetables into small, uniform cubes for the brunoise technique. Heat the olive oil in a large skillet over medium heat, add the diced onion and garlic, sautéing until fragrant and translucent. Add the carrot, celery, and zucchini next, continuing to sauté until all the vegetables are tender and seasoned with salt and pepper for taste.
When cooking brunoise, it’s essential to maintain the uniformity of the dice, as uneven pieces can cook at different rates, affecting the overall texture of the dish. Always use a sharp chef’s knife for clean cuts, and make sure to practice safe knife skills—keeping fingers tucked and guiding the knife with your knuckles.
Feel free to customize this mix with seasonal vegetables or your favorite herbs to create variations and extend the flavor experience!
Slicing: Achieving Thin, Even Cuts
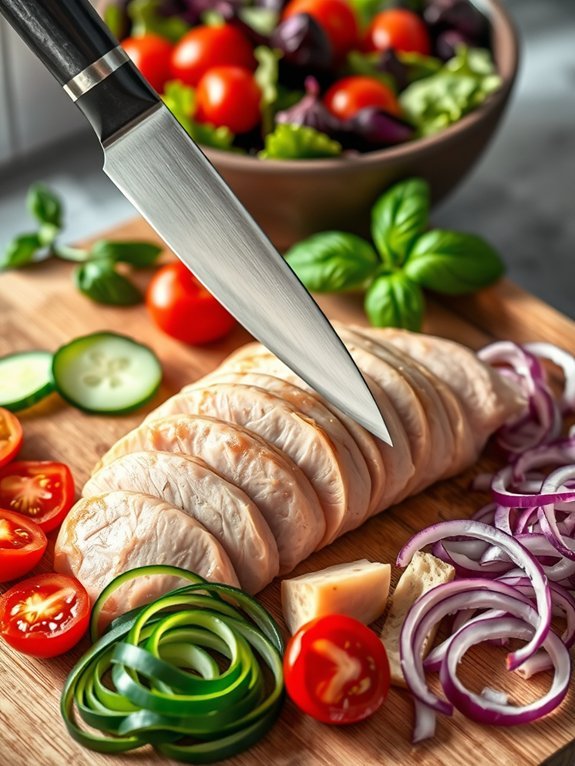
Achieving thin, even cuts when slicing meats, vegetables, or fruits can elevate a dish markedly, and the art of slicing is integral to cooking. In this recipe, we’ll use precise slicing to prepare a delightful lemon herb chicken salad that showcases the importance of technique in achieving the perfect texture and presentation. The key to this dish is the method used to slice the chicken and vegetables, resulting in a revitalizing salad that’s not only visually appealing but also packed with flavor.
To start, we’ll marinate the chicken breasts in a zesty mixture of lemon juice and herbs, allowing the flavors to penetrate the meat. While the chicken is marinating, we’ll also prepare our vegetables, confirming everything is sliced evenly for the best bite.
With proper knife skills, slicing your ingredients will enhance their taste and guarantee they cook evenly, making this salad a breeze to prepare.
Ingredients:
- 2 boneless, skinless chicken breasts
- 2 tablespoons olive oil
- 2 tablespoons lemon juice
- 1 teaspoon dried oregano
- 1 teaspoon garlic powder
- 1 teaspoon salt
- 1/2 teaspoon black pepper
- 2 cups mixed salad greens (arugula, spinach, or romaine)
- 1 cup cherry tomatoes, halved
- 1/2 cucumber, thinly sliced
- 1/4 red onion, thinly sliced
- Fresh basil leaves for garnish
To cook the dish, begin by marinating the chicken. In a bowl, whisk together the olive oil, lemon juice, oregano, garlic powder, salt, and black pepper. Add the chicken breasts, confirming they’re well coated, and let them marinate for at least 30 minutes.
Next, heat a grill pan or skillet over medium heat and cook the chicken for about 6-7 minutes on each side, or until they’re fully cooked through and no longer pink inside. Once cooked, allow the chicken to rest for a few minutes before slicing it thinly against the grain.
Meanwhile, prepare your salad by mixing the greens, cherry tomatoes, cucumber, and red onion in a large bowl. Finally, top the salad with the sliced chicken and garnish with fresh basil leaves.
For best results, confirm that you use a sharp knife when slicing, as this will give you cleaner cuts and prevent bruising to the ingredients. Keep the knife at a consistent angle, and use a smooth, steady motion to slice through the chicken and vegetables.
Practice your techniques with softer items like cucumbers or bell peppers before moving on to meat.
Knife Skills Mastery Guide
Filleting Fish: Techniques for Perfect Portions

Filleting fish can seem intimidating at first, but with the right techniques and a little practice, you can master this skill and impress your friends and family with perfectly portioned fillets. Whether you’re using a whole fish from the market or catching your own, knowing how to properly remove the fillets is essential for preparing delicious seafood dishes. This recipe not only guides you on filleting techniques but also offers a simple yet flavorful way to cook your freshly filleted fish.
Once you have your fish fillets ready, you can create a delightful meal that highlights their natural flavors. The combination of lemon, garlic, and herbs guarantees that the fish remains moist and tender while complementing its taste perfectly. Cooking the fish in a simple manner allows the freshness of the ingredients to shine through, making it an ideal dish for home cooks looking to celebrate their newly acquired knife skills.
- 2 fish fillets (such as trout, salmon, or cod)
- 2 tablespoons olive oil
- 2 cloves garlic, minced
- Juice of 1 lemon
- Salt and pepper to taste
- Fresh herbs (like parsley or dill) for garnish
In a skillet over medium heat, add the olive oil and minced garlic, sautéing for about 1 minute until fragrant. Season the fish fillets with salt and pepper, then place them in the skillet skin-side down.
Cook for 4-5 minutes without moving the fish, allowing it to develop a nice crust. Carefully flip the fillets and cook for another 2-3 minutes until the fish is opaque and flakes easily with a fork. Squeeze fresh lemon juice over the fillets just before serving and garnish with chopped herbs.
When cooking fish, remember to use a non-stick skillet or well-seasoned cast iron pan to prevent sticking. Confirm your fillets are at room temperature before cooking for even cooking throughout.
Avoid overcooking the fish; it should be removed from heat as soon as it’s opaque and easily flakes when pressed with a fork. Finally, feel free to experiment with different spices and herbs, or even add a splash of white wine or broth to the skillet for added flavor during cooking. Enjoy your freshly filleted fish as part of a balanced meal!
Carving Meats: Knowing the Right Angle
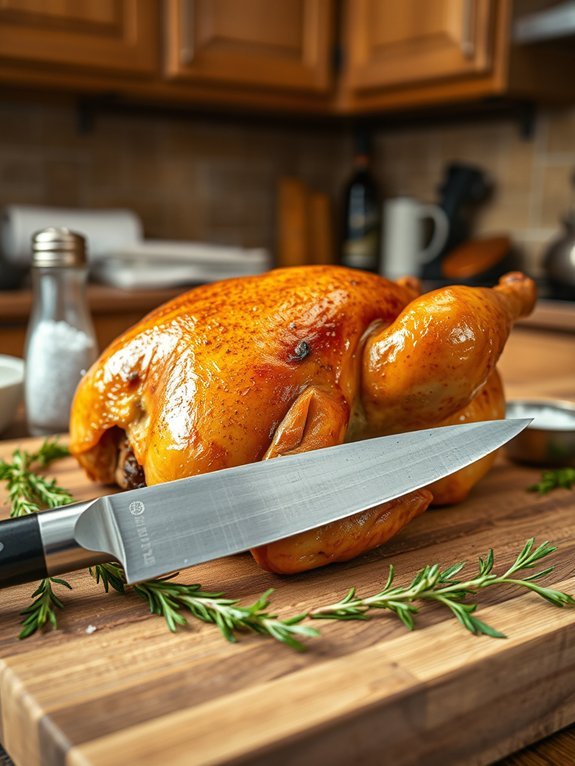
Carving meats is a vital skill for any home cook, especially during gatherings and special occasions. Knowing the right angle to carve can elevate the presentation and guarantee that each slice is tender and juicy. The key to a perfect carve lies not just in the choice of knife, but also in the technique used to slice through the meat.
Whether you’re preparing a roast chicken, a succulent turkey, or a flavorful brisket, understanding how to position your knife can make all the difference in both aesthetics and taste.
To carve meat successfully, begin by letting your roast rest for at least 15-20 minutes after cooking. This allows the juices to redistribute throughout the meat, making it less likely to dry out when sliced. Use a sharp carving knife and a fork to stabilize the meat while you work. Slice against the grain of the meat to guarantee tenderness and create beautifully presented slices that will impress your guests. With practice, you’ll master the art of carving and elevate your culinary skills at home.
- 1 whole roast chicken or turkey
- Fresh herbs (such as rosemary or thyme)
- Salt and pepper
- Olive oil
- Carving knife
- Cutting board
- Meat fork
To start, preheat your oven and prepare the bird by seasoning it liberally with salt, pepper, and herbs. Drizzle with olive oil and place it in a roasting pan.
Roast in the oven until the internal temperature reaches at least 165°F, following cooking times based on the size of your meat. Once cooked, remove the bird from the oven and let it rest on a cutting board for 15-20 minutes.
Using a sharp carving knife and a meat fork, begin carving the meat at a 45-degree angle to create perfectly even slices.
When carving meats, it’s crucial to let them rest adequately before slicing, as this allows the juices to settle. Always use a sharp knife to secure clean cuts, and consider using a carving fork to stabilize the meat without shredding it.
Experiment with different angles and techniques to find what works best for each type of meat. Finally, keep your workspace clean and organized to facilitate a smooth carving process, making your culinary experience more enjoyable.
Peeling: Essential Skills for Stone Fruits and Vegetables
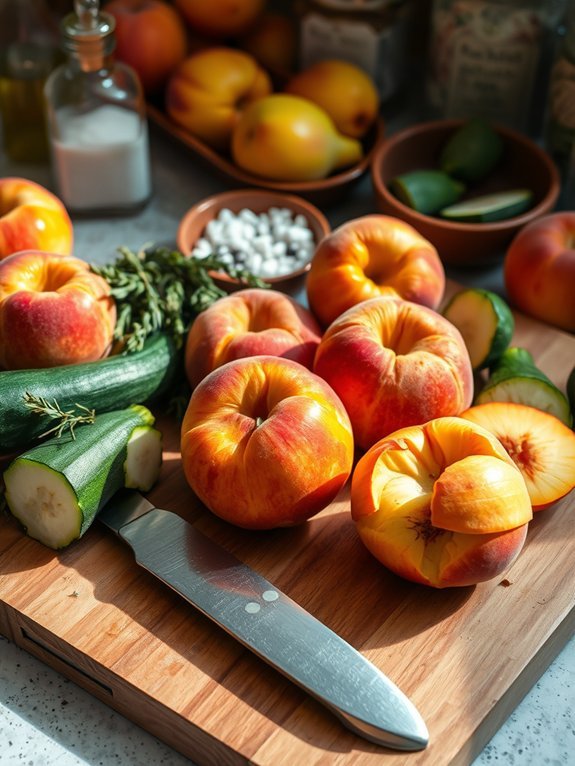
Peeling stone fruits and vegetables is a fundamental skill that every home cook should master to elevate their culinary dishes. Whether you’re preparing juicy peaches for a summer dessert, ripe tomatoes for a fresh sauce, or delicate potatoes for a comforting mash, proper peeling guarantees a clean presentation and enhances the flavors of your meals. This dish will showcase how to effectively peel various stone fruits and vegetables while combining them into a delicious baked dish that celebrates the natural sweetness of the fruits and the savory depth of the vegetables.
For this recipe, we’ll create a delightful baked stone fruit and vegetable medley. This dish highlights the contrasting flavors and textures of perfectly peeled peaches, nectarines, and zucchini, all baked together with herbs and a touch of seasoning. With the methods learned through peeling, you can appreciate the colors, shapes, and freshness of the ingredients, making an impressive and nourishing meal or side dish that’s perfect for any occasion.
- 2 ripe peaches
- 2 ripe nectarines
- 2 medium zucchinis
- 4 tablespoons olive oil
- 1 teaspoon salt
- ½ teaspoon black pepper
- 1 tablespoon fresh thyme (or 1 teaspoon dried thyme)
- 1 tablespoon balsamic vinegar
Preheat your oven to 400°F (200°C). Begin by peeling the peaches and nectarines using a paring knife or a vegetable peeler, making sure you remove the skins entirely.
For the zucchinis, wash them thoroughly and slice them into half-moons without peeling. In a large mixing bowl, combine the peeled fruits and sliced zucchinis with olive oil, salt, pepper, thyme, and balsamic vinegar. Toss everything together until well-coated, then spread the mixture evenly on a baking sheet. Bake in the preheated oven for about 25-30 minutes, or until the fruits are tender and caramelized, stirring halfway through to guarantee even cooking.
When peeling stone fruits, it’s helpful to blanch them in boiling water for about 30 seconds before submerging them in an ice bath. This makes the skins come off easily with minimal effort.
Additionally, confirm your knife is sharp for a cleaner cut and a more comfortable grip while peeling. Finally, always be wary of the slippery skin of ripe fruits and vegetables, as it can lead to accidents; a non-slip cutting board can help keep your workspace secure. Enjoy your beautifully peeled and perfectly baked dish!
The Claw Grip: Protecting Your Fingers
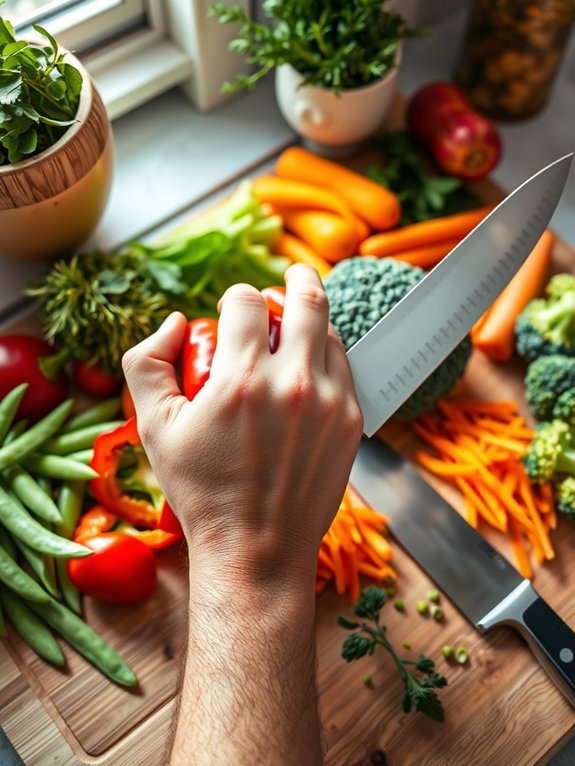
When it comes to honing your knife skills, one of the safest and most effective techniques is the claw grip. It’s a simple but powerful method that protects your fingers while allowing for better control over your knife. In this recipe, we’ll prepare a delicious vegetable stir-fry that showcases the benefits of this grip.
By slicing and dicing various vegetables using the claw grip, you’ll not only enhance your cooking skills but also prepare a nutritious dish that’s perfect for any meal. The recipe is incredibly versatile and can be adapted to suit various tastes by changing the vegetables or adding proteins like chicken, tofu, or shrimp.
The key is to focus on uniform cuts to guarantee everything cooks evenly. With the claw grip in place, you’ll be ready to tackle the chopping, dicing, and slicing that makes a stir-fry so vibrant and flavorful. Enjoy the process as you develop confidence with your knife skills and create a dish that’s both nourishing and visually appealing.
Ingredients:
- 1 cup bell peppers (red, yellow, and green), sliced
- 1 cup broccoli florets
- 1 cup snap peas, trimmed
- 1 medium carrot, julienned
- 2 cloves garlic, minced
- 1 tablespoon ginger, grated
- 3 tablespoons soy sauce
- 2 tablespoons olive oil
- Salt and pepper to taste
- Cooked rice or noodles (for serving)
In a large skillet or wok, heat the olive oil over medium-high heat. Add the minced garlic and grated ginger, stirring for about 30 seconds until fragrant.
Then, add the sliced bell peppers, broccoli florets, snap peas, and julienned carrots. Stir-fry the vegetables for 5-7 minutes until they’re tender but still crisp. Pour in the soy sauce and season with salt and pepper to taste. Toss everything together, ensuring each vegetable is coated with the sauce. Serve over cooked rice or noodles for a complete meal.
When making this stir-fry, be mindful of your cooking times. Each vegetable has its ideal cooking duration, so adding them in stages can help maintain their individual textures and flavors. For example, add firmer vegetables like carrots and broccoli first, allowing them to cook a bit longer, before incorporating more delicate options like snap peas and bell peppers.
Additionally, don’t hesitate to experiment with different sauces or spices to customize the dish to your liking. Ultimately, remember to keep practicing the claw grip—it’s an essential skill that will elevate your home cooking experience.
Sharpening Your Knives: Keeping Them in Top Shape

Sharpening your knives is essential not just for safety in the kitchen but also for making your cooking experience more enjoyable. A dull knife can lead to accidents and uneven cuts, and it can make the task of preparing your ingredients much more laborious.
By maintaining your knives regularly with a sharpening stone or honing rod, you’re guaranteeing that they perform at their best every time you chop, slice, or dice.
Here, we present you with a delicious recipe that incorporates your freshly sharpened knives. Once you’ve honed their edges, put your culinary skills to the test by preparing a vibrant vegetable stir-fry. This dish is quick, nutritious, and showcases the precision you can achieve when using well-maintained knives to slice your vegetables into perfect, uniform pieces.
- 2 cups broccoli florets
- 1 bell pepper (any color), sliced
- 1 carrot, julienned
- 1 cup snap peas
- 2 cloves garlic, minced
- 2 tablespoons olive oil
- 2 tablespoons soy sauce
- 1 tablespoon sesame oil
- 1 teaspoon ginger, grated
- Salt and pepper to taste
- Sesame seeds for garnish
In a large skillet or wok, heat olive oil over medium-high heat. Add the garlic and ginger, stirring for about 30 seconds to release their flavors.
Then, add the broccoli, bell pepper, carrot, and snap peas to the skillet. Stir-fry for about 5-7 minutes until the vegetables are tender but still crisp. Pour in the soy sauce and sesame oil, tossing the vegetables well to coat.
Season with salt and pepper, and cook for an additional minute. Remove from heat, garnish with sesame seeds, and serve hot.
Consistency in knife skills will greatly improve your overall cooking efficiency. Always remember to maintain the angle while slicing your vegetables to guarantee even cuts.
Invest in a good sharpening stone or honing rod to keep your knives in prime condition and consider sharpening them after every few uses or when you notice them getting dull.
Finally, using a damp cloth underneath your cutting board can help stabilize it, providing a safer and easier cutting experience.


