This post may contain affiliate links. Please read our policy page.
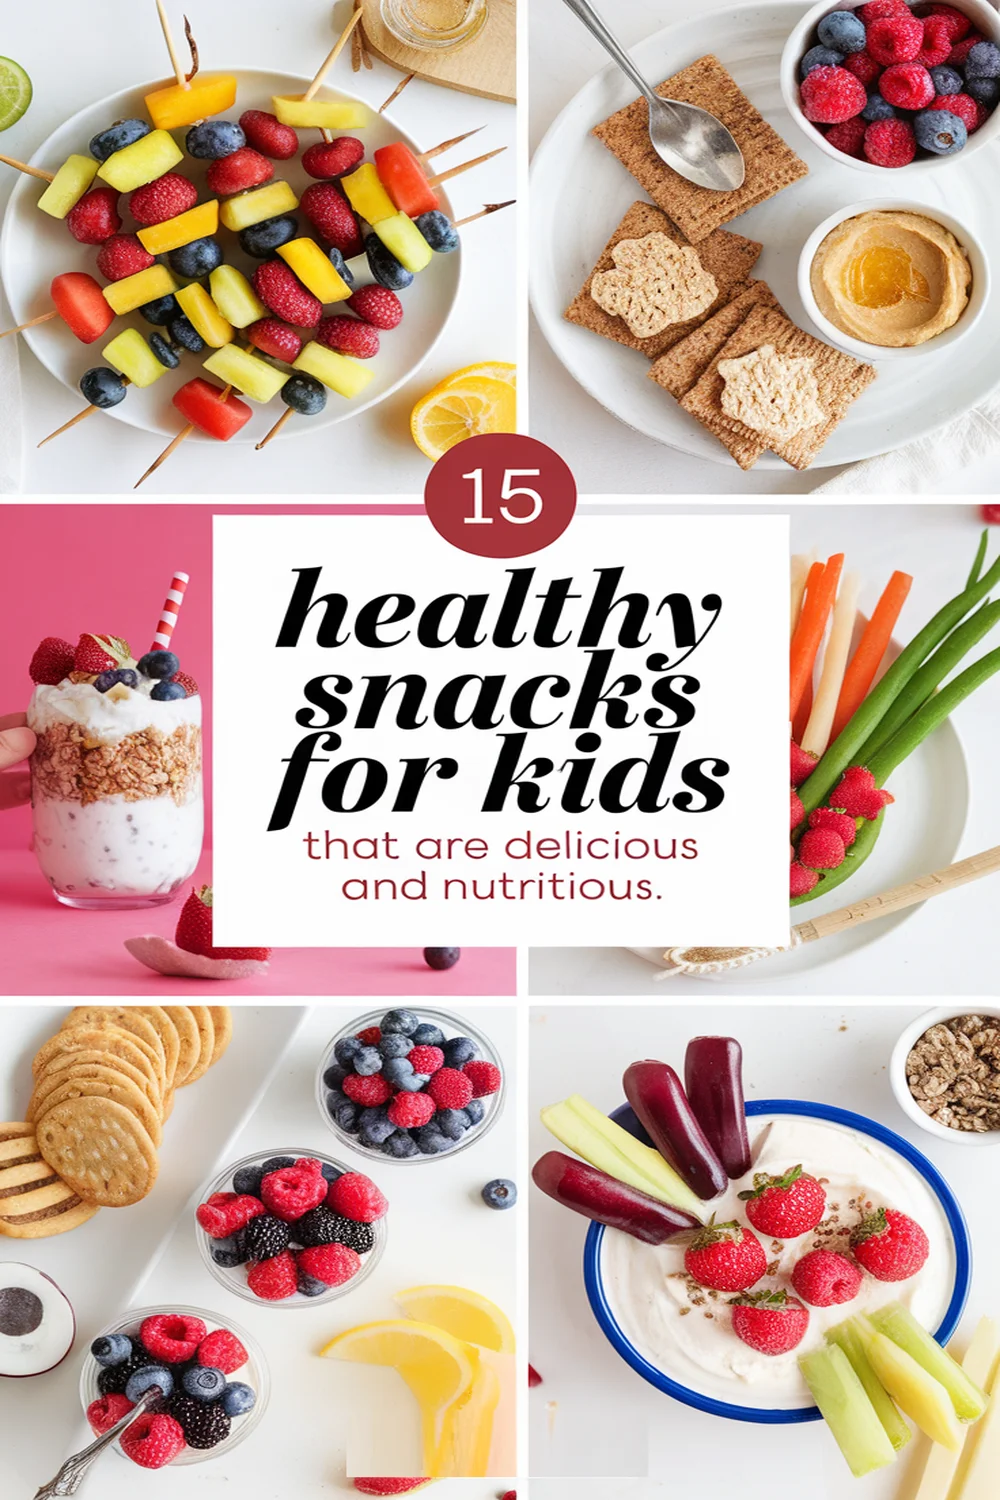
Looking for delicious and nutritious snacks for kids? Try making fruit and nut energy bites, colorful veggie sticks with hummus, or Greek yogurt parfaits. Whole grain banana oatmeal cookies and homemade granola bars are perfect for sweet cravings, while cheese and whole grain crackers provide a protein boost. Don’t forget frozen yogurt bark with berries or chia seed pudding for fun treats! Explore more ideas to keep your kids excited about healthy eating and energized throughout the day.
Fruit and Nut Energy Bites
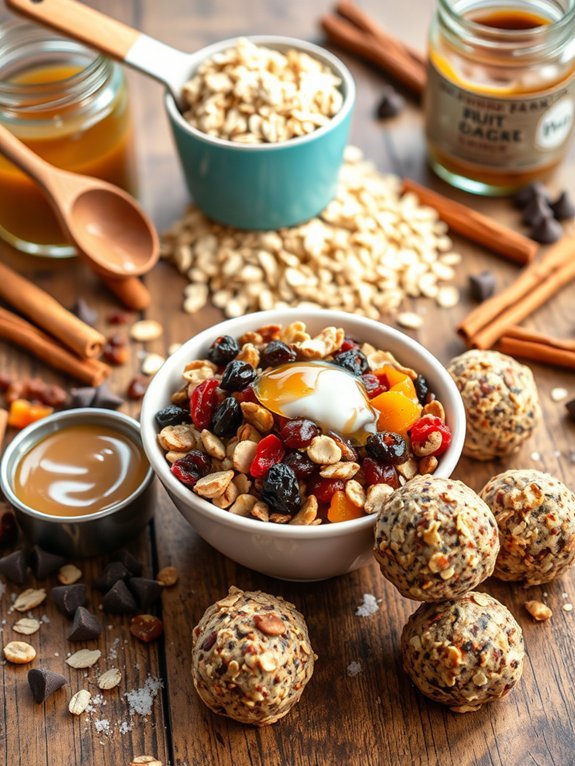
Fruit and nut energy bites are a fantastic snack option for kids, offering a healthy balance of energy and nutrients. Not only are they quick and easy to make, but they can also be customized to suit your child’s tastes. Packed with wholesome ingredients, these bites combine fruits, nuts, and seeds for a satisfying and delicious treat.
Whether for school lunches, after-school snacks, or a pre-sports energy boost, these little powerhouses can help fuel active young bodies.
Making fruit and nut energy bites is a simple process that involves no baking, making this a fun and interactive recipe for kids to help with. The ingredients can be mixed together in a bowl, and once combined, you can roll them into bite-sized balls. With just a few ingredients and a mix of flavors, these energy bites are sure to become a staple in your household for their convenience and nutritional benefits.
- 1 cup rolled oats
- ½ cup nut butter (such as almond or peanut butter)
- ½ cup honey or maple syrup
- ½ cup mixed dried fruit (such as cranberries, raisins, or apricots)
- ½ cup nuts (such as almonds, walnuts, or pecans), chopped
- 1 teaspoon vanilla extract
- ¼ teaspoon salt
- Optional: ¼ cup chocolate chips or seeds (like chia or flax) for added texture
In a large mixing bowl, combine all the ingredients, stirring until the mixture is evenly blended. If the mixture feels too sticky, you can add a little more oats, or if it’s too dry, a splash more of nut butter.
Once everything is well combined, using your hands, take small portions of the mixture and roll them into bite-sized balls. Place the energy bites on a parchment-lined baking sheet and refrigerate for about 30 minutes to firm up before serving.
For a fun cooking experience, encourage your kids to personalize the energy bites by selecting their favorite fruits and nuts from a variety of options. You could also experiment with other flavors by adding spices like cinnamon or cocoa powder.
Once prepared, these bites can be stored in an airtight container in the refrigerator for up to a week, making them a convenient go-to snack for busy days.
Veggie Sticks With Hummus
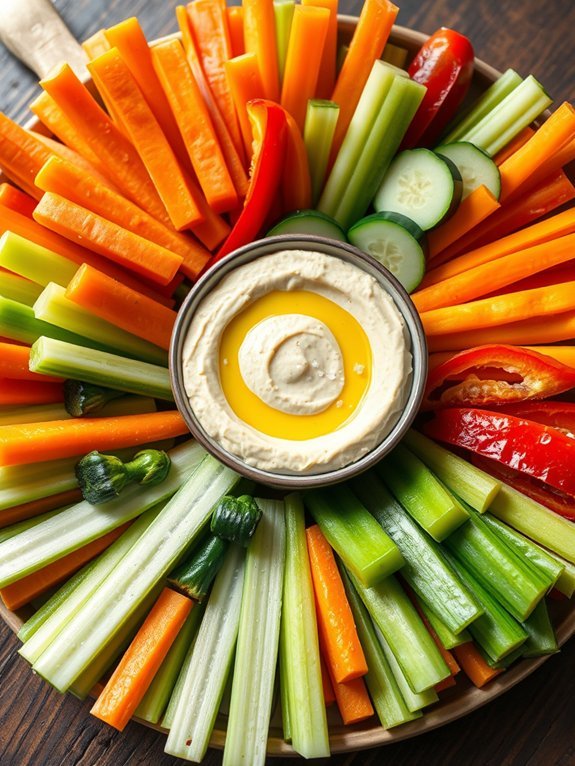
Veggie sticks with hummus make for a perfect healthy snack that isn’t only nutritious but also fun for kids to enjoy. This simple recipe brings colorful vegetables and creamy hummus together to create a delicious and satisfying treat that kids will love. The crunchiness of the fresh veggies combined with the flavor-packed hummus provides a delightful contrast that makes snacks enjoyable rather than monotonous.
In addition, getting kids involved in preparing this dish can make them more excited about eating their veggies.
To prepare veggie sticks with hummus, you can select a variety of colorful vegetables that appeal to your child’s taste. Some popular choices are carrots, cucumbers, bell peppers, and celery. With a bit of preparation, you’ll provide a visually appealing platter that isn’t only healthy but also enticing.
Whether it’s for an after-school snack, a lunchbox addition, or a weekend picnic, these veggie sticks are a great way to incorporate more vegetables into your child’s diet.
- Carrots
- Cucumbers
- Bell peppers (red, yellow, or green)
- Celery
- Hummus (store-bought or homemade)
- Olive oil (optional, for drizzling)
- Salt (optional, for taste)
Start by washing and peeling the carrots and cutting them into sticks, about 4-5 inches long. Next, cut the cucumbers into half-moons or sticks, ensuring they’re easy to grab. Slice the bell peppers into strips, removing any seeds and the white pith for a sweeter flavor. Chop the celery into sticks as well.
Arrange all the veggie sticks on a platter next to a bowl of hummus, and drizzle with olive oil and sprinkle a little salt if desired.
When preparing veggie sticks with hummus, it’s important to involve your kids in the process – they can help wash, peel, and cut the vegetables, under supervision, to create a fun cooking experience.
Additionally, you can get creative by trying different dips besides hummus, such as yogurt-based dressings or guacamole, and presenting the veggies in fun shapes or colors to lure in picky eaters. Consider also experimenting with homemade hummus by adding different spices or ingredients, like roasted garlic or red pepper, to keep things exciting.
Greek Yogurt Parfait
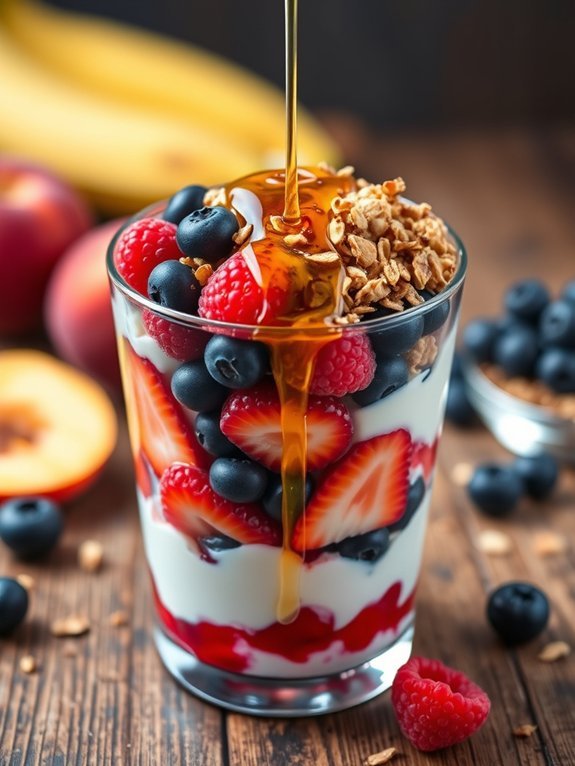
Greek yogurt parfaits are a delightful and nutritious snack that both kids and adults will love. This simple yet versatile dish features layers of creamy Greek yogurt, fresh fruits, and crunchy toppings that make it visually appealing as well as delicious. Perfect for breakfast, a midday snack, or a healthy dessert option, Greek yogurt parfaits aren’t only quick to prepare but also provide an excellent source of protein and probiotics, promoting gut health and satiety.
Making Greek yogurt parfaits can also be an engaging activity for kids, allowing them to customize their parfaits with their favorite fruits and toppings. This recipe encourages creativity and helps children learn about making healthier food choices. With minimal cooking involved, it’s easy to whip up a batch whenever hunger strikes!
- 2 cups of plain Greek yogurt
- 1 cup of granola
- 2 cups of mixed fresh fruits (such as berries, bananas, and peaches)
- Honey or maple syrup (optional, for sweetness)
- Nuts or seeds (optional, for added crunch)
In a clear glass or bowl, start by layering half of the Greek yogurt at the bottom, followed by a layer of mixed fruits. Add a layer of granola on top, then repeat the layers by adding the remaining yogurt, more mixed fruits, and another layer of granola. Drizzle honey or maple syrup on top if desired, and sprinkle with nuts or seeds for extra texture.
To enhance the flavor and nutritional value of your Greek yogurt parfait, use a variety of fruits to provide different vitamins and minerals. Additionally, consider freezing some fruit for a revitalizing twist on hot days, or even try adding a dollop of nut butter between the layers for a nutty flavor.
Always keep the parfaits refrigerated until serving to maintain their freshness and texture.
Recommended Items
Check out our favorite products and tools to make delicious and nutritious snacks for your kids!
Products
Whole Grain Banana Oatmeal Cookies
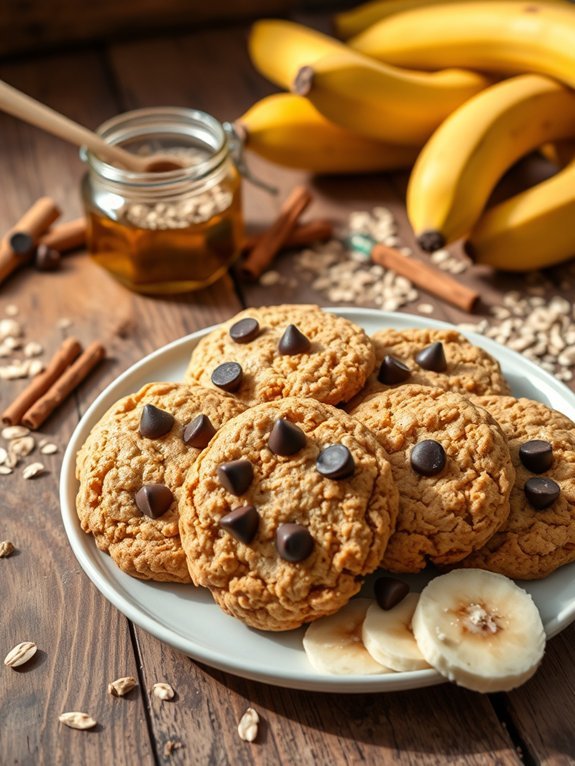
Whole grain banana oatmeal cookies are a fantastic option for a healthy snack that your kids will love. Packed with natural sweetness from ripe bananas and the nutritional benefits of whole grains, these cookies aren’t only tasty but also nutritious. They make for a perfect treat for lunchboxes, after-school snacks, or a delightful dessert.
Plus, they’re simple to make and require minimal ingredients, making them an ideal recipe for young aspiring chefs to help with.
The beauty of these cookies lies in their flexibility. You can customize them by adding in favorite mix-ins like chocolate chips, raisins, or nuts, allowing you to create a version that your family loves. Whether you’re looking for a quick healthy snack or a way to use up overripe bananas, these whole grain banana oatmeal cookies are sure to become a household favorite.
- 2 ripe bananas
- 1 cup rolled oats
- 1/2 cup whole wheat flour
- 1/4 cup honey or maple syrup
- 1/4 cup coconut oil or unsalted butter, melted
- 1 teaspoon vanilla extract
- 1/2 teaspoon baking soda
- 1/2 teaspoon cinnamon
- Pinch of salt
- Optional: 1/2 cup chocolate chips or chopped nuts
In a large bowl, mash the ripe bananas until smooth, then mix in the rolled oats, whole wheat flour, honey or maple syrup, melted coconut oil or butter, vanilla extract, baking soda, cinnamon, and salt. Stir until all ingredients are combined.
Preheat your oven to 350°F (175°C) and line a baking sheet with parchment paper. Drop spoonfuls of the cookie mixture onto the prepared baking sheet, leaving space between each cookie. Bake in the preheated oven for 10 to 12 minutes or until the cookies are lightly golden.
When making these cookies, feel free to experiment by adding ingredients that your kids enjoy. If you’re looking to add more flavor, consider mixing in a handful of shredded coconut or even some chopped dried fruit.
Be careful not to overbake the cookies, as they can dry out; they should be soft when you take them out of the oven. Storing them in an airtight container can help maintain their freshness for a few days, making it easy to have a healthy snack on hand.
Cheese and Whole Grain Crackers
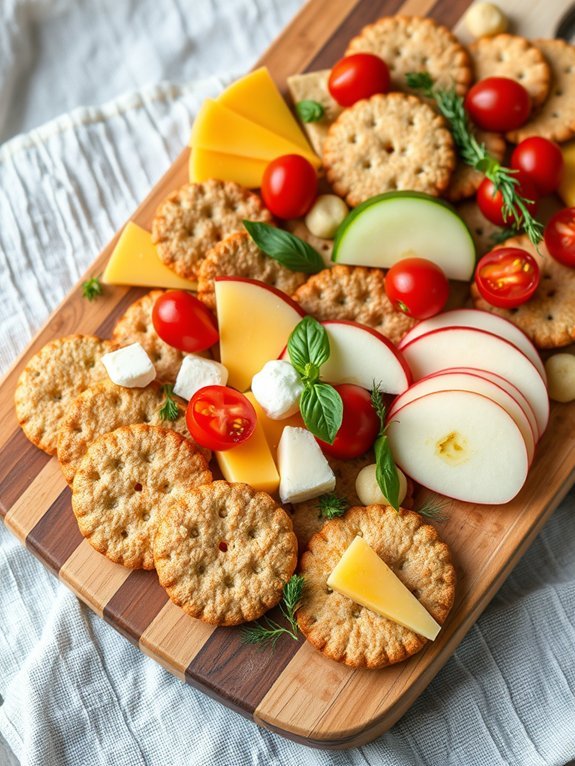
Cheese and whole grain crackers make for a simple yet delightful snack that kids will enjoy. This recipe allows you to incorporate a variety of cheeses and whole grain crackers to create a balanced and tasty treat that’s perfect for after-school snacking or as a lunchbox addition. Whole grain crackers provide essential fiber, while cheese offers protein and calcium, making this combo a great choice for growing kids.
When making cheese and whole grain crackers, the possibilities are endless. You can choose from a variety of cheeses such as cheddar, mozzarella, or gouda, and pair them with different types of whole grain crackers. This snack encourages kids to explore different flavors and textures while maintaining nutritional benefits. Plus, they can even get involved in the preparation, helping to assemble their own snacks!
- Whole grain crackers
- Sliced cheese (cheddar, mozzarella, or your choice)
- Optional toppings (sliced cucumbers, cherry tomatoes, or apple slices)
To prepare cheese and whole grain crackers, start by laying out a plate or cutting board. Arrange a single layer of whole grain crackers, then place a slice of your chosen cheese on top of each cracker. For an added touch, feel free to top each cheese slice with optional toppings like cucumber, cherry tomato, or apple slices for an extra burst of flavor.
Serve immediately or pack in a snack container for later. When preparing cheese and whole grain crackers, let your kids get creative by allowing them to mix and match different cheeses and toppings according to their preferences. Consider using fun-shaped cookie cutters to create unique cheese slices that can make the snack visually appealing.
Additionally, make sure to store any extras in an airtight container to maintain their freshness, ensuring that your little ones can enjoy them later.
Popcorn With Nutritional Yeast

Popcorn is a beloved snack that can often be found at the movie theater or during family game nights. However, when prepared at home, it can become a healthy option that not just kids, but adults can enjoy too.
One fun way to transform plain popcorn into a nutritious treat is by adding nutritional yeast, which not only adds a cheesy flavor but also provides a good dose of vitamins, especially B-complex. This snack is perfect for after-school munching or as a light evening treat.
Making popcorn with nutritional yeast is quick and easy, taking just a few minutes to whip up. It’s a fun way to engage kids in the kitchen since they can help with popping the corn and sprinkling the nutritional yeast. Plus, this recipe is fully customizable; feel free to add in other seasonings or toppings to create a unique flavor profile that suits your kiddos’ tastes!
Ingredients:
- 1/2 cup popcorn kernels
- 2 tablespoons coconut oil or vegetable oil
- 1/4 cup nutritional yeast
- 1/2 teaspoon garlic powder (optional)
- 1/2 teaspoon onion powder (optional)
- Salt to taste
To begin, heat the coconut or vegetable oil in a large pot over medium heat. Once the oil is hot, add a few popcorn kernels to test the temperature; when they pop, you know the oil is ready.
Add the remaining popcorn kernels, cover the pot with a lid, and shake it occasionally to guarantee even popping. Once the popping slows down to about 2 seconds between pops, remove the pot from heat.
Transfer the popped corn to a large bowl, then sprinkle with nutritional yeast, garlic powder, onion powder, and salt, tossing to coat evenly.
When making popcorn with nutritional yeast, you have the option to experiment with different flavorings and toppings. You might try adding a pinch of chili powder for a spicy kick or mixing in some melted dark chocolate chips for a sweet treat.
Additionally, make sure that nutritional yeast is stored in a cool, dark place to maintain its fresh, cheesy flavor. Finally, feel free to adjust the amount of nutritional yeast based on your family’s taste preferences—if they love that cheesy flavor, don’t hold back!
Snack Preparation Guide
Apple Slices With Almond Butter
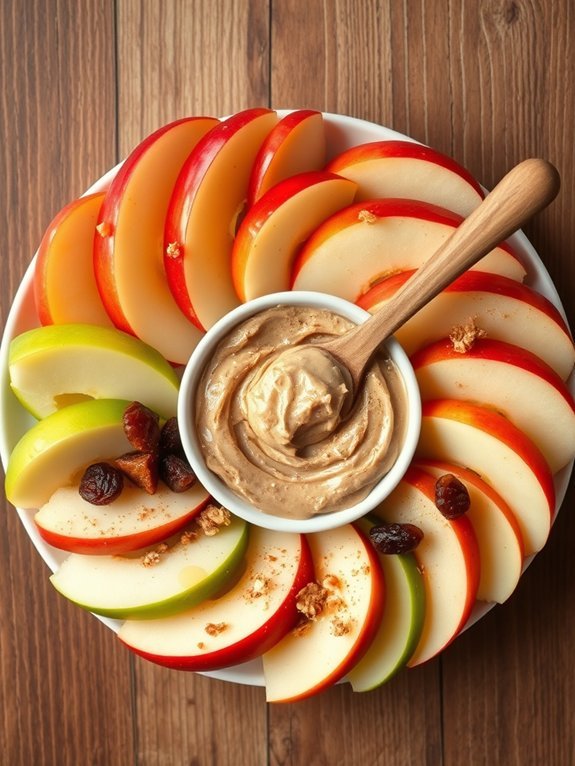
Apple slices with almond butter make a delightful and nutritious snack that’s perfect for kids and adults alike. This simple dish combines crunchy, sweet apple slices with rich, creamy almond butter, offering a balanced blend of carbohydrates, healthy fats, and protein.
Whether for an after-school treat, a lunchbox addition, or a quick energy booster, this snack is quick to prepare, delicious, and satisfying.
To make apple slices even more appealing, you can involve kids in the preparation process. They can help wash and slice the apples with supervision, and even choose their favorite almond butter flavor. This hands-on approach not only teaches them about healthy eating but also makes them more likely to enjoy the end result.
- 1 large apple (any variety, such as Fuji, Honeycrisp, or Granny Smith)
- 2 tablespoons almond butter
- Optional toppings: cinnamon, honey, granola, or raisins
Begin by washing the apple thoroughly under running water. Next, core and slice the apple into thin wedges or rounds, depending on your preference.
Arrange the apple slices on a plate, and drizzle or spread almond butter generously over the slices. If desired, sprinkle with optional toppings like cinnamon, a drizzle of honey, granola, or raisins to enhance the flavor and presentation.
When preparing this dish, it’s crucial to reflect on the apple variety, as some may be sweeter or crisper than others. Fuji or Honeycrisp apples tend to be great choices for their sweetness and crunch.
Additionally, be sure to cut the apple into manageable sizes to avoid choking hazards for younger children. For added convenience, you can prepare the apple slices ahead of time; however, to keep them from browning, think about squeezing a little lemon juice over the cut surfaces before serving.
Mini Whole Wheat Pita Pizzas

Mini whole wheat pita pizzas are a delightful and wholesome snack that kids will love. They aren’t only quick and easy to prepare but also allow for a fun and interactive cooking experience. Using whole wheat pitas as a base, these mini pizzas can be topped with a variety of nutritious ingredients that can make them both tasty and healthy. This recipe is perfect for lunch boxes, after-school snacks, or even as a party treat.
Making pita pizzas is a fantastic way to sneak in some veggies without your child even noticing. The versatility of this snack allows you to customize toppings to your child’s preferences, whether they prefer classic cheese and tomato or want to experiment with more adventurous toppings. Serve them fresh out of the oven, and you’ll have a delicious and satisfying snack that’s sure to please.
Ingredients:
- 4 whole wheat pita breads
- 1 cup marinara sauce or pizza sauce
- 1 ½ cups shredded mozzarella cheese
- ½ cup sliced bell peppers
- ½ cup shredded spinach
- ½ cup sliced mushrooms
- ½ cup olives (optional)
- 1 tsp Italian seasoning
- Olive oil (for drizzling)
To prepare the mini pita pizzas, preheat your oven to 400°F (200°C). Place the whole wheat pita breads on a baking sheet and spread a generous amount of marinara sauce on each one. Sprinkle the shredded mozzarella cheese evenly over the sauce and top with your choice of vegetables—bell peppers, spinach, mushrooms, and olives are all great options.
Finally, sprinkle a little Italian seasoning on top and drizzle with olive oil. Bake in the oven for about 10 minutes, or until the cheese is melted and bubbly, and the pitas are golden brown.
When preparing mini whole wheat pita pizzas, feel free to get creative with toppings. You can mix in proteins like cooked chicken or turkey, or even serve with a side of fresh fruit to balance out the meal.
It’s also helpful to make extra pizzas and freeze them for a convenient ready-to-eat snack later. Just pop them in the oven for a few minutes to revive their crunchiness, and enjoy!
Trail Mix With Dried Fruit and Seeds
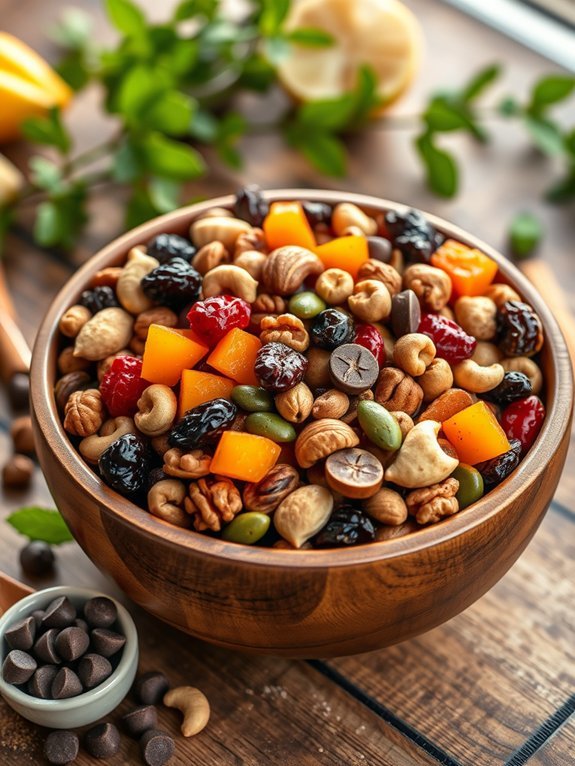
Trail mix is a fantastic snack option for kids, offering a sweet and crunchy alternative to processed snacks. Not only is it enjoyable to munch on, but it also provides a good balance of energy, vitamins, and minerals. By mixing dried fruits and seeds, you create a nutritious treat that can keep little ones satisfied while providing them the fuel they need for their busy days.
Making your own trail mix allows you to customize the ingredients based on your children’s preferences, ensuring they’ll love every bite! Additionally, this snack is perfect for school lunches, after-school activities, or simply as a quick grab-and-go option when hunger strikes.
With just a few ingredients, you can whip up a delicious batch in no time.
- 1 cup mixed nuts (almonds, walnuts, cashews)
- 1 cup seeds (pumpkin seeds, sunflower seeds)
- 1 cup dried fruit (raisins, cranberries, apricots, banana chips)
- 1/2 cup dark chocolate chips (optional)
- 1/2 teaspoon cinnamon (optional)
- 1 tablespoon honey or maple syrup (optional, for sweetness)
In a large bowl, combine the mixed nuts, seeds, dried fruit, and dark chocolate chips if using. If you want to add a hint of sweetness or spice, sprinkle the cinnamon and drizzle honey or maple syrup over the mixture.
Use a spatula or your hands to gently toss everything together until evenly combined. Once well-mixed, transfer the trail mix to an airtight container and store it at room temperature for up to two weeks.
When making trail mix, remember to take into account any allergies your children may have. If nuts are a concern, you can substitute them with more seeds or crispy cereal to maintain the crunch.
Feel free to experiment with different ingredient combinations, such as adding coconut flakes or pretzels. The key is to find a mixture your kids enjoy so that they find it a fun and tasty snack they’ll want to eat!
Smoothie Bowls
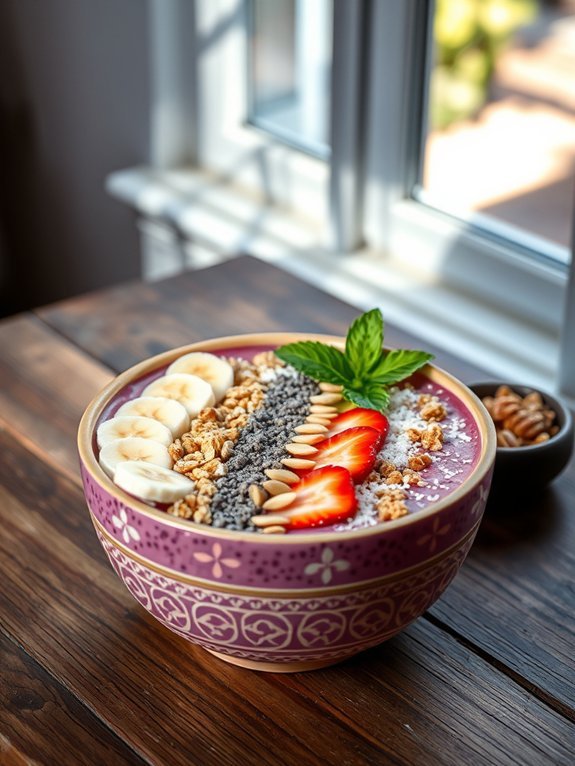
Smoothie bowls are a delicious and visually appealing way to encourage kids to enjoy their fruits and vegetables. They can be customized to fit any taste preference or dietary need, making them a versatile option for a healthy snack or light meal.
In addition to being full of vitamins and minerals, smoothie bowls can also be a great canvas for creativity—kids will love to help design their own toppings and build their ideal bowl.
This recipe combines creamy yogurt with fresh fruit and a splash of milk for the perfect consistency, while a topping of granola, nuts, and seeds adds texture and crunch.
Feel free to vary the fruit according to seasonal availability or personal preferences; berries, bananas, and mangoes all work perfectly. Turn the process into a fun family activity by letting your kids choose their favorite toppings!
- 1 cup frozen mixed berries
- 1 small banana
- 1/2 cup Greek yogurt
- 1/2 cup almond milk (or any preferred milk)
- 1 tablespoon honey (optional)
- Toppings: granola, sliced fruit, chia seeds, shredded coconut, and nuts
In a blender, combine the frozen berries, banana, Greek yogurt, almond milk, and honey (if using). Blend until smooth, adjusting the milk to reach your desired consistency.
Pour the smoothie into a bowl and let your kids add their favorite toppings for a fun and nourishing treat.
When making smoothie bowls, feel free to experiment with flavors and textures. You can easily add spinach or kale for an extra nutritional boost or swap out yogurt for a dairy-free option like coconut or almond yogurt.
Also, consider freezing some of the fresh fruit beforehand for an even thicker texture! Encourage your kids to get creative with toppings; not only does this make smoothie bowls more exciting, but it also helps introduce them to various nutritious ingredients.
Avocado Toast With Cherry Tomatoes
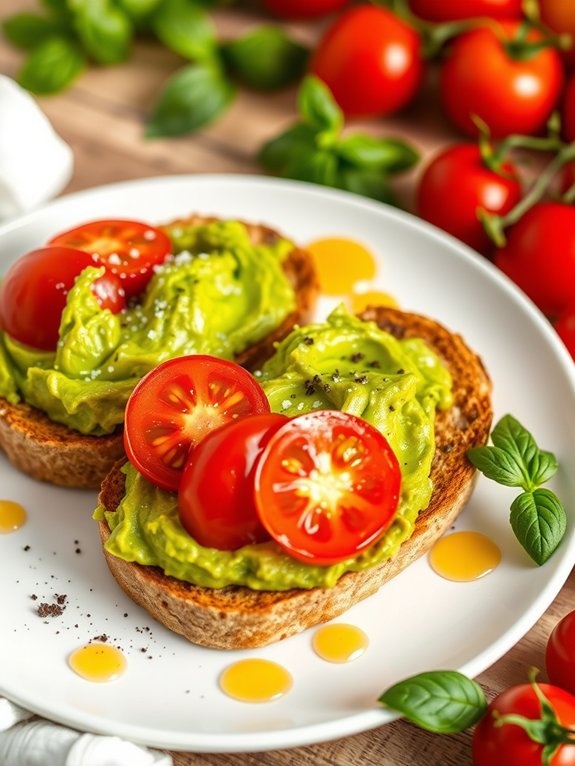
Avocado toast is a delightful and nutritious snack that kids will love, and it’s a fantastic way to introduce them to healthy eating habits. The creamy texture of ripe avocados paired with the freshness of cherry tomatoes creates a deliciously satisfying combination.
This dish isn’t only simple to prepare but also packed with healthy fats, vitamins, and minerals, making it a perfect option for fueling your kids’ activities.
To make avocado toast with cherry tomatoes, you’ll need just a few ingredients and a bit of time for assembly. It’s a versatile dish, so feel free to customize it according to your kids’ preferences. You can add some herbs or spices to enhance the flavor, or even change the type of bread if desired – whole grain or sourdough are both excellent choices.
- 1 ripe avocado
- 2 slices of whole grain or sourdough bread
- A handful of cherry tomatoes
- Salt and pepper to taste
- Olive oil (optional)
- Lemon juice (optional)
Toast the bread until golden brown and crispy. While the bread is toasting, cut the avocado in half, remove the pit, and scoop the flesh into a bowl. Mash the avocado with a fork until it reaches your desired consistency. Season with salt, pepper, and a splash of lemon juice if using.
Once the bread is ready, spread the mashed avocado evenly over each slice. Halve the cherry tomatoes and arrange them on top of the avocado spread. Drizzle with olive oil if desired, and serve immediately.
To make this dish even more appealing to kids, consider involving them in the preparation process. Allow them to mash the avocado or decorate the toast with the cherry tomatoes.
You can also offer toppings like shredded cheese, radish slices, or sesame seeds, so they can create their own versions. This not only makes the dish more enjoyable but also encourages kids to experiment with different flavors and textures!
Quinoa Salad Cups
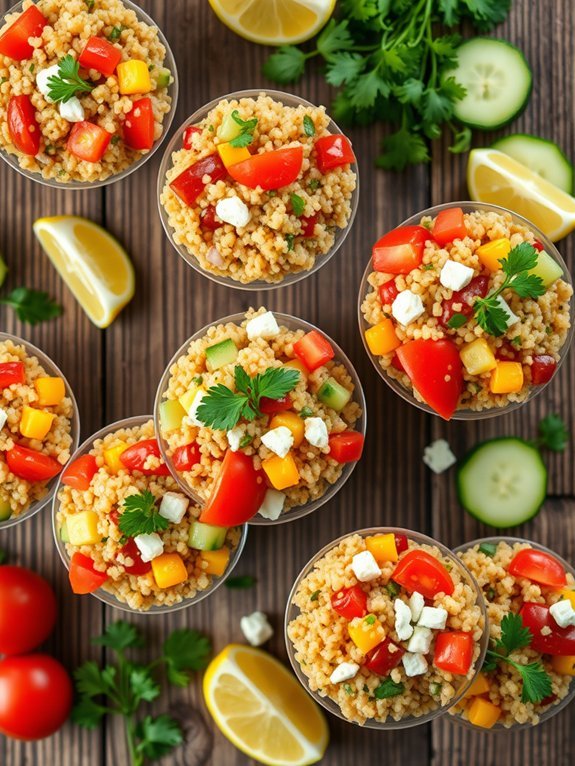
Quinoa salad cups are a delightful and nutritious snack that your kids will love. Packed with protein and fiber, quinoa serves as a great base for a variety of colorful and flavorful ingredients. These salad cups not only offer a healthy option but also provide an opportunity for your children to engage in a fun and interactive way of eating—using cups to hold their favorite salad mix!
Making quinoa salad cups is a great way to introduce kids to new flavors and textures while keeping mealtime enjoyable. You can customize them to suit your children’s tastes by incorporating their favorite vegetables, herbs, and proteins, making this recipe versatile and perfect for lunch boxes or after-school snacks. Let’s get started on this wholesome treat!
- 1 cup quinoa
- 2 cups water or vegetable broth
- 1 cup cherry tomatoes, halved
- 1 cucumber, diced
- 1 bell pepper (any color), diced
- 1/4 cup red onion, finely chopped
- 1/4 cup fresh parsley or cilantro, chopped
- 1/4 cup feta cheese (optional)
- Juice of 1 lemon
- 2 tablespoons olive oil
- Salt and pepper to taste
- Small cups or lettuce leaves for serving
Rinse the quinoa under cold water to remove any bitterness, then combine it with water or vegetable broth in a pot. Bring to a boil, then reduce to a simmer and cover, cooking for about 15 minutes or until the quinoa is fluffy and the liquid is absorbed.
Once done, set it aside to cool slightly before fluffing with a fork. In a large bowl, combine the cooked quinoa, cherry tomatoes, cucumber, bell pepper, red onion, parsley, and feta cheese. Drizzle with lemon juice and olive oil, season with salt and pepper, and toss gently to combine. Spoon the salad mixture into the small cups or lettuce leaves for serving.
For added variety, try swapping out the vegetables based on what’s in season or what your kids enjoy best. You can also make the salad ahead of time and store it in the fridge for up to three days. To add an extra layer of flavor, consider including other ingredients like avocados, black beans, or a dash of your child’s favorite dressing.
This dish not only tastes great, but it’s also colorful and appealing, making it a fantastic option for snack time!
Homemade Granola Bars
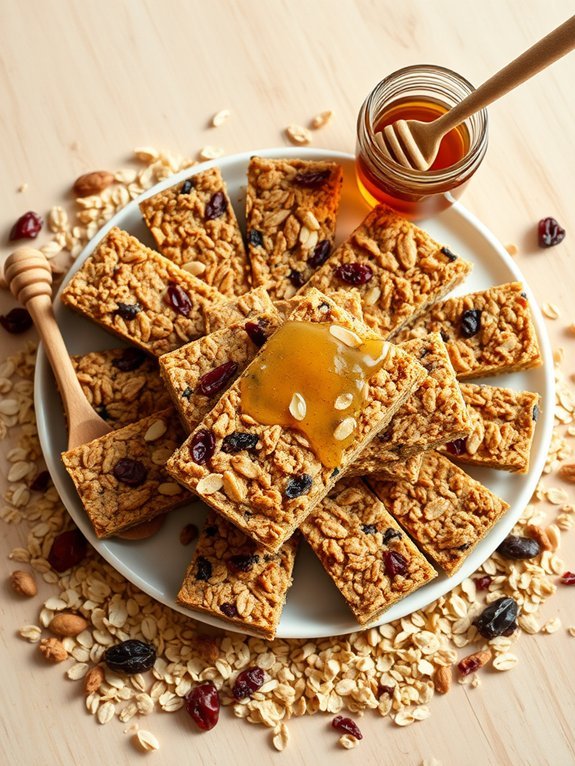
Making homemade granola bars is a fantastic way to guarantee that your kids have a healthy snack that’s both delicious and nutritious.
These bars are customizable, allowing you to incorporate your child’s favorite fruits and nuts. Plus, they’re quick to prepare and can be stored for days, making them a great option for busy school weeks or after-school munchies. By making your own granola bars, you can avoid the excess sugar and preservatives often found in store-bought versions.
The process is simple and requires minimal ingredients. You’ll combine oats, nuts, and some sweeteners to create a chewy and satisfying bar. This recipe can also be adjusted based on the dietary needs of your family – whether you’re looking for gluten-free options, nut-free, or even vegan alternatives.
Once you try these homemade granola bars, you might never go back to the pre-packaged ones again!
- 2 cups rolled oats
- 1 cup nuts (such as almonds or walnuts), chopped
- 1/2 cup honey or maple syrup
- 1/2 cup peanut butter or nut butter of choice
- 1/2 cup dried fruit (raisins, cranberries, or apricots), chopped
- 1/4 teaspoon salt
- 1/2 teaspoon vanilla extract (optional)
In a large bowl, mix together the rolled oats, chopped nuts, salt, and dried fruit.
In a small saucepan, gently heat the honey and peanut butter over medium heat until melted and combined.
Remove from heat and stir in the vanilla extract if using.
Pour the honey mixture into the dry ingredients and stir until everything is well coated.
Press the mixture firmly into a greased or parchment-lined baking dish, guaranteeing it’s packed tightly.
Let it cool at room temperature or in the refrigerator before cutting into bars.
To enhance flavor and texture, feel free to experiment with different ingredients like chocolate chips or seeds (like chia or flaxseed).
For an added crunch, try toasting the oats and nuts before mixing them in.
These granola bars can also be wrapped in wax paper for easy grab-and-go snacks, making them perfect for lunch boxes or after-school treats.
Remember to store them in an airtight container to maintain their freshness.
Frozen Yogurt Bark With Berries
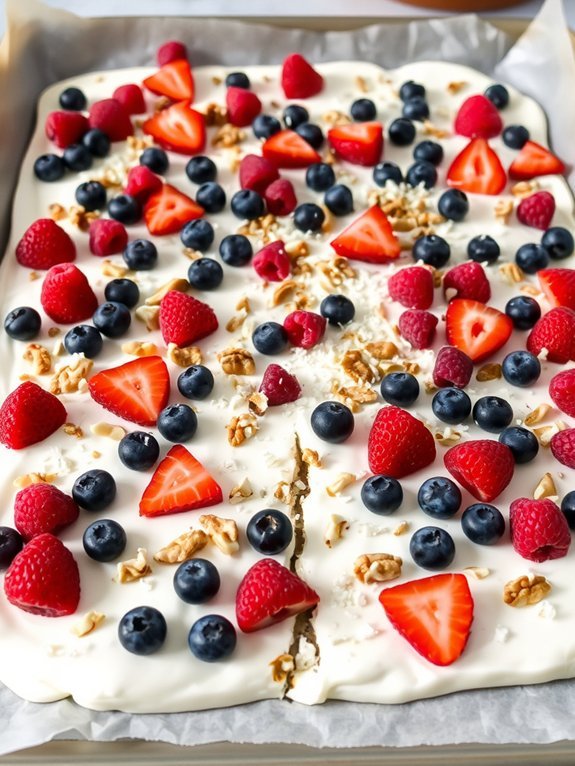
Frozen yogurt bark with berries is a delightful and nutritious snack that your kids will love. It’s a simple dish that combines the creamy goodness of yogurt with the natural sweetness of berries, making it perfect for satisfying those afternoon cravings. Plus, it’s a great way to add some fruit to your child’s diet, and with its fun presentation, they’ll be excited to dig in!
To make this treat even more appealing, you can customize it with your kids’ favorite fruits and toppings. Try experimenting with different colors and textures, such as adding nuts, granola, or even a sprinkle of coconut flakes on top. The process of making frozen yogurt bark isn’t only easy, but it’s also a fun activity you can do together, helping kids get involved in the kitchen.
- 2 cups of plain Greek yogurt
- 2 tablespoons of honey or maple syrup
- 1 cup of mixed berries (strawberries, blueberries, raspberries)
- 2 tablespoons of chopped nuts (optional)
- 1 tablespoon of shredded coconut (optional)
In a mixing bowl, combine the Greek yogurt with the honey or maple syrup, stirring until well blended. Spread the yogurt mixture evenly onto a parchment-lined baking sheet.
Sprinkle the mixed berries, chopped nuts, and shredded coconut across the top of the yogurt. Use a spatula or the back of a spoon to gently press the toppings down into the yogurt. Place the baking sheet in the freezer for at least 4 hours or until completely frozen. Once frozen, break the bark into pieces and serve.
When making frozen yogurt bark, feel free to get creative with your ingredients! You can use different types of yogurt like fruit-flavored or dairy-free options to cater to your kids’ preferences.
Also, consider using seasonal fruits for added flavor and nutrition. For a fun twist, try drizzling a bit of melted dark chocolate over the bark before freezing. This not only adds a delicious contrast but also makes it more visually appealing to kids. Enjoy experimenting!
Chia Seed Pudding
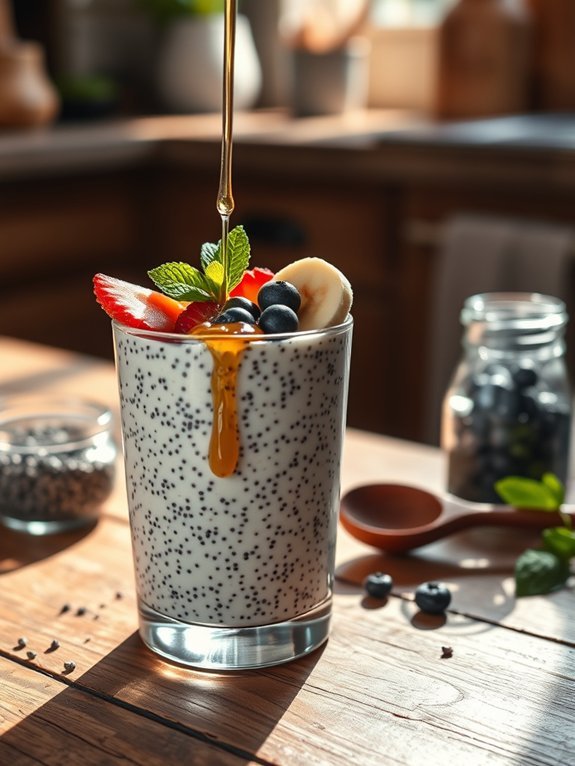
Chia seed pudding is a nutritious and delicious treat that’s perfect for kids and adults alike. Packed with fiber, omega-3 fatty acids, and protein, chia seeds swell up when soaked in liquid, creating a satisfying and creamy texture that mimics pudding.
This versatile dish can easily be customized with various flavors and toppings, making it a fun and healthy snack option for children.
Preparing chia seed pudding is simple and can be done in just a few minutes. You can make it ahead of time, allowing the flavors to meld overnight in the fridge.
Once the pudding is ready, involve your kids in choosing their favorite toppings, such as fresh fruit, nut butter, or granola. This not only encourages healthy eating habits but also sparks creativity in the kitchen.
Ingredients:
- 1/2 cup chia seeds
- 2 cups milk (dairy or plant-based)
- 2 tablespoons sweetener (honey, maple syrup, or agave)
- 1 teaspoon vanilla extract
- Pinch of salt
- Fresh fruit or toppings of choice
To prepare the chia seed pudding, combine the chia seeds, milk, sweetener, vanilla extract, and a pinch of salt in a mixing bowl or jar. Stir well to verify there are no clumps of chia seeds, then cover and refrigerate for at least 4 hours or overnight until the mixture thickens to a pudding-like consistency.
Once ready, give it a stir, and serve it in bowls, topped with your favorite fresh fruits or other toppings.
When making chia seed pudding, it’s important to remember that the soaking time is vital for achieving the right texture. A longer soak results in a creamier pudding.
Additionally, feel free to experiment with flavors by adding cocoa powder for a chocolatey version or blending fruits into the liquid for a fruity twist. This dish can also be stored in the refrigerator for up to five days, making it an excellent make-ahead snack for busy weeknights or school lunches.

