This post may contain affiliate links. Please read our policy page.
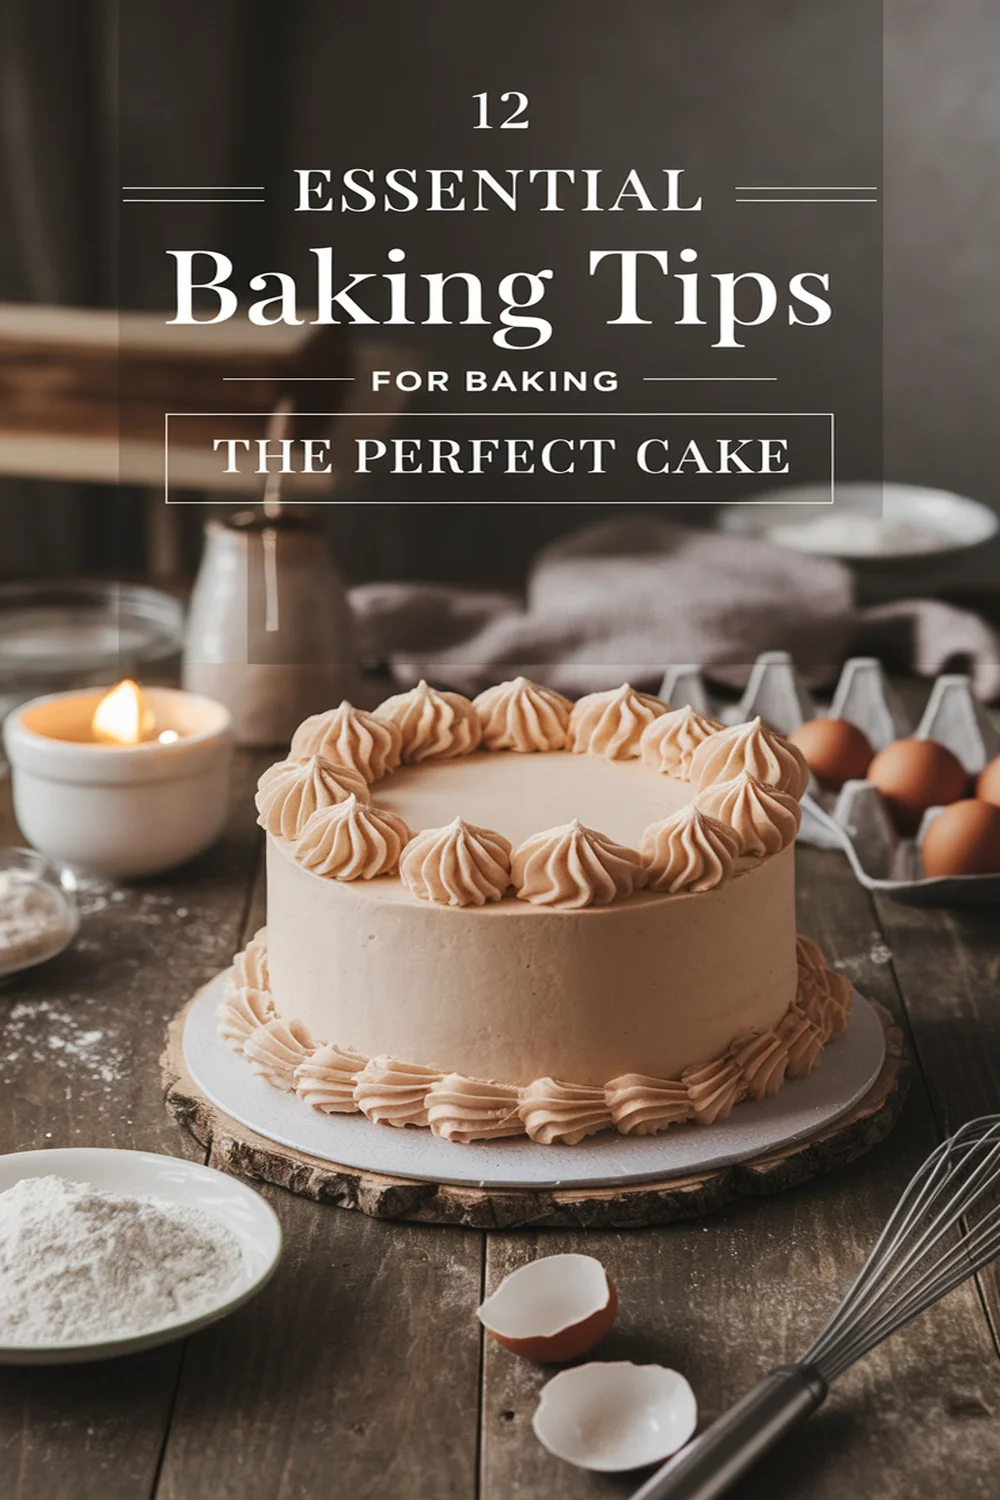
To bake the perfect cake, start with high-quality, room temperature ingredients for better flavor and texture. Measure everything accurately to maintain balance. Preheat your oven for even baking and know its hot spots to avoid uneven results. Test for doneness with a toothpick, and let cakes cool properly to prevent sogginess. Frost carefully, using techniques like crumb coating for a smooth finish. There’s so much more to explore, so keep going for even deeper insights!
Choose High-Quality Ingredients
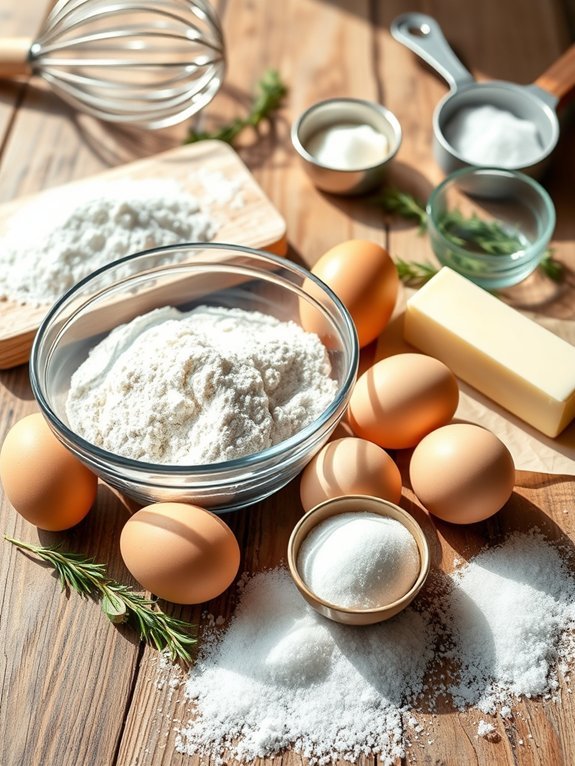
When it comes to baking the perfect cake, the quality of your ingredients plays an important role in achieving exceptional flavor and texture. Using fresh, high-quality ingredients not only enhances the taste but also affects how well your cake rises and holds its shape. Opt for organic or locally sourced items whenever possible. Ingredients like real vanilla extract, high-fat butter, and fresh eggs can make a significant difference in the final product.
Before starting your baking journey, it’s vital to confirm that your ingredients are at room temperature. This allows for better emulsification when mixing, leading to a smoother batter. Additionally, always sift your flour and baking powder together to eliminate lumps and guarantee even distribution. With the right approach to your ingredients, your cake will have the perfect crumb and delightful flavor that everyone will love.
Ingredients:
- 2 cups all-purpose flour
- 1 ½ cups granulated sugar
- 1 cup unsalted butter (room temperature)
- 4 large eggs (room temperature)
- 1 cup whole milk (room temperature)
- 2 teaspoons baking powder
- 1 teaspoon pure vanilla extract
- ½ teaspoon salt
Preheat your oven to 350°F (175°C) and grease and flour two round cake pans. In a large mixing bowl, cream together the butter and sugar until light and fluffy. Add in the eggs, one at a time, verifying each is fully incorporated before adding the next. Mix in the vanilla extract.
In a separate bowl, whisk together the flour, baking powder, and salt. Gradually add the dry ingredients to the butter mixture while alternating with milk, starting and ending with flour. Beat until just combined. Divide the batter evenly between the prepared pans and bake for 25-30 minutes, or until a toothpick inserted into the center comes out clean.
One key tip to remember is to not overmix your batter. Overmixing can lead to a dense cake instead of a light and airy one. Additionally, make sure to check for doneness a few minutes before the baking time is up, as oven temperatures can vary.
When the cakes are done, allow them to cool in the pans for about 10 minutes before transferring them to a wire rack to cool completely. This will help prevent the cakes from becoming soggy and guarantee a perfect texture.
Measure Ingredients Accurately
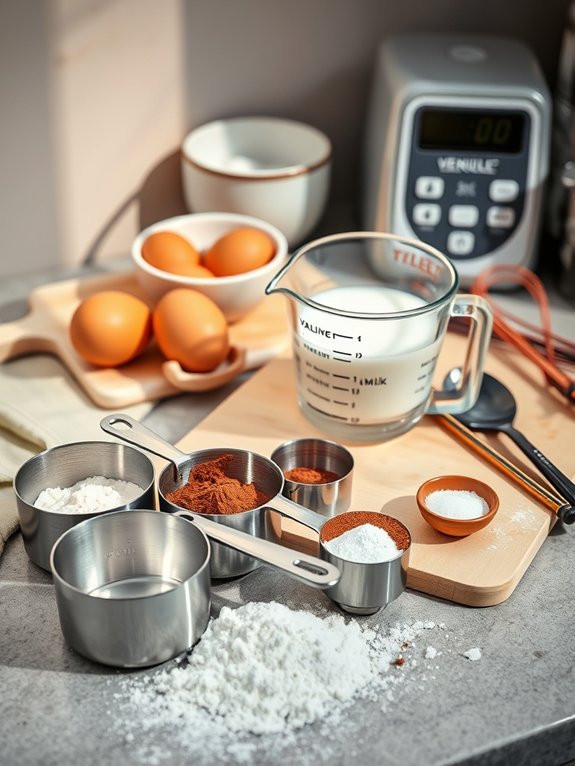
When it comes to baking the perfect cake, precise measurement of ingredients is paramount. Accurate measurements guarantee that the right balance of flavors and textures is achieved, resulting in a cake that rises beautifully and tastes delicious. Whether you’re a novice baker or an experienced home cook, following these guidelines for measuring ingredients will set you on the right path towards creating a delightful cake.
To begin, make sure you have all your measuring tools at hand, including dry measuring cups, liquid measuring cups, measuring spoons, and a kitchen scale if available. Dry ingredients such as flour, sugar, and cocoa powder should be spooned into measuring cups and leveled off with a straight edge for accuracy. Liquid ingredients, on the other hand, should be measured in glass or plastic liquid measuring cups, using the meniscus (the curved surface of the liquid) as a guide to guarantee you’re getting the exact amount needed.
- 2 cups all-purpose flour
- 1 ½ cups granulated sugar
- ½ cup unsweetened cocoa powder
- 1 teaspoon baking powder
- 1 teaspoon baking soda
- ½ teaspoon salt
- 1 cup milk
- 1/2 cup vegetable oil
- 2 large eggs
- 2 teaspoons vanilla extract
- 1 cup boiling water
To create a perfect cake batter, start by preheating your oven to 350°F (175°C). In a large mixing bowl, sift together the all-purpose flour, sugar, cocoa powder, baking powder, baking soda, and salt until well combined.
Then, gradually add the milk, vegetable oil, eggs, and vanilla extract, mixing until the batter is smooth. Carefully stir in the boiling water until the batter is well blended. Pour the mixture into a greased cake pan and bake for 30-35 minutes, or until a toothpick inserted into the center comes out clean.
Always remember that oven temperatures can vary, so keep an eye on your cake as it bakes. Allow the cake to cool in the pan for about 10 minutes before transferring it to a wire rack to cool completely. This prevents the cake from sticking and allows for even cooling, which is essential if you choose to frost it later.
Additionally, make sure your ingredients, particularly eggs and milk, are at room temperature for improved incorporation and a better rise. Happy baking!
Recommended Items
Get ready to bake like a pro! Here are our recommended products and equipment to help you create the perfect cake.
Products
Use Room Temperature Ingredients
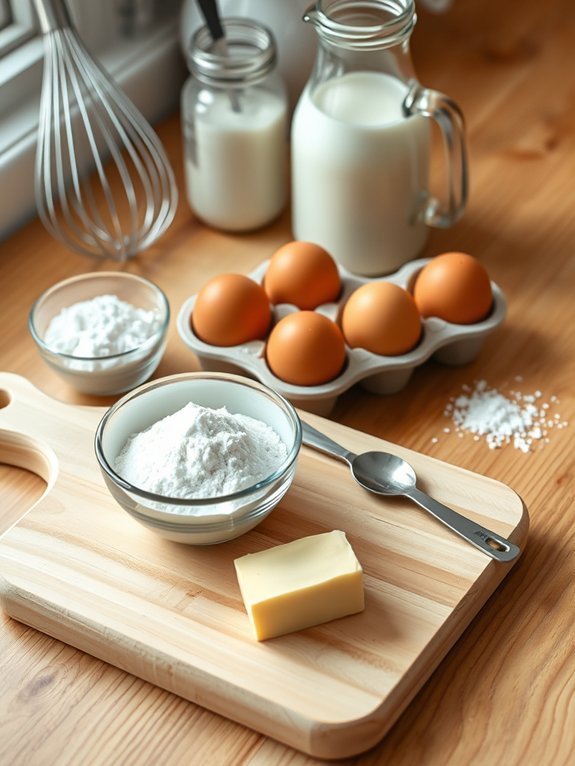
When it comes to baking the perfect cake, one of the most important tips to remember is to use room temperature ingredients. This simple technique can make a significant difference in the texture and overall outcome of your cake. Ingredients such as butter, eggs, and milk blend more easily when warmed up, resulting in a smooth batter that achieves better aeration. The uniform temperature guarantees that the cake rises consistently, creating that desired fluffiness.
Using room temperature ingredients also helps you avoid lumps in your batter, especially when mixing wet and dry ingredients. If cold ingredients are added, the fat can solidify, making it challenging to achieve a homogeneous mixture.
Once you understand the role of temperature in ingredient preparation, your cakes won’t only taste better but also have a more appealing texture. So, before you start baking, set your ingredients out to reach room temperature for ideal results.
Ingredients:
- 1 cup unsalted butter, softened
- 2 cups granulated sugar
- 4 large eggs, at room temperature
- 1 teaspoon vanilla extract
- 3 cups all-purpose flour
- 1 tablespoon baking powder
- 1/2 teaspoon salt
- 1 cup milk, at room temperature
To make the cake, begin by preheating your oven to 350°F (175°C). In a large mixing bowl, cream the softened butter and granulated sugar together until light and fluffy. Gradually add in the eggs one at a time, mixing well after each addition. Then, stir in the vanilla extract.
In a separate bowl, whisk together the flour, baking powder, and salt, then gradually add this dry mixture to the wet mixture, alternating with the room temperature milk. Mix until just combined and pour the batter into a greased cake pan. Bake for 25-30 minutes or until a toothpick inserted into the center comes out clean. Allow the cake to cool in the pan for 10 minutes before transferring it to a wire rack to cool completely.
When preparing your cake, remember that patience is key. Setting your ingredients out in advance might feel cumbersome, but it’s critical for improving the final texture of your cake.
Additionally, if you’re baking in colder temperatures or your kitchen is cool, consider placing your butter in a warm spot to speed up the softening process or using a microwave to very gently warm the milk. A more uniform batter results in an even bake, producing a cake that everyone will be excited to slice into.
Preheat Your Oven Properly
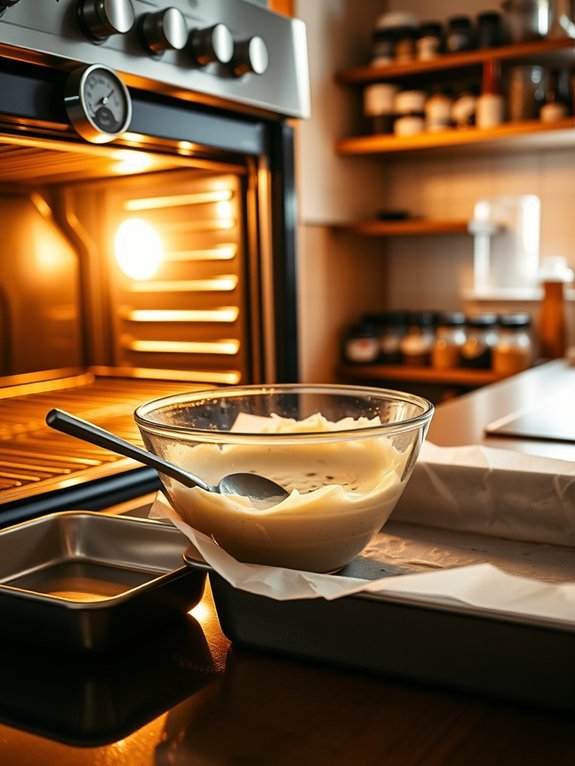
When it comes to baking the perfect cake, one of the most critical steps is properly preheating your oven. This might seem like a simple task, but the temperature and timing can make a significant difference in the final texture and taste of your cake. An oven that isn’t fully preheated can lead to uneven baking, lack of rise, and in some cases, a rubbery texture. It’s important to give your oven ample time to reach the desired temperature before you even think about placing your batter inside. Generally, preheating your oven takes about 10-15 minutes depending on the model.
Different types of cakes require different temperatures, so knowing the right one for your recipe is key. A standard cake usually bakes well at 350°F (175°C), but if you’re making something delicate like angel food cake, you might need a lower temperature, while chocolate stout cake could benefit from a slightly higher setting. Always use an oven thermometer to check your oven’s accuracy; many home ovens can be off by as much as 25°F. This little tool can be your best friend in achieving that perfectly baked cake.
- Oven thermometer
- Cake batter of your choice
- Baking pan (size as per cake recipe)
- Parchment paper (if needed)
- Cooking spray or butter (for greasing the pan)
Start by setting your oven to the desired temperature indicated in your cake recipe. Allow it to preheat for about 10-15 minutes, and if you’re using an oven thermometer, place it inside to verify the temperature is accurate. Once the oven reaches the target temperature, double-check with the thermometer and make any necessary adjustments before placing your cake batter into the prepared pan and sliding it into the oven.
Remember to avoid the temptation to open the oven door frequently while your cake is baking. Each time you open the door, hot air escapes, which can lead to inconsistent baking. Instead, keep the oven light on and use the window to monitor your cake’s progress. If your baking tends to take longer than the suggested time in the recipe, consider checking for doneness with a toothpick about five minutes before the timer goes off. Being mindful of these details will help you achieve that perfect cake every time.
Understand Your Oven’s Hot Spots
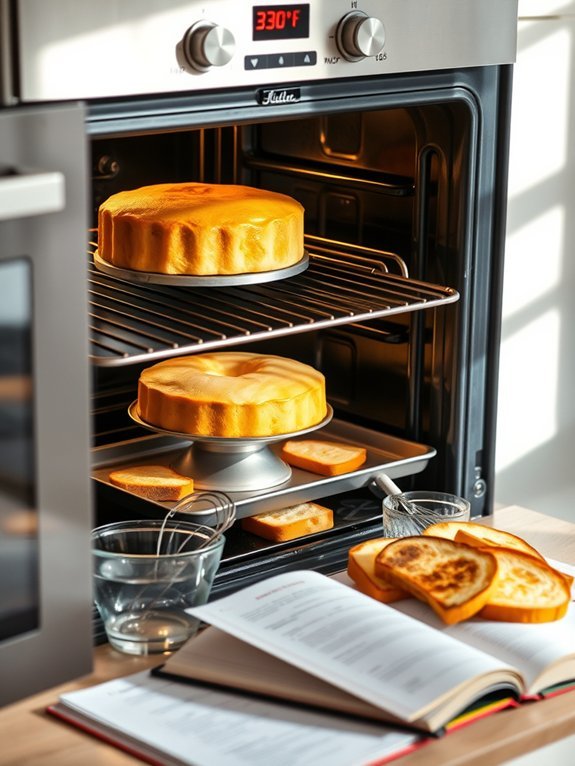
Understanding your oven’s hot spots can drastically improve your baking outcomes, especially when it comes to making the perfect cake.
Every oven has unique heat distribution patterns, which can lead to uneven baking if not considered. Hot spots are areas within the oven that heat more intensely than others, causing certain parts of your cake to cook faster while leaving others underbaked. This can result in a cake that has risen unevenly, with one side falling flat or having a crust that’s too dark.
To achieve an even bake, it’s important to familiarize yourself with your oven’s specific quirks. You can do this by conducting a simple heat test: place slices of bread on a baking tray and bake them at a consistent temperature for a set amount of time. The areas that brown the quickest are your hot spots.
Once you know where they are, you can adjust your baking strategy, such as rotating the cake during baking or rearranging the oven racks to optimize heat exposure.
- 2 cups all-purpose flour
- 1 ½ cups granulated sugar
- ½ cup unsalted butter, softened
- 1 cup milk
- 3 ½ teaspoons baking powder
- 1 teaspoon vanilla extract
- ½ teaspoon salt
- 3 large eggs
Begin by preheating your oven to the temperature specified in your cake recipe, typically around 350°F (175°C).
Once the oven is preheated, prepare your cake batter as instructed. When you’re ready to bake, place the cake in the center of the oven, but keep an eye on it, especially if you know where your oven’s hot spots are.
If you notice one side of the cake browning faster, rotate it halfway through the baking time to guarantee even cooking.
To enhance your cake’s rise and texture, consider using room temperature ingredients, as this will help the batter mix more thoroughly and allow for better aeration.
Additionally, when testing for doneness, use a toothpick inserted into the center of the cake. If it comes out clean, your cake is ready.
Remember, even after you take it out of the oven, the cake will continue to cook slightly from residual heat, so be careful about overbaking.
Keeping these tips in mind will lead you to baking success!
Grease and Flour Your Pans Correctly
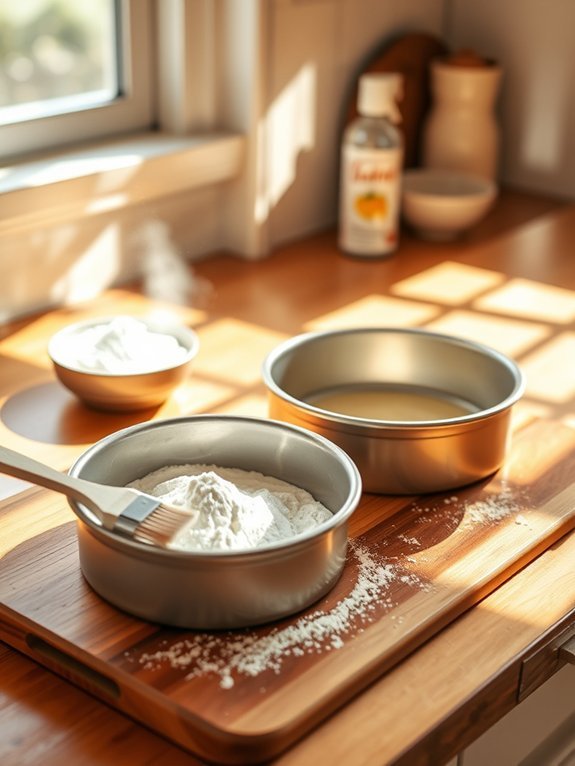
When baking a cake, one of the most vital yet often overlooked steps is properly greasing and flouring your pans. This seemingly simple process guarantees that your cake will release easily from the pan without sticking, thereby preserving its beautiful shape and texture.
Using the right technique can spell the difference between a beautifully baked cake and a crumbled mess left behind in the pan.
To begin with, gather your materials and verify that your cake pans are clean and dry. Depending on the type of cake you’re making, the choice of fat for greasing may vary. Common options include butter, shortening, or non-stick cooking spray. Each has its pros and cons, so choose one that suits your recipe best.
It’s also important to measure out the flour accurately, as too much can create a dry cake, while too little can lead to sticking.
- Cake pans (round, square, or rectangular depending on your recipe)
- Unsalted butter or shortening (for greasing)
- All-purpose flour (for dusting)
- Parchment paper (optional, for extra protection)
Begin by preheating your oven according to your cake recipe’s instructions. While it’s heating, take your chosen fat and apply a thin, even layer to the bottom and sides of each cake pan with a pastry brush or your fingertips. Confirm you cover all areas properly.
After greasing, sprinkle a generous amount of flour into each pan, giving it a gentle shake to coat the surfaces. Turn the pans upside down to tap out any excess flour; this will help prevent clumping.
Remember to avoid using too much greasing fat, as this can create a greasy residue on your cake that might affect its flavor and texture. Additionally, always check the type of cake you’re baking—certain cakes may require a specific method, like using parchment paper for delicate sponge cakes or angel food cakes.
Finally, if you’re using a springform pan, make sure to grease the sides and the bottom well as cakes baked in these pans are particularly prone to sticking.
Baking Tips for the Perfect Cake
Mix Ingredients in the Right Order
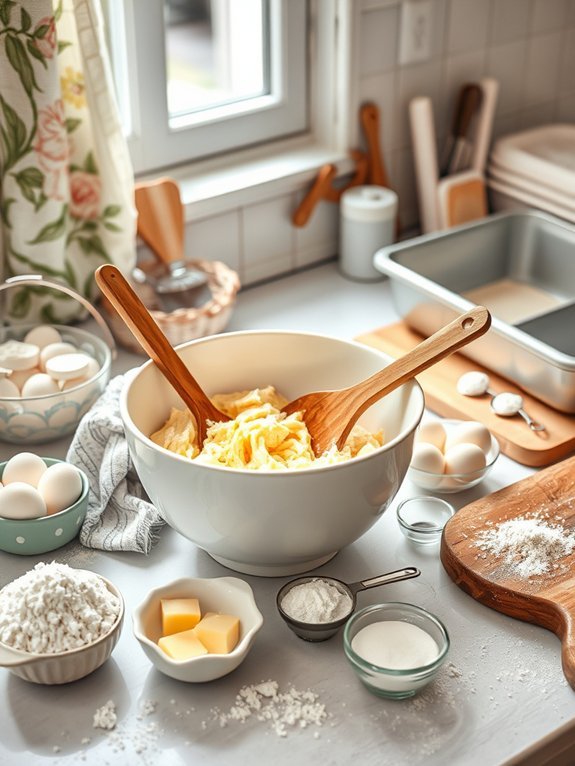
Baking the perfect cake is as much about the ingredients as it’s about how you combine them. Mixing your ingredients in the right order can greatly affect your cake’s texture and flavor. Typically, the order begins with blending your dry ingredients separately from the wet, guaranteeing an even distribution of the leavening agents and flavor enhancers. When you combine these mixtures, the manner in which you fold or beat them together also plays a vital role in achieving a delightful cake.
When preparing your batter, start by creaming together your butter and sugar until light and fluffy. This process incorporates air into the mixture, yielding a lighter cake. After that, add your eggs one at a time, making sure each one is well combined before moving on to the next. Finally, alternate adding your dry ingredients and wet ingredients, beginning and ending with the dry ingredients, to maintain proper moisture levels and texture in your batter.
- 2 cups all-purpose flour
- 1 ½ cups granulated sugar
- 1 cup unsalted butter, softened
- 4 large eggs
- 1 cup whole milk
- 2 teaspoons baking powder
- 1 teaspoon vanilla extract
- ½ teaspoon salt
Begin by preheating your oven to 350°F (175°C). In a large bowl, cream together the softened butter and sugar until light and fluffy. Add the eggs one at a time, mixing well after each addition.
In a separate bowl, whisk together the flour, baking powder, and salt. Gradually add this dry mixture to the butter mixture, alternating with the milk, and finish with the vanilla extract. Carefully mix until just combined, avoiding over-mixing to keep your cake tender.
To guarantee your cake rises perfectly, make sure to use room temperature ingredients, as cold items can lead to a denser batter. Also, be mindful of the oven door – avoid opening it too soon while baking, as this can create a temperature drop and cause the cake to collapse.
Allow your cake to cool in the pan for a few minutes before transferring it to a wire rack, which helps prevent it from becoming soggy. Finally, don’t hesitate to customize your cake with flavors or add-ins like chocolate chips or nuts for a unique twist!
Don’t Overmix the Batter

When it comes to baking the perfect cake, one of the most common mistakes is overmixing the batter. While it might be tempting to whip the ingredients into a fluffy mixture, overmixing can lead to a dense and tough cake. This happens because the gluten in the flour becomes overdeveloped, resulting in a chewy texture rather than a light and airy crumb. As a result, it’s vital to mix just until the ingredients are combined, allowing for a beautifully soft cake that rises perfectly in the oven.
For the best results, remember to sift your dry ingredients beforehand and measure your ingredients precisely. Incorporating air into the batter is fundamental, but you want to avoid vigorous mixing. Gently folding in your dry ingredients with the wet ingredients will help to maintain a delicate balance, guaranteeing that you achieve a cake with ideal texture and flavor.
Now, let’s get started on making your cake batter without overmixing!
Ingredients:
- 2 cups all-purpose flour
- 1 ½ cups granulated sugar
- ½ cup unsalted butter, softened
- 1 cup milk
- 3 ½ teaspoons baking powder
- 1 teaspoon vanilla extract
- ½ teaspoon salt
- 3 large eggs
Carefully combine the softened butter and sugar in a mixing bowl, beating them together until just creamy. Then, add the eggs one at a time, blending gently after each addition.
In another bowl, whisk together the dry ingredients: flour, baking powder, and salt. Gradually mix in the dry ingredients and milk to the wet mixture, alternating between the two, until just combined. Remember to stop mixing as soon as the flour is no longer visible, avoiding any overmixing to guarantee a light and airy cake.
When baking, it’s ideal to use room temperature ingredients; this helps with maintaining an even texture. Additionally, always preheat your oven and confirm that your cake pans are well-greased or lined with parchment paper to prevent sticking.
If you’re experimenting with flavors or add-ins (like nuts or chocolate chips), add them gently in the final mix, making sure they’re evenly distributed but not overworked into the batter. Finally, resist the urge to open the oven door too early to prevent collapsing, and let the cake cool completely before frosting or serving.
Test for Doneness
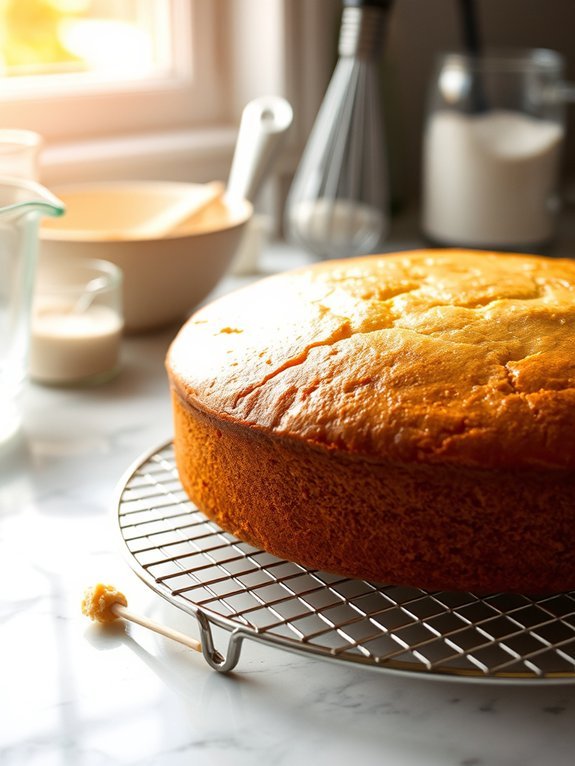
When it comes to baking the perfect cake, knowing when it’s done is just as essential as getting the ingredients right. Underbaking can lead to a soggy center, while overbaking may yield a dry and crumbly texture. Achieving the perfect balance requires some keen observation and testing methods to confirm that your cake is ready to be enjoyed.
The best way to test for doneness is by using the toothpick test. Insert a toothpick or a cake tester into the center of the cake. If it comes out clean or with a few crumbs clinging to it, your cake is ready. If the toothpick comes out with wet batter, it needs more time in the oven. Remember that cakes will continue to bake slightly even after they’re removed from the oven due to residual heat, so it’s better to err on the side of caution.
- All-purpose flour
- Sugar
- Eggs
- Butter
- Baking powder
- Milk
- Vanilla extract
- Salt
Preheat your oven to the desired temperature (typically 350°F), and prepare your cake batter. Once you’ve poured it into a greased cake pan, place it in the oven. Set a timer for about 25-30 minutes, and around the last five minutes of baking, begin checking for doneness using the toothpick method. If the toothpick comes out clean, remove the cake from the oven and allow it to cool before decorating.
One extra tip to confirm accurate doneness is to make sure you place your cake in the center of the oven, allowing for even heat circulation. Pay close attention to the edges of the cake; they should pull away slightly from the sides of the pan when the cake is nearing readiness. This, combined with the toothpick test, will help you achieve that perfect rise and texture for your cake.
Don’t forget to trust your senses – a delicious, buttery aroma wafting from the oven is a sure sign that you’re on the right track!
Cool Cakes Properly
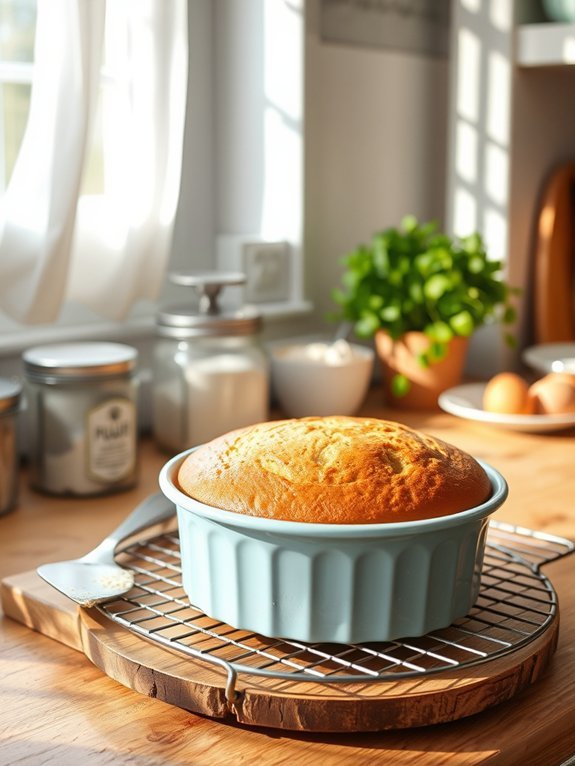
Cooling cakes properly is a vital step in the baking process that can greatly impact the final texture and taste of your cake. After a cake is baked, it continues to cook from the residual heat even after it has been removed from the oven. If it’s not cooled correctly, it can become dry or develop an undesirable texture. Additionally, cooling your cake properly helps it to set, making it easier to frost and slice.
To start, once you take your cake out of the oven, allow it to cool in the pan for about 10-15 minutes. This will give it a chance to firm up a bit and prevent it from breaking apart when you transfer it to a wire rack.
After that, carefully invert the cake onto a wire rack to cool completely. This allows air to circulate around the cake, preventing any soggy bottoms and contributing to an overall better crumb structure.
- 1 baked cake (any type)
- Cakes pans (for preparation)
- Cooling rack
- Cake spatula (optional for transferring)
To cool your cake properly, first, make sure it sits in the pan for about 10-15 minutes. After this initial resting period, gently run a knife around the edges to loosen it, then invert it onto the wire rack.
If it doesn’t come out easily, you can tap the bottom of the pan lightly or use a spatula to help release it. Place the cake upright on the cooling rack and allow it to cool completely at room temperature.
When cooling cakes, it’s important to avoid rapid temperature changes that can lead to cracking or moisture issues. Make certain your cooling rack is placed in an area free from drafts or direct sunlight, as both can affect how the cake cools.
If your cake has a particularly moist interior, consider allowing it to cool more in a pan to retain some steam before moving it to a rack. Remember, patience is key—allowing sufficient time for your cake to cool will yield the best results when it comes time to frost and serve.
Frost With Care
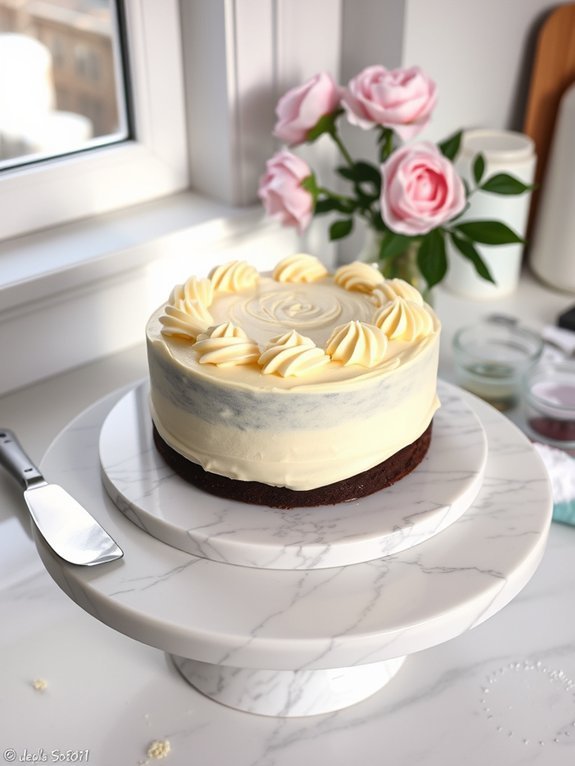
Frosting a cake is an art that elevates the final presentation and enhances the flavor. The key to achieving a perfect frosting layer lies not just in the recipe but also in the technique used to apply it. When the cake has cooled completely, it’s crucial to prepare a smooth frosting that complements the texture and taste of the cake. Traditional buttercream is a popular choice, as it’s easy to work with and can be flavored to suit the cake’s profile.
Before you start frosting, verify that your tools are ready. A turntable makes application much easier, and quality offset spatulas can help you achieve a smooth finish. Take your time when frosting; it’s better to add a little at a time than to apply too much and create a mess. Keep the frosting at a consistent temperature for best spreading, and remember to clean your spatula between applications to prevent crumbs from swirling into the frosting.
Ingredients:
- 1 cup unsalted butter, softened
- 4 cups powdered sugar
- 2 teaspoons vanilla extract
- 2-4 tablespoons heavy cream or milk
- Pinch of salt
- Food coloring (optional)
To make the frosting, begin by beating the softened butter in a large mixing bowl until it’s creamy. Gradually add the powdered sugar, starting with two cups and mixing well until combined. Add the vanilla extract and pinch of salt. To achieve the desired consistency, add heavy cream or milk, one tablespoon at a time, until the frosting is smooth and spreadable. If you’re using food coloring, mix it in until the desired shade is reached.
When frosting your cake, start by applying a thin “crumb coat” layer of frosting to seal in crumbs and then refrigerate it for about 30 minutes. After chilling, apply a thicker layer of frosting on top and around the sides, smoothing it with an offset spatula. For a decorative finish, you can create swirls, peaks, or use piping bags with different tips to add intricate designs.
For best results, verify your cake layers are level by trimming them with a serrated knife. If you’re working with a particularly moist cake, consider chilling the layers before frosting to firm them up, making it easier to spread the frosting.
Also, feel free to experiment with different flavor additions, like cocoa powder for chocolate frosting or citrus zest for a revitalizing twist. Don’t hesitate to practice and have fun with the process; every cake is a new opportunity to improve your frosting skills!
Experiment and Have Fun
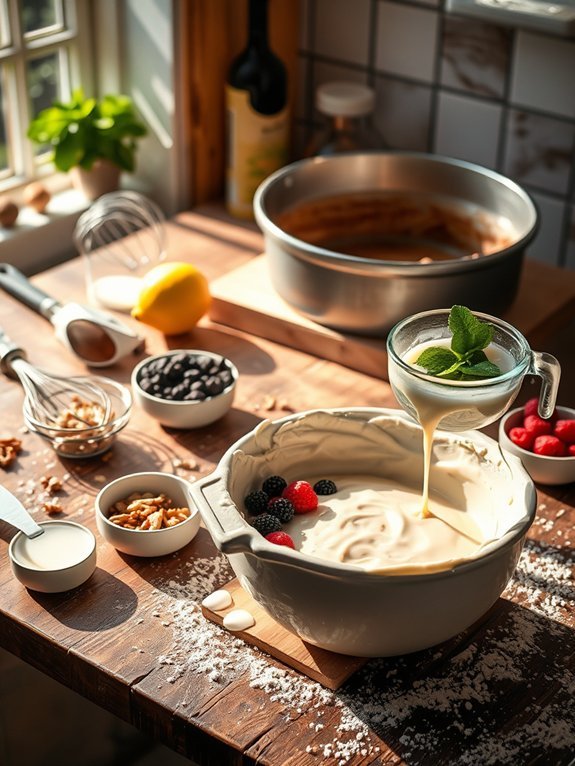
Baking isn’t just a science; it’s an art that allows you to express your creativity and imagination. When it comes to cakes, the possibilities are endless. From experimenting with different flavor combinations to trying out unusual ingredients or even incorporating various textures, baking can be a delightful adventure.
Don’t be afraid to step outside the box! Sometimes, the most surprising and delicious results come from a bit of fun and experimentation in the kitchen.
Before you plunge into the recipe, think about the flavors and textures you’d like to incorporate into your cake. Maybe you want to add a zesty lemon twist to a traditional vanilla cake or introduce a rich chocolate layer with hints of espresso.
Whatever you decide, remember that the key to a perfect cake lies in balancing flavors and ensuring your ingredients complement one another. Let’s channel your inner baking artist and create something uniquely yours!
- 2 cups all-purpose flour
- 1 ½ cups granulated sugar
- ½ cup unsalted butter, softened
- 1 cup milk
- 3 large eggs
- 2 tsp baking powder
- 1 tsp vanilla extract
- Pinch of salt
- Optional: 1 cup chopped nuts, fruits, or chocolate chips
In a large mixing bowl, cream the softened butter and sugar together until light and fluffy. Gradually add the eggs, one at a time, mixing well after each addition. Stir in the vanilla extract.
In another bowl, combine the flour, baking powder, and salt. Gradually mix the dry ingredients into the wet mixture, alternating with the milk until everything is well combined. If you’re adding any optional ingredients like nuts or chocolate chips, fold them in gently.
Pour the batter into a greased cake pan and bake at 350°F (175°C) for 30-35 minutes, or until a toothpick inserted into the center comes out clean.
When experimenting with cake recipes, always remember to keep track of your modifications so you can replicate your successes or tweak your mistakes in the future. Adding ingredients like fruit purees or flavored extracts can elevate your cake, but be mindful of your moisture levels; adding too much liquid can affect the texture.
Also, don’t forget to allow your cake to cool completely before frosting it, as this will help achieve a cleaner finish. Finally, have fun with decorating! Use fresh fruits, sprinkles, or edible flowers to make your cake visually stunning and uniquely yours.

