This post may contain affiliate links. Please read our policy page.
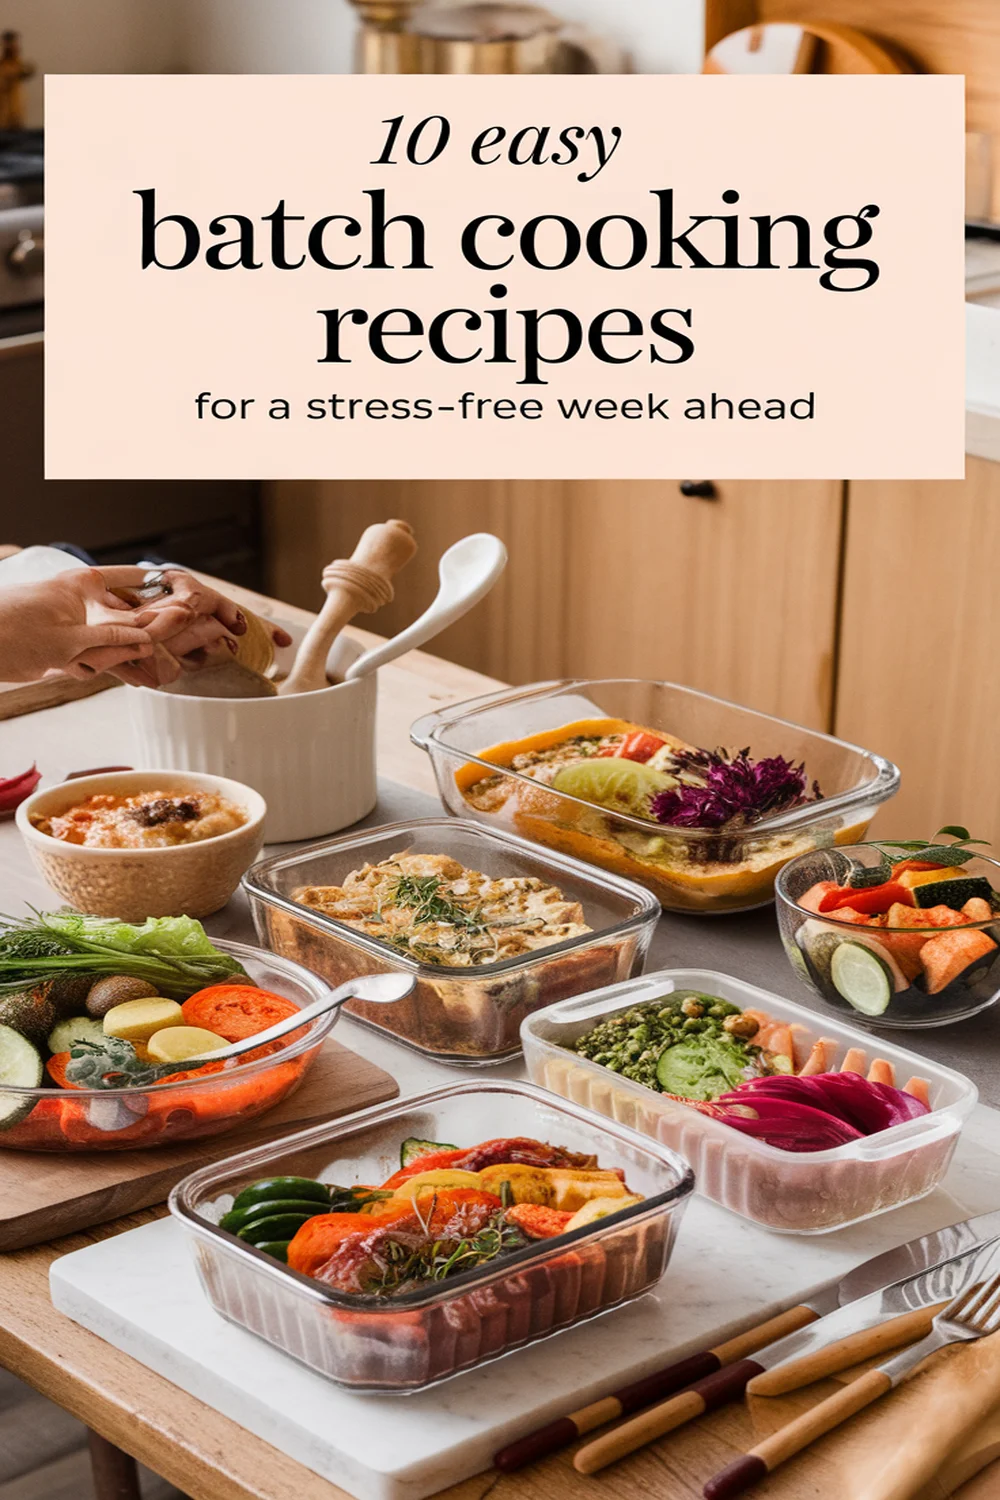
Batch cooking makes your week stress-free with easy, delicious recipes! Try hearty vegetable soup for a comforting meal or whip up quinoa and black bean salad for a nutritious option. Chicken stir-fry with mixed veggies is perfect for busy nights, while baked sweet potatoes with chickpeas offer a sweet touch. Don’t forget overnight oats for quick breakfasts or lentil curry for rich flavors. If you’re looking for more options, there are even more delightful recipes waiting for you!
Hearty Vegetable Soup
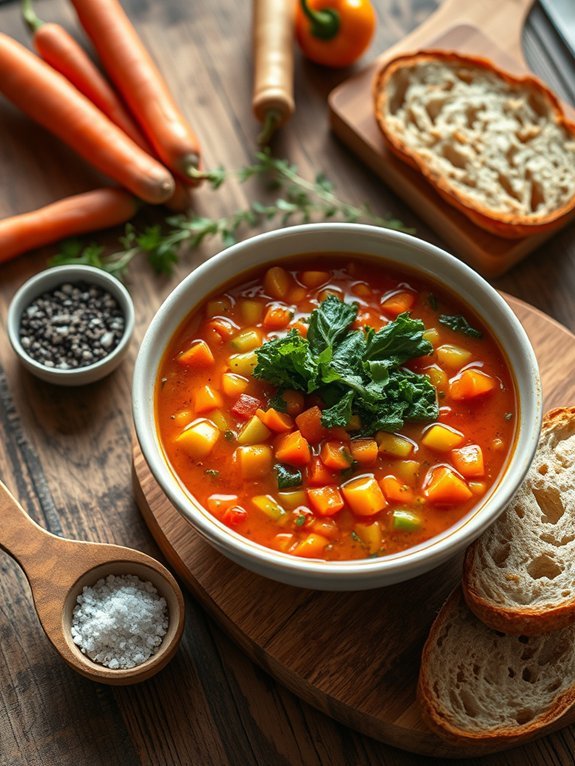
Hearty vegetable soup is a nourishing and versatile dish that can be enjoyed year-round, perfect for batch cooking. Its heartiness comes from the variety of vegetables and legumes that create a comforting and satisfying meal. Packed with nutrients, this soup is easy to prepare, making it an ideal choice for those who want to meal prep for the week. Whether served on its own or paired with crusty bread, this soup is sure to warm both the body and soul.
Preparing a hearty vegetable soup isn’t only simple but also an excellent way to use up any leftover vegetables from your fridge. The beauty of this recipe is its adaptability; you can mix and match vegetables based on what you have on hand or to suit your taste preferences. The result is a delicious, rich, and colorful bowl of goodness that can easily become a family favorite.
Ingredients:
- 1 tablespoon olive oil
- 1 medium onion, diced
- 2 cloves garlic, minced
- 2 carrots, diced
- 2 celery stalks, diced
- 1 zucchini, diced
- 1 bell pepper, chopped
- 1 can (14.5 oz) diced tomatoes
- 6 cups vegetable broth
- 1 can (15 oz) kidney beans, rinsed and drained
- 1 teaspoon dried oregano
- 1 teaspoon thyme
- Salt and pepper to taste
- 2 cups kale or spinach, chopped
In a large pot, heat the olive oil over medium heat. Add the diced onion and sauté until translucent, then stir in the garlic, carrots, and celery, cooking until softened.
Add the zucchini, bell pepper, diced tomatoes, vegetable broth, and kidney beans, followed by the dried oregano and thyme. Bring to a boil, then reduce heat and simmer for about 30 minutes, or until all vegetables are tender. In the last few minutes of cooking, stir in the kale or spinach until wilted. Season with salt and pepper to taste.
When batch cooking this soup, consider making a double or triple batch to freeze portions for easy meals later on. You can customize your soup by incorporating seasonal vegetables or by adding grains like barley or quinoa for extra heartiness.
Additionally, this soup benefits from resting; letting it sit for a while allows the flavors to meld together beautifully.
Quinoa and Black Bean Salad

Quinoa and black bean salad is a nutritious and vibrant dish that makes for an excellent batch cooking option. Packed with plant-based protein, fiber, and a variety of vitamins, this salad isn’t only filling but also incredibly versatile. Whether you’re preparing meals for the week or looking for a crowd-pleasing dish for a gathering, this salad pairs well with various ingredients and can be served as a side or main course.
To elevate the flavors of your quinoa and black bean salad, you can customize it with your favorite vegetables, herbs, and dressings. The combination of quinoa and black beans creates a delightful texture, while the addition of colorful veggies adds a revitalizing crunch. This salad can be enjoyed chilled or at room temperature, making it an ideal choice for meal prep, picnics, or potlucks.
Ingredients:
- 1 cup quinoa
- 2 cups water or vegetable broth
- 1 can (15 oz) black beans, rinsed and drained
- 1 cup corn (fresh, canned, or frozen)
- 1 bell pepper, diced
- 1 small red onion, diced
- 1 cup cherry tomatoes, halved
- 1/4 cup fresh cilantro, chopped
- Juice of 2 limes
- 3 tablespoons olive oil
- 1 teaspoon cumin
- Salt and pepper to taste
To prepare the salad, rinse the quinoa under cold water and then combine it with the water or vegetable broth in a saucepan. Bring to a boil, reduce the heat to low, cover, and simmer for about 15 minutes or until the quinoa is fluffy and the liquid is absorbed.
Let it cool slightly, then mix the cooked quinoa in a large bowl with black beans, corn, bell pepper, red onion, cherry tomatoes, and cilantro. In a separate bowl, whisk together lime juice, olive oil, cumin, and salt and pepper, then pour the dressing over the salad. Toss everything together until well combined.
For an extra layer of flavor, consider adding avocado right before serving, as it complements the other ingredients beautifully. Additionally, this salad can be stored in the fridge for up to five days, making it perfect for meal prep.
If you prefer a spicier kick, feel free to add diced jalapeños or a dash of hot sauce to the mix. Enjoy this nutritious salad as a revitalizing lunch or a hearty dinner option!
Chicken Stir-Fry With Mixed Vegetables
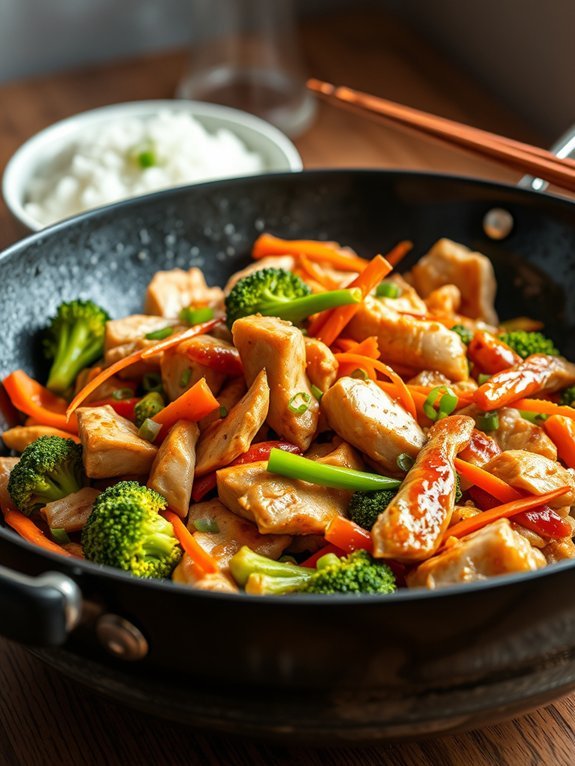
Chicken stir-fry with mixed vegetables is a versatile and quick meal option that thrives on fresh ingredients and vibrant flavors. This dish not only delivers on taste but also packs a nutritional punch, making it an excellent choice for batch cooking.
Ideal for busy weeknights, you can whip up a big batch and store the leftovers for easy lunches or dinners throughout the week. The beauty of this recipe lies in its simplicity, allowing you to customize the vegetables based on what you have available or your personal preferences.
To achieve a perfect stir-fry, it’s important to pay attention to the timing of adding each ingredient. Cooking at high heat ensures that everything retains its color, crispness, and flavor. It’s also vital to have everything prepped and ready before you start cooking, as the process goes quickly. The result? Tender chicken, perfectly cooked vegetables, and a delicious sauce that ties all the elements together.
Ingredients:
- 1 pound boneless, skinless chicken breast, sliced thinly
- 2 tablespoons vegetable oil
- 1 bell pepper, sliced
- 1 cup broccoli florets
- 1 cup snap peas
- 1 carrot, julienned
- 3 cloves garlic, minced
- 1 inch ginger, grated
- 4 tablespoons soy sauce
- 2 tablespoons oyster sauce (optional)
- 1 tablespoon cornstarch
- 1/4 cup chicken broth
- Cooked rice or noodles, for serving
Heat the vegetable oil in a large skillet or wok over medium-high heat. Add the sliced chicken and stir-fry until cooked through, about 5 minutes.
Next, add the minced garlic and grated ginger, cooking for an additional minute until fragrant. Toss in the bell pepper, broccoli, snap peas, and carrot, and stir-fry for another 4-5 minutes until the vegetables are tender-crisp.
In a bowl, whisk together the soy sauce, oyster sauce (if using), cornstarch, and chicken broth, then pour into the skillet. Cook for a few more minutes until the sauce thickens. Serve immediately over rice or noodles.
For an even more flavorful stir-fry, consider marinating the chicken in soy sauce, ginger, and garlic for about 30 minutes before cooking.
Additionally, you can vary the vegetables based on seasonal availability or your taste preferences; options like bok choy, zucchini, or mushrooms can be great additions.
When batch cooking, make sure that you cool the stir-fry quickly before refrigerating to maintain freshness. Finally, reheat on high heat to preserve the dish’s texture when serving leftovers.
Recommended Items
Get ready to simplify your meal prep with our top picks for products and equipment!
Baked Sweet Potatoes With Chickpeas
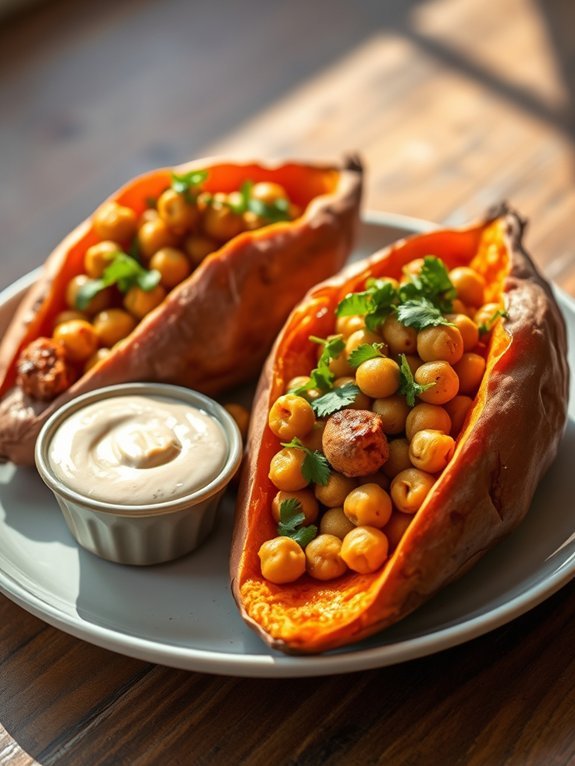
Baked sweet potatoes with chickpeas make for a delicious and nutritious meal that’s perfect for batch cooking. This hearty dish is packed with flavor, combining the natural sweetness of sweet potatoes with the protein-rich satisfaction of chickpeas.
It isn’t only easy to prepare but also versatile – you can enjoy it as a main course or a side dish. Plus, it’s an excellent option for meal prep; simply bake a larger batch and store the extras for another day.
The beauty of this recipe is its simplicity. Sweet potatoes are rich in vitamins and minerals, while chickpeas offer a healthy source of fiber and plant-based protein. When roasted together, they create a delightful harmony of flavors and textures that satisfy both your palate and nutritional needs.
Whether you plan to serve it with a drizzle of tahini sauce, a sprinkle of herbs, or simply on its own, this dish can easily adapt to your favorite culinary preferences.
Ingredients:
- 4 medium sweet potatoes
- 1 can (15 oz) chickpeas, drained and rinsed
- 2 tablespoons olive oil
- 1 teaspoon ground cumin
- 1 teaspoon smoked paprika
- Salt and pepper, to taste
- Fresh parsley, for garnish (optional)
- Tahini sauce or yogurt, for serving (optional)
Preheat your oven to 400°F (200°C). Scrub the sweet potatoes, then pierce them a few times with a fork and place them on a baking sheet.
Toss the chickpeas with olive oil, cumin, smoked paprika, salt, and pepper, and spread them on another baking sheet. Bake both the sweet potatoes and chickpeas in the oven for about 25-30 minutes, or until the sweet potatoes are tender and the chickpeas are golden and crispy.
For best results, allow the sweet potatoes to cool slightly before slicing them open to create a pocket for the chickpeas. You can also enhance the flavor by topping them with a drizzle of tahini sauce or a dollop of yogurt for creaminess.
Feel free to experiment with different spices or toppings, like feta cheese or avocado, to customize the dish to your taste. Additionally, this recipe is easily adjustable based on how many servings you need, making it a perfect choice for meal prep.
Overnight Oats With Fresh Fruit
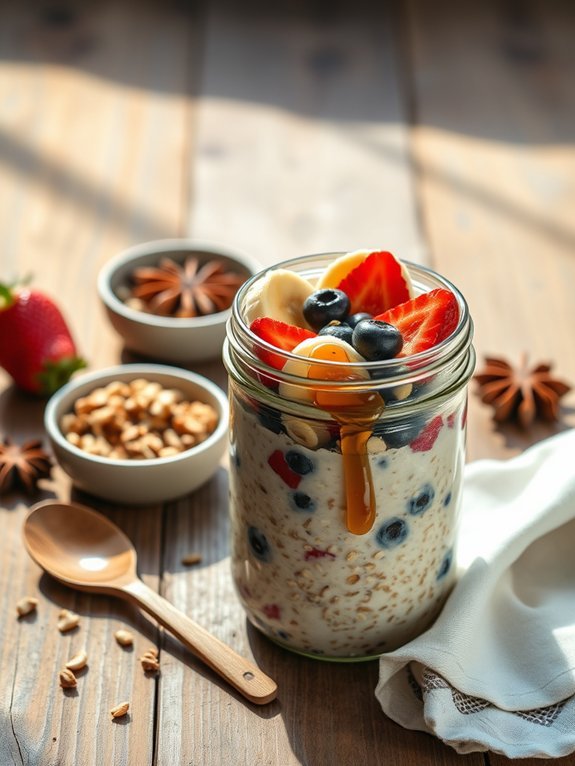
Overnight oats are a versatile and healthy breakfast option that can save you time during busy mornings. By preparing your meals in advance, you can create a nutritious dish that requires no cooking in the morning. Combining oats with milk or yogurt and your favorite fruits allows for endless customization, ensuring you never get bored with your breakfast.
This recipe for overnight oats with fresh fruit isn’t only simple to make, but it’s also packed with fiber and essential nutrients. It’s an excellent way to start your day on a healthy note while also being convenient. You can prepare multiple jars at once for a week’s worth of breakfasts, making it an ideal choice for batch cooking enthusiasts.
- 1 cup rolled oats
- 1 ½ cups milk (or dairy-free alternative)
- 1 tablespoon chia seeds (optional)
- 1 tablespoon honey or maple syrup (optional)
- 1 teaspoon vanilla extract
- 1 cup fresh fruit (e.g., berries, banana, or chopped apples)
- Toppings (e.g., nuts, seeds, or nut butter)
In a large mixing bowl or a mason jar, combine the rolled oats, milk, chia seeds, honey or maple syrup, and vanilla extract. Stir well until all ingredients are thoroughly mixed.
Next, divide the mixture into individual serving jars or bowls, and top with your choice of fresh fruit. Stir slightly to combine the fruit with the oats, then cover the jars or bowls with a lid or plastic wrap. Place them in the refrigerator overnight, or for at least 4-6 hours, for the oats to soften and absorb the liquid.
When making overnight oats, feel free to get creative with flavors and ingredients. Experiment with different types of milk, add spices like cinnamon or nutmeg for extra warmth, and vary the fruits based on what’s in season or what you have on hand.
For added texture and crunch, include toppings such as nuts, seeds, or granola just before serving to maintain their crispness. Finally, remember that the oats will thicken as they sit, so adjust the liquid to your desired consistency before refrigerating.
Spinach and Feta Stuffed Peppers
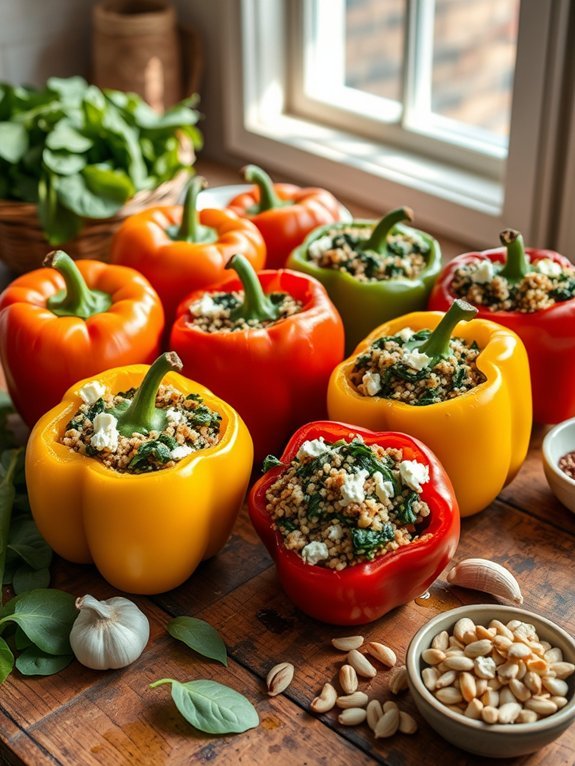
Spinach and Feta Stuffed Peppers are an excellent choice for batch cooking, as they’re nutritious, delicious, and can be easily reheated for meals throughout the week. This dish combines the earthy flavors of spinach with the creamy, tangy taste of feta cheese, all stuffed into colorful bell peppers. Not only are these stuffed peppers visually appealing, but they also pack a punch of vitamins and minerals, making for a healthy addition to your meal prep routine.
Preparing these stuffed peppers is straightforward and allows for customization based on your preferences. You can use a variety of bell peppers—red, yellow, or green—each bringing its unique sweetness to the dish. This recipe also lends itself well to modification; feel free to add in different proteins, grains, or spices to cater to your taste.
Whether you’re serving them as a main dish or a side, these Spinach and Feta Stuffed Peppers are sure to become a favorite in your home.
Ingredients:
- 4 large bell peppers
- 2 cups fresh spinach, chopped
- 1 cup feta cheese, crumbled
- 1 cup cooked quinoa or rice
- 1 small onion, diced
- 2 cloves garlic, minced
- 1 teaspoon olive oil
- 1 teaspoon oregano
- Salt and pepper to taste
- Optional: ¼ cup pine nuts or walnuts, toasted
Cook the bell peppers by slicing the tops off and removing the seeds, then preheat your oven to 375°F (190°C). In a skillet, heat olive oil over medium heat and sauté the onion and garlic until translucent. Add the chopped spinach and cook until wilted.
Remove from heat and mix in the crumbled feta, cooked quinoa or rice, and oregano. Season with salt and pepper. Stuff the mixture into each bell pepper, place them upright in a baking dish, and cover with foil. Bake for 30-35 minutes until the peppers are tender.
When preparing Spinach and Feta Stuffed Peppers, consider roasting the peppers beforehand for enhanced flavor and texture. You can also experiment with different cheeses, like mozzarella or goat cheese, to suit your preferences.
This dish can be stored in the fridge for up to four days and also freezes well, making it an excellent choice for meal prepping.
Lentil Curry With Coconut Milk
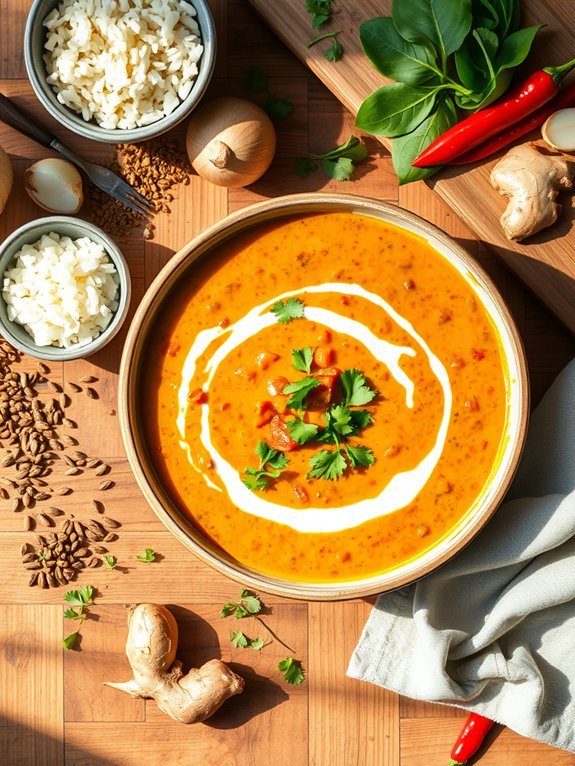
Lentil curry with coconut milk is a vibrant and comforting dish that showcases the rich combination of spices and flavors commonly found in Indian cuisine. This hearty meal not only satisfies your hunger but also provides plenty of nutritional benefits, thanks to the rich sources of protein, fiber, and healthy fats. The use of coconut milk adds a creamy texture and subtle sweetness, perfectly balancing the spices in the curry.
Perfect for batch cooking, this lentil curry can be easily prepared in large quantities and stored for hearty meals throughout the week. It’s equally delightful served with rice, naan, or enjoyed on its own. Plus, the flavors develop even more as it sits, making leftovers a particularly delicious option for lunch or dinner.
Ingredients:
- 1 cup dried lentils (red or green)
- 1 can (14 oz) coconut milk
- 1 medium onion, diced
- 2 cloves garlic, minced
- 1-inch piece of ginger, minced
- 1 tablespoon curry powder
- 1 teaspoon turmeric powder
- 1 teaspoon cumin seeds
- 1 can (14 oz) diced tomatoes
- 2 cups vegetable broth
- Salt to taste
- Fresh cilantro for garnish
- Optional: spinach or kale for added greens
In a large pot, heat a little oil over medium heat and sauté the diced onion until soft and translucent. Add the minced garlic and ginger, cooking for another minute until fragrant. Stir in the curry powder, turmeric, and cumin seeds, toasting the spices for about 30 seconds.
Then, add the lentils, diced tomatoes, vegetable broth, and coconut milk. Bring to a gentle simmer, cover, and allow cooking for 25-30 minutes or until the lentils are tender. Season with salt to taste and mix in any greens if desired during the last few minutes of cooking. Garnish with fresh cilantro before serving.
When cooking lentil curry, it’s important to keep an eye on the cooking time, as it can vary depending on the type of lentils used. Red lentils cook faster and tend to break down more, creating a thick consistency, while green lentils hold their shape better.
For added flavor, feel free to incorporate other spices such as garam masala or chili powder for heat, and experiment with fresh vegetables like bell peppers or carrots to enhance nutrition and texture. Enjoy your curry fresh, but remember it stores well in the fridge, allowing for quick reheating and convenient meals throughout the week!
Zucchini Noodles With Pesto
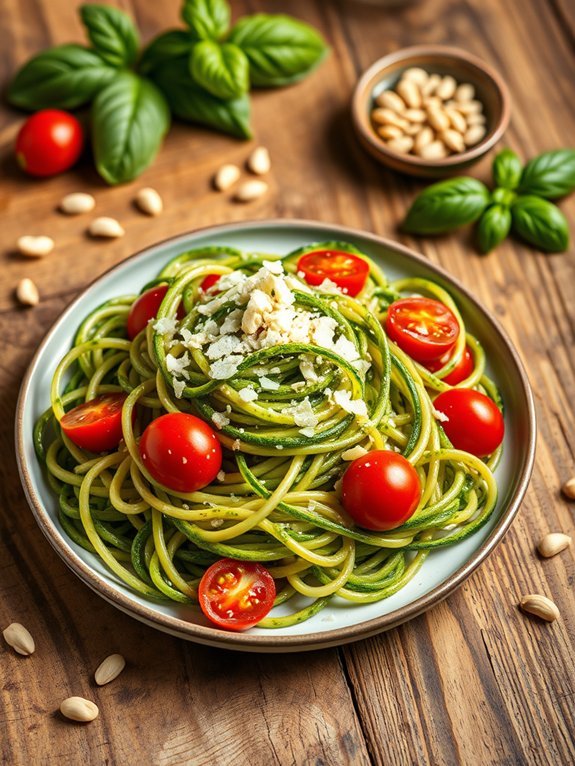
Zucchini noodles, often referred to as “zoodles,” are a fantastic low-carb alternative to traditional pasta. Not only do they provide a light and fresh base for many dishes, but they’re also a great way to incorporate more vegetables into your diet. When paired with a vibrant pesto sauce, zucchini noodles transform into a delightful and nutritious meal that can be prepared in under 30 minutes.
This dish is perfect for batch cooking, as you can easily make a large quantity of zucchini noodles and pesto to store for future meals. The pesto, made from fresh basil, garlic, nuts, and olive oil, brings a burst of flavor that complements the mild taste of zucchini. Whether you’re planning a quick dinner or prepping for the week ahead, zucchini noodles with pesto is an excellent choice that balances convenience and deliciousness.
Ingredients:
- 4 medium zucchinis
- 2 cups fresh basil leaves
- 1/2 cup pine nuts (or walnuts)
- 2 cloves garlic
- 1/2 cup grated Parmesan cheese
- 1/2 cup olive oil
- Salt and pepper to taste
- Optional: cherry tomatoes for garnish
Using a spiralizer or a julienne peeler, create long strands of zucchini noodles from the zucchinis. In a food processor, combine basil leaves, nuts, garlic, Parmesan cheese, and a pinch of salt and pepper. While blending, slowly drizzle in the olive oil until the mixture is smooth and well combined.
In a large skillet over medium heat, briefly sauté the zucchini noodles for 2-3 minutes until just tender. Add the pesto to the pan, tossing to coat the noodles evenly before serving.
When preparing zucchini noodles, it’s crucial to avoid overcooking them, as they can become mushy and lose their appealing texture. If you find that your noodles release a lot of moisture while cooking, you can gently pat them dry with a paper towel.
For added flavor, consider adding crushed red pepper flakes to the pesto, or mix in some cherry tomatoes right before serving for a pop of color and acidity. Enjoy your delicious and healthy meal!
Batch Cooking Made Easy
Stuffed Cabbage Rolls
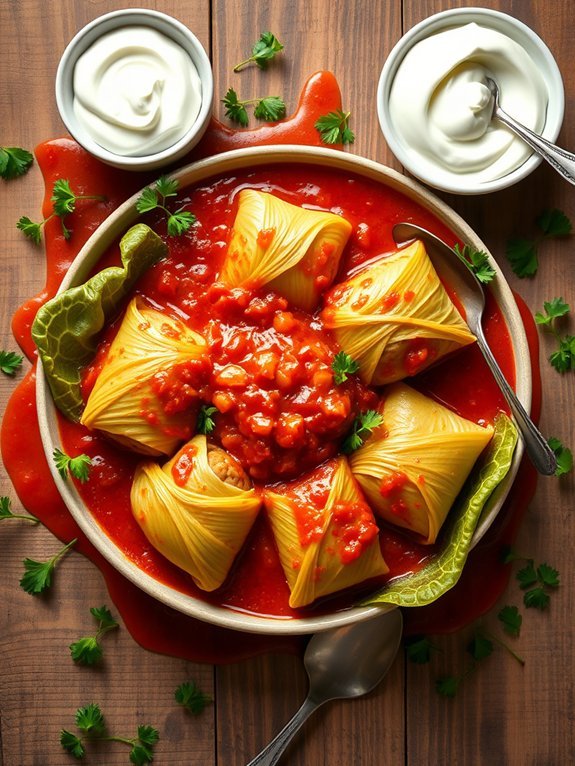
Stuffed cabbage rolls, also known as golabki, are a hearty and comforting dish perfect for batch cooking. This traditional recipe involves tender cabbage leaves wrapped around a savory filling, typically made with ground meat, rice, and spices. They’re then baked in a rich tomato sauce, resulting in a wholesome meal that can be easily reheated.
Whether you’re preparing for a busy week ahead or hosting a gathering, stuffed cabbage rolls can be made in large quantities and frozen for future enjoyment. Producing stuffed cabbage rolls may seem intimidating at first, but with a little practice, you’ll find it becomes a labor of love.
The process involves blanching the cabbage leaves to make them pliable and then filling them with a mixture packed with flavor. The final step of simmering them in a sauce allows all the tastes to meld together beautifully, making every bite satisfying and delicious. Serve these rolls with a dollop of sour cream or a sprinkle of parsley for a delightful meal.
Ingredients:
- 1 large head of green cabbage
- 1 lb ground meat (beef, pork, or turkey)
- 1 cup cooked rice
- 1 small onion, finely chopped
- 2 cloves garlic, minced
- 1 tsp salt
- 1/2 tsp black pepper
- 1 tsp paprika
- 1 can (15 oz) tomato sauce
- 1 can (14.5 oz) diced tomatoes
- 1 tbsp brown sugar
- 1 tbsp lemon juice
- Optional: fresh parsley for garnish
To begin cooking, bring a large pot of water to a boil and blanch the cabbage leaves for about 2-3 minutes, until they’re soft and pliable. Remove them from the pot and let the leaves cool.
In a mixing bowl, combine the ground meat, cooked rice, chopped onion, minced garlic, salt, pepper, and paprika. Take a cabbage leaf, spoon some filling onto the leaf, and roll it up tightly, tucking in the sides as you go. Lay the rolls seam-side down in a large baking dish.
In a separate bowl, mix the tomato sauce, diced tomatoes, brown sugar, and lemon juice, then pour the sauce evenly over the cabbage rolls. Cover the dish with foil and bake in a preheated oven at 350°F (175°C) for approximately 1 hour, until cooked through.
When making stuffed cabbage rolls, it’s important to select a cabbage that has loose leaves, as this will ease the rolling process. If you have leftover filling, you can use it to make mini meatballs or add it to soups.
These rolls can be frozen before or after cooking; just be sure to let them cool before placing them in airtight containers. Reheat them in the oven or on the stovetop, and they’ll taste just as delicious as when they were freshly made.
Homemade Granola Bars
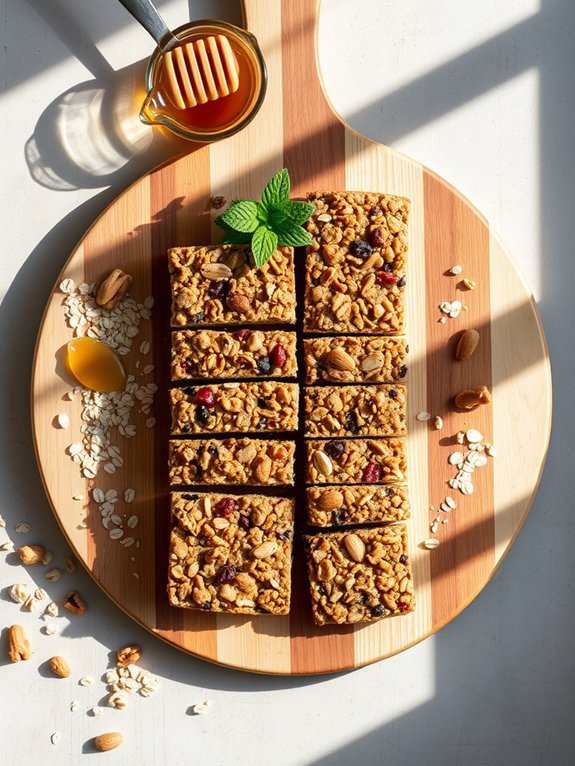
Homemade granola bars are a delightful and wholesome snack that can be easily prepared in bulk for busy lifestyles. These bars are packed with nutrition and taste, making them an excellent option for breakfast, an afternoon pick-me-up, or a post-workout snack.
When you make them at home, you also have the freedom to customize the ingredients according to your preferences, guaranteeing that no preservatives or unwanted additives make their way into your diet.
Creating your own granola bars means you can play with the flavors and textures, whether you prefer chewy or crunchy, sweet or nutty. With just a few pantry staples, you’ll be on your way to crafting a batch that satisfies your cravings while also being beneficial to your health.
This recipe is also versatile—you can add dried fruits, seeds, or even chocolate chips for a sweet treat that feels indulgent without sacrificing nutrition.
- 2 cups rolled oats
- 1 cup nuts (such as almonds or walnuts), chopped
- 1 cup nut butter (like almond or peanut butter)
- 1/2 cup honey or maple syrup
- 1/2 teaspoon vanilla extract
- 1/4 teaspoon salt
- 1/2 cup dried fruits (like raisins or cranberries), optional
- 1/4 cup chocolate chips, optional
In a large mixing bowl, combine the rolled oats, chopped nuts, nut butter, honey or maple syrup, vanilla extract, and salt, stirring until well incorporated. If desired, fold in any additional ingredients like dried fruits or chocolate chips for extra flavor.
Spread the mixture evenly in a greased or parchment-lined baking dish, pressing firmly to confirm it holds together. Refrigerate for at least 2 hours before cutting into bars.
When making granola bars, it’s crucial to verify the mixture is compacted sufficiently to prevent crumbling once cut. To achieve this, press firmly into the baking dish and consider using a rolling pin to help flatten the top.
Additionally, experiment with different nut butters or sweeteners to create variations that suit your taste. Store the bars in an airtight container in the refrigerator for up to two weeks for maximum freshness, or wrap individually for convenient grab-and-go snacks.

