This post may contain affiliate links. Please read our policy page.
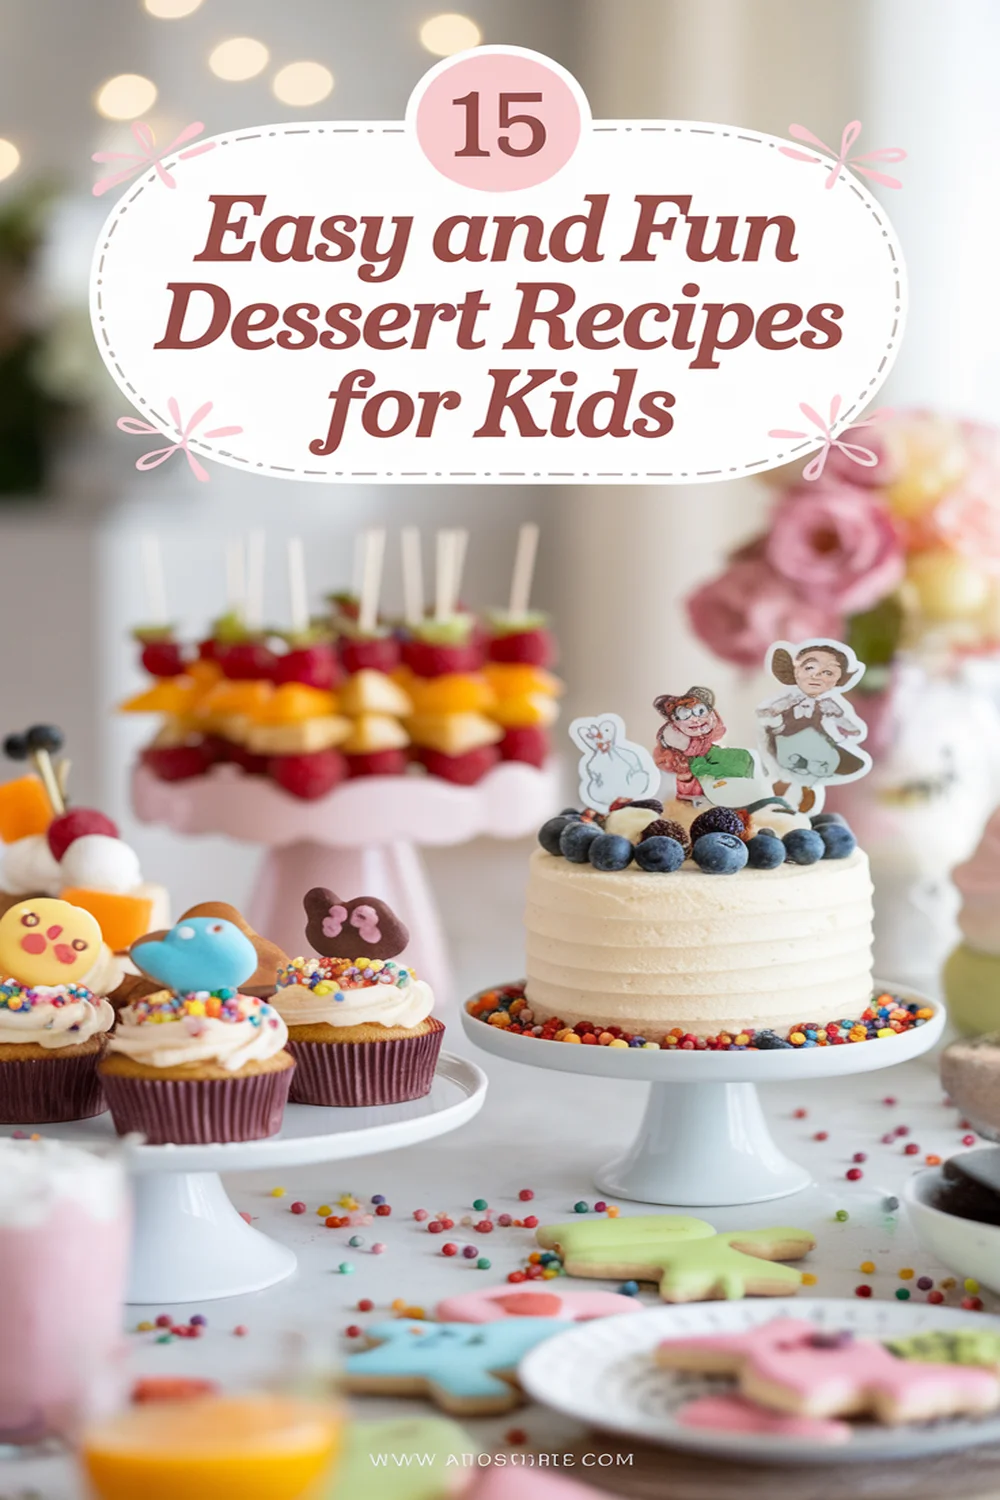
Looking for easy and fun dessert recipes for kids? You’ve got to try Rainbow Fruit Kabobs for a colorful treat, or whip up some No-Bake Chocolate Peanut Butter Bars for a sweet fix without the oven. Mini Cheesecakes in a Cup are perfect for individual servings, while a Cookie Decorating Station lets kids express their creativity. Don’t forget Banana Split Sundaes and Yogurt Parfait Cups for yummy combinations. Keep going, and you’ll discover even more delightful dessert ideas!
Rainbow Fruit Kabobs
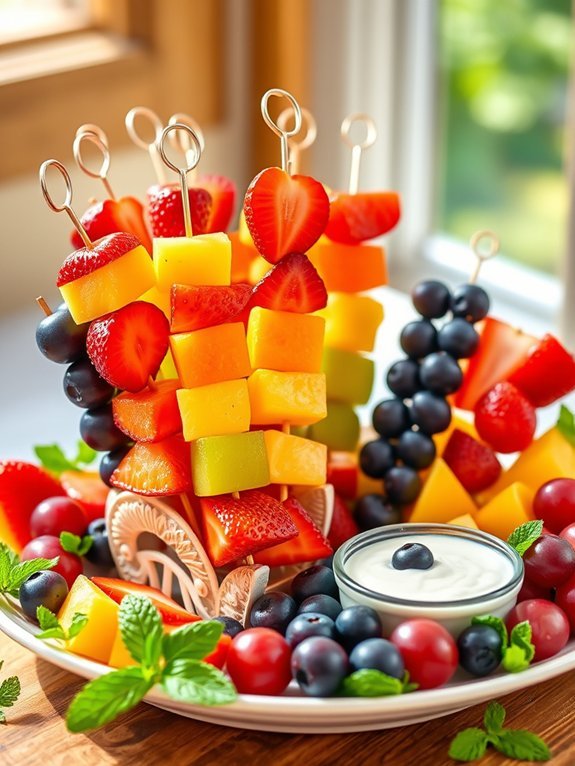
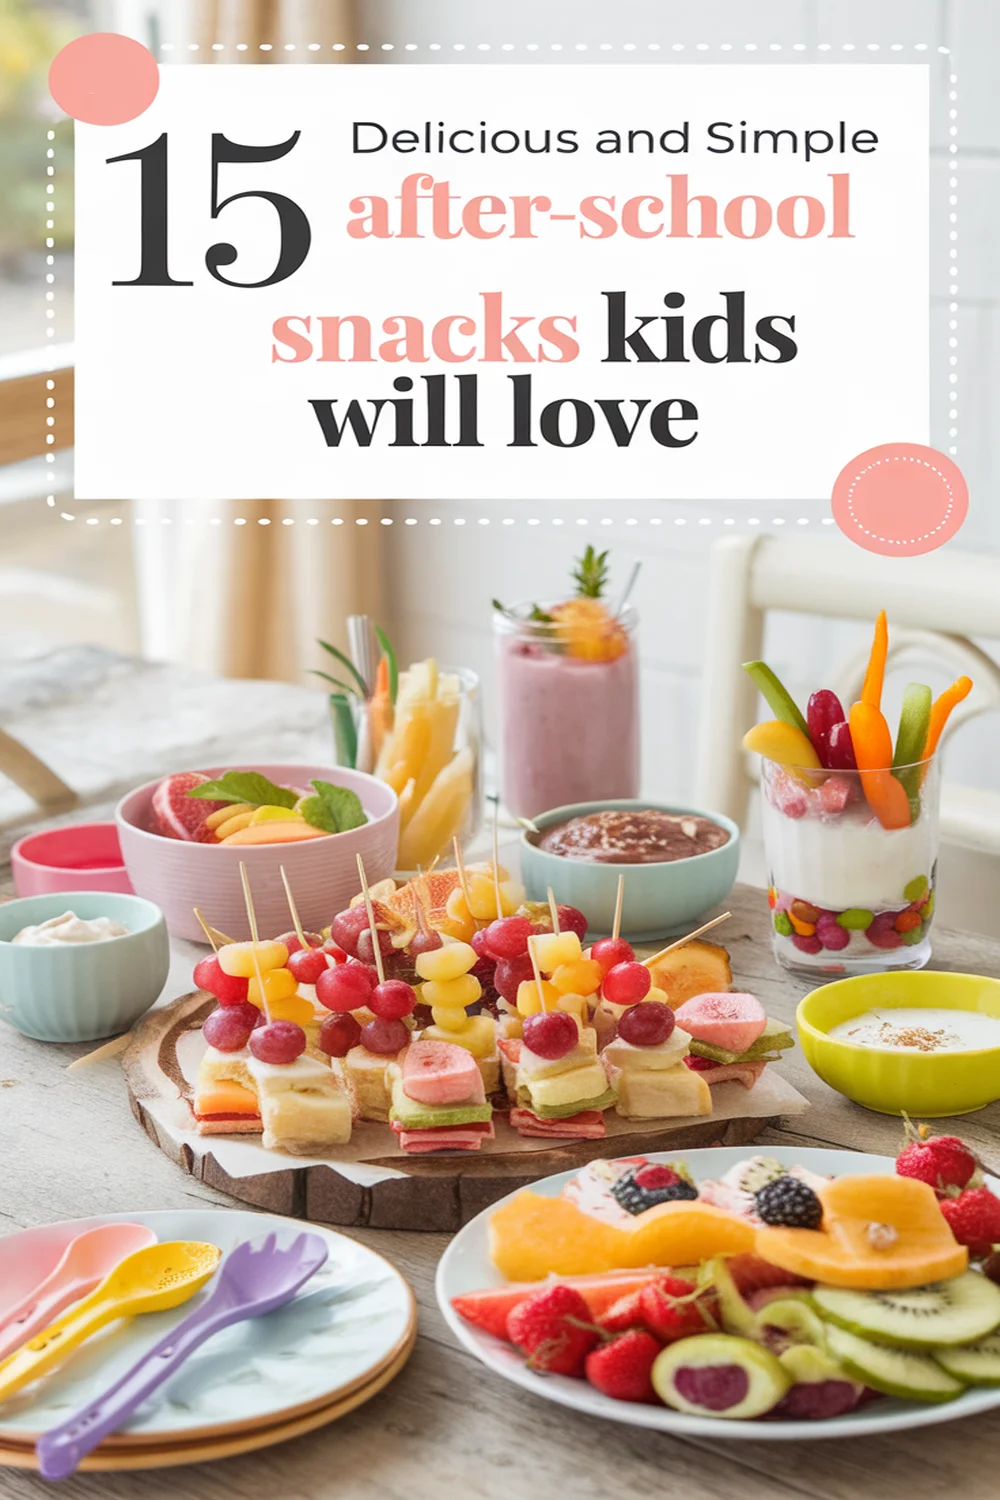
Rainbow Fruit Kabobs are a delightful and colorful treat that kids will love to help make and eat! These healthy snacks aren’t only visually stunning but also packed with essential vitamins and minerals. Perfect for any occasion, from birthday parties to family gatherings, these kabobs are a fun way to encourage your little ones to enjoy fruit.
Plus, they can customize their kabobs with their favorite fruits, making it a great interactive activity.
Creating Rainbow Fruit Kabobs is simple and enjoyable! Kids can get involved in the preparation, from washing the fruit to threading it onto skewers. Working together, they’ll learn about different fruits and their colors, which adds an educational element to the fun. With a variety of fruits to choose from, you can easily create a rainbow effect that will excite their taste buds and make healthy eating feel like a treat.
Ingredients:
- Strawberries
- Orange slices
- Pineapple chunks
- Green grapes
- Blueberries
- Purple grapes
- Skewers (wooden or reusable)
To assemble the rainbow fruit kabobs, start by washing all the fruits thoroughly. Next, take a skewer and carefully thread the fruits onto it in the order of the rainbow: strawberries, orange slices, pineapple chunks, green grapes, blueberries, and purple grapes.
Be sure to space the fruit out evenly for a beautiful presentation. Once completed, repeat the process until you have the desired number of kabobs ready to enjoy!
When making Rainbow Fruit Kabobs, you can get creative by using cookie cutters to shape melons or adding a yogurt dip for an extra touch. Consider using seasonal fruits or local produce for freshness and flavor.
For parties, arrange the kabobs on a colorful platter and encourage the kids to create their own unique combinations. This recipe isn’t only easy to follow but allows for endless possibilities, making it a go-to snack for any event or afternoon treat!
No-Bake Chocolate Peanut Butter Bars
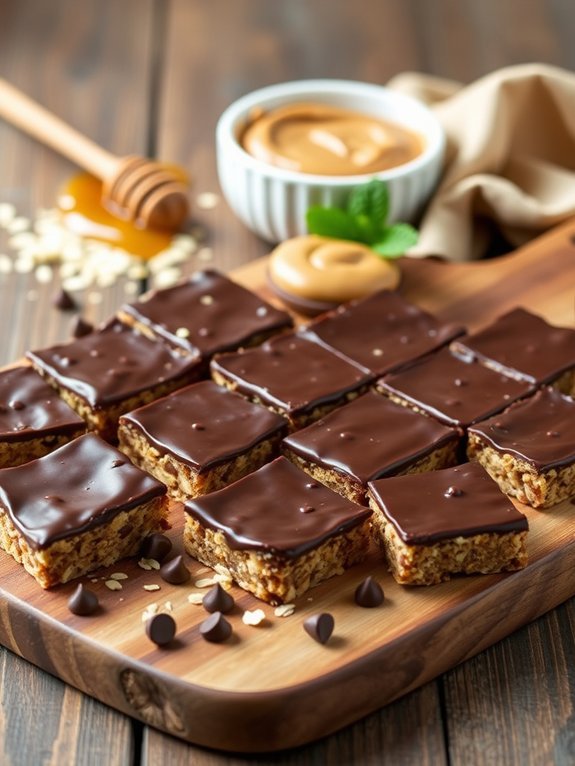
No-Bake Chocolate Peanut Butter Bars are the perfect solution for a sweet treat without the hassle of turning on the oven. These delightful bars combine creamy peanut butter and rich chocolate in a no-fuss dessert that’s sure to delight kids and adults alike. Ideal for after-school snacks, birthday parties, or any occasion calling for a little indulgence, this simple recipe requires minimal ingredients and time, making it an excellent choice for young chefs or busy parents.
This easy-to-follow recipe encourages kids to get hands-on in the kitchen. From measuring ingredients to mixing them together, it’s a fun way for children to learn basic cooking skills while creating a delicious dish.
Plus, since there’s no baking involved, they can enjoy their creations in no time at all! With a few simple steps, you can have a batch of these delectable bars ready to enjoy.
Ingredients:
- 1 cup creamy peanut butter
- 1/2 cup honey or maple syrup
- 2 cups rolled oats
- 1 cup chocolate chips
- 1/2 cup unsweetened cocoa powder
- 1 teaspoon vanilla extract
- Pinch of salt
In a large mixing bowl, combine the peanut butter, honey (or maple syrup), vanilla extract, and salt, stirring until smooth. Gradually fold in the rolled oats and cocoa powder until all ingredients are well combined.
Line an 8×8-inch baking dish with parchment paper and evenly spread the mixture into the pan. Press down firmly to make certain everything sticks together. Melt the chocolate chips in a microwave-safe bowl, stirring every 30 seconds until fully melted, then pour over the top of the pressed mixture. Refrigerate for at least 1 hour before cutting into bars.
When making No-Bake Chocolate Peanut Butter Bars, one tip to keep in mind is to make sure that the mixture is tightly packed in the baking dish, as this will help the bars hold their shape once set.
Also, feel free to customize the flavors by adding in nuts, dried fruit, or even a sprinkle of sea salt on top before chilling. Enjoy your creation knowing you have a delicious and nutritious snack that everyone will love!
Mini Cheesecakes in a Cup
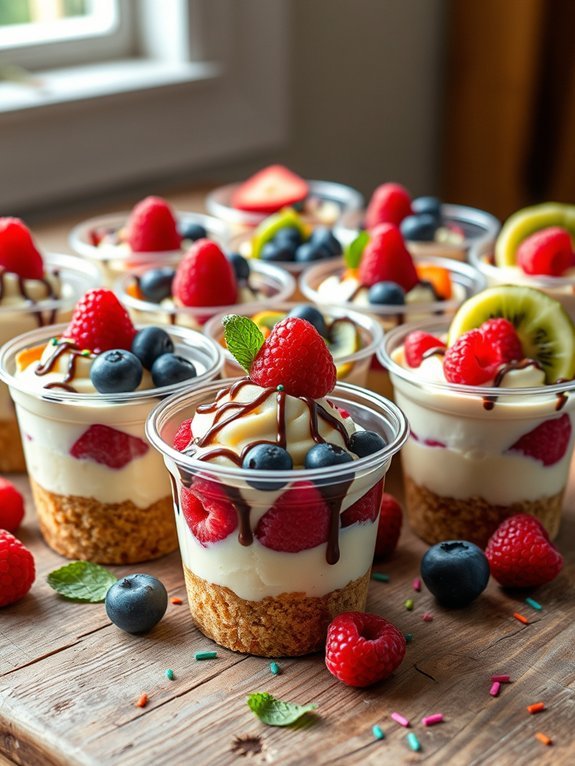
Mini cheesecakes in a cup are a delightful treat that kids will love to make and eat! These individual servings aren’t only visually appealing but also incredibly easy to prepare, making them perfect for little hands to help in the kitchen. The creamy filling, combined with a crunchy crust and a topping of fresh fruit or chocolate, provides a sweet yet balanced dessert that’s sure to satisfy any sweet tooth. Kids will enjoy the process of layering the ingredients in cups, creating their own personal dessert masterpieces.
This recipe offers a wonderful way to introduce kids to baking without the need for an oven, making it safe and fun. Choose colorful cups and let the kids decorate their cheesecakes with their favorite toppings, whether it’s berries, sprinkles, or a drizzle of chocolate sauce. These mini cheesecakes can also serve as a great birthday party dessert or a fun family activity, bringing everyone together to enjoy a creative and tasty project.
- 1 cup graham cracker crumbs
- 2 tablespoons sugar
- 4 tablespoons unsalted butter, melted
- 8 oz cream cheese, softened
- 1/2 cup powdered sugar
- 1 teaspoon vanilla extract
- 1 cup whipped cream
- Fresh fruits, chocolate shavings, or toppings of choice
In a bowl, mix the graham cracker crumbs, sugar, and melted butter until well combined. Press this mixture into the bottom of small cups to create the crust layer.
In another bowl, beat the softened cream cheese until smooth, then mix in the powdered sugar and vanilla extract. Gently fold in the whipped cream until fully combined. Spoon the cream cheese mixture over the crust in each cup, and refrigerate for at least 1 hour before serving. Top with fresh fruits or your favorite toppings before enjoying.
When making mini cheesecakes in a cup, feel free to get creative with flavors! You can add a spoonful of lemon juice for a zesty twist or mix in some melted chocolate for a chocolate cheesecake variation.
If you’re making these for a special occasion, consider using themed cups or adding festive decorations. Remember that the cheesecakes need to set in the fridge for a bit, so plan accordingly to guarantee they’re perfectly ready when it’s time to serve!
Recommended Items
Get ready to whip up some delightful treats with our favorite products and tools!
Cookie Decorating Station
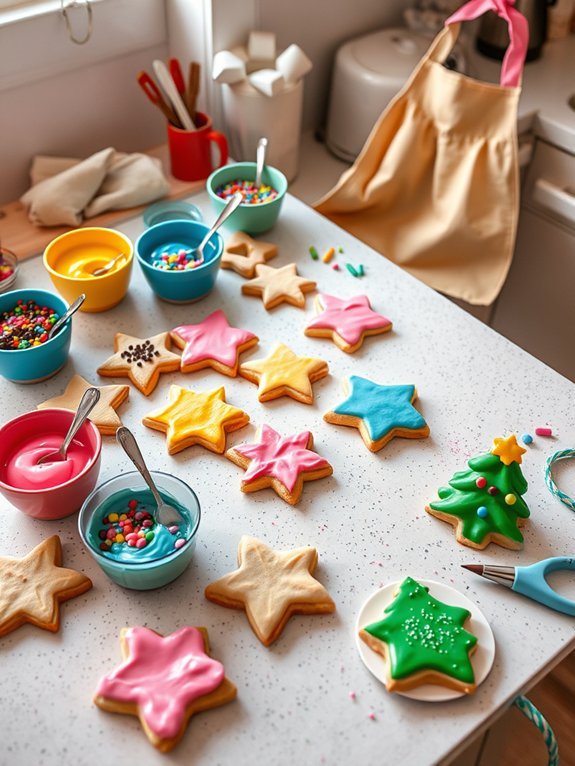
Setting up a Cookie Decorating Station is a fun and engaging way to spend time with kids while satisfying their sweet tooth. It allows little ones to express their creativity and develop fine motor skills as they decorate delicious homemade cookies. You can make a variety of shapes and sizes, ensuring there’s something for everyone. The best part? Each cookie is a unique masterpiece crafted by its own little artist!
To get started, you’ll want to prepare a batch of simple sugar cookies. Once the cookies are baked and cooled, your kids can let their imaginations run wild with various toppings and decorations. From colorful icing to sprinkles and candies, the options are limitless! This activity not only makes for a fun day in the kitchen, but it also provides a delightful treat at the end—cookies to enjoy and share!
- 2 cups all-purpose flour
- 1 teaspoon baking powder
- ½ teaspoon salt
- ¾ cup unsalted butter, softened
- 1 cup granulated sugar
- 1 large egg
- 1 teaspoon vanilla extract
- Food coloring (for icing)
- Royal icing (or ready-made icing)
- Assorted toppings (sprinkles, chocolate chips, candies, etc.)
Start by preheating your oven to 350°F (175°C) and lining baking sheets with parchment paper. In a bowl, whisk together the flour, baking powder, and salt. In another bowl, cream the softened butter and sugar until light and fluffy, then add the egg and vanilla extract, mixing until well combined.
Gradually add in the dry ingredients until a dough forms. Roll out the dough on a floured surface to about 1/4 inch thick and use cookie cutters to cut out shapes. Bake the cookies for 8-10 minutes or until lightly golden. Allow them to cool completely before setting up your decorating station.
When preparing your Cookie Decorating Station, consider using a variety of tools and ingredients to enhance the decorating experience. Using different shapes of piping bags for the icing can help kids create intricate designs easily.
Additionally, set up designated stations for specific toppings to keep things organized. Encourage kids to explore their creativity, and remind them that there are no mistakes in art! Finally, don’t forget to capture their creations with pictures; these moments will become cherished memories!
Banana Split Sundaes
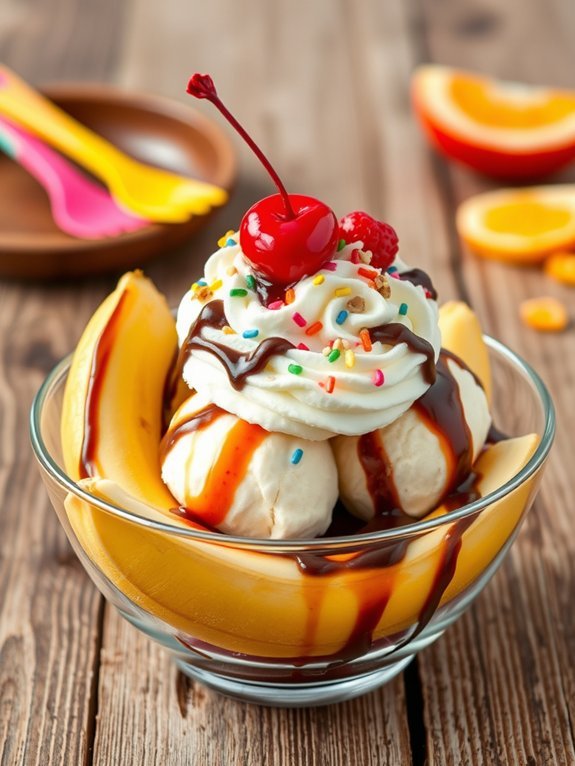
Banana Split Sundaes are a delightful and fun dessert that kids adore. They combine the sweetness of ripe bananas, a scoop of rich ice cream, and a variety of toppings to create a colorful and indulgent treat. Making these sundaes is a breeze and can be a wonderful activity to do with children, sparking their creativity and encouraging them to experiment with different flavors and toppings.
These sundaes can be a great option for celebrations, family gatherings, or simply a fun night in. Kids can customize their banana splits, choosing their favorite ice cream flavors and toppings. Not only does this recipe allow for personal expression, but it also provides an opportunity to teach kids about measurements and food preparation in a fun way.
- 2 ripe bananas
- 4 scoops of ice cream (your choice of flavors)
- Chocolate syrup
- Strawberry sauce
- Whipped cream
- Chopped nuts (optional)
- Maraschino cherries
- Sprinkles (optional)
To assemble the Banana Split Sundaes, start by peeling the bananas and cutting them in half lengthwise. Place each banana half in a dish or bowl, curving the banana to form a boat shape. Add two scoops of your chosen ice cream between the halves.
Drizzle chocolate syrup and strawberry sauce over the ice cream, then add a generous dollop of whipped cream on top. Finish with chopped nuts, sprinkles, and a cherry on top for that classic sundae look.
When making Banana Split Sundaes, encourage kids to mix and match toppings based on their preferences. They can also try using different fruits or flavored sauces to make their sundae unique.
You can use soft serve ice cream for a creamier texture, and if you’re feeling adventurous, experiment with adding a scoop of peanut butter or caramel sauce for an extra layer of flavor.
Don’t forget to serve them immediately for the best experience, as the ice cream will melt quickly!
Pizza Cookie Treats
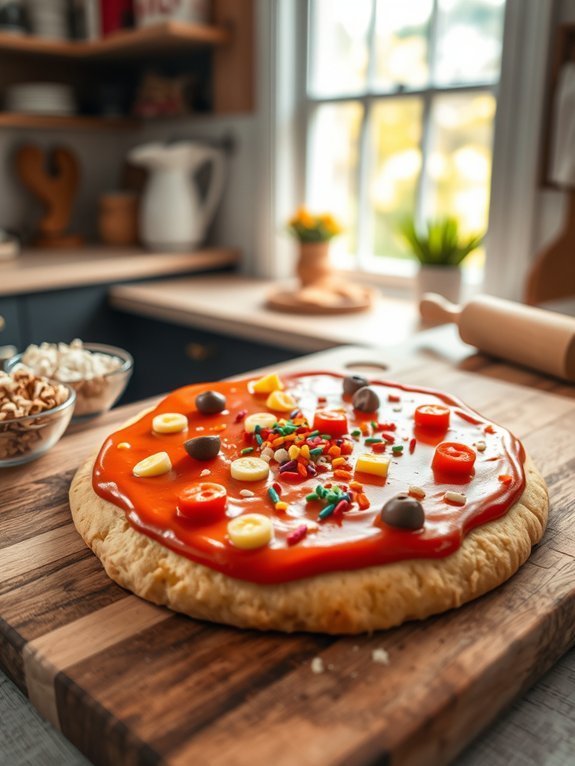
Pizza cookie treats are a fun and creative way to combine two favorite dessert ideas: pizza and cookies! These delightful treats offer a chewy cookie base topped with colorful frosting and a variety of tasty toppings that resemble pizza ingredients. It’s a perfect hands-on recipe for kids, allowing them to express their creativity while enjoying a delicious treat.
Making pizza cookie treats isn’t only easy, but it’s also a great activity to do with friends or family. Gather everyone around and let each person customize their own cookie ‘pizza’ with different flavors and toppings. You’ll find that everyone loves getting involved, and the result is a platter of unique and delicious desserts that appeal to kids of all ages.
- 1 cup of butter, softened
- 1 cup of granulated sugar
- 1 cup of brown sugar, packed
- 2 large eggs
- 2 teaspoons of vanilla extract
- 3 cups of all-purpose flour
- 1 teaspoon of baking soda
- 1/2 teaspoon of salt
- 1 cup of frosting (any flavor)
- Toppings: mini chocolate chips, fruit slices (like strawberries and bananas), sprinkles, coconut flakes, or nuts
Preheat your oven to 350°F (175°C). In a large mixing bowl, cream together the softened butter, granulated sugar, and brown sugar until light and fluffy.
Add in the eggs and vanilla extract, mixing until well combined. In a separate bowl, whisk together the flour, baking soda, and salt. Gradually mix the dry ingredients into the wet ingredients until a soft dough forms.
Use your hands to shape the dough into large circles on a baking sheet lined with parchment paper. Bake for 10-12 minutes or until the edges are golden brown. Allow the cookies to cool completely.
For extra fun, encourage kids to decorate their pizza cookie treats just like a real pizza! Provide various toppings and let their imaginations run wild.
If you want to make the decoration even more engaging, consider using different colored frosting for sauce and cheese to make the cookies more visually appealing. Also, remember that these treats can be stored in an airtight container for a few days, so feel free to make a larger batch to enjoy later!
Chocolate-Covered Pretzel Rods
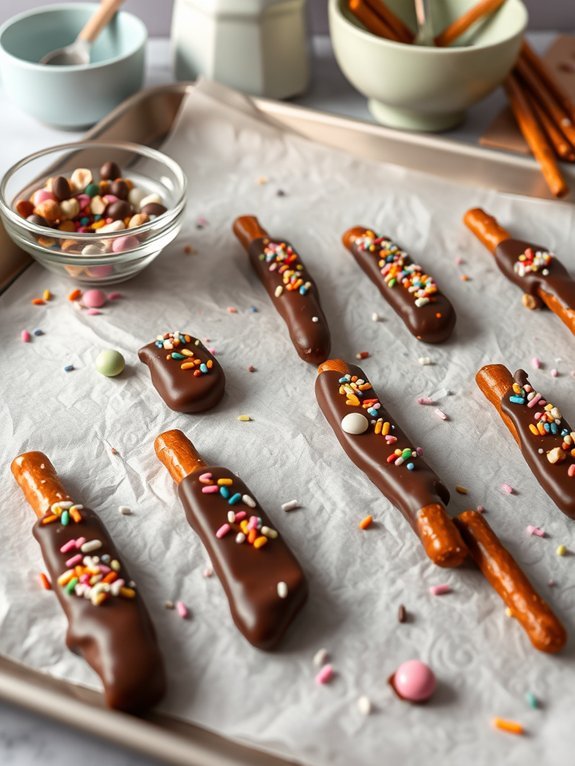
Chocolate-covered pretzel rods are a fun and delightful treat that kids will love to help make! This simple recipe combines the salty crunch of pretzels with smooth, sweet chocolate, creating a perfect balance of flavors.
Whether for a party, a special occasion, or just an afternoon snack, these pretzel rods are sure to be a hit with children and adults alike. Kids can get creative by adding sprinkles, nuts, or candy pieces for a personal touch.
Making chocolate-covered pretzel rods also offers a great opportunity for little ones to practice their fine motor skills. They can dip the pretzel rods, sprinkle toppings, and even package their creations as gifts.
Gather your ingredients and let’s get started on this delicious and fun project that’s bound to bring smiles to everyone’s face!
- 12-15 pretzel rods
- 1 cup of semi-sweet chocolate chips
- 1 tablespoon of vegetable oil (optional, for thinning chocolate)
- Sprinkles, crushed nuts, or mini chocolate candies (for topping)
Start by lining a baking sheet with parchment paper to prevent the pretzel rods from sticking. In a microwave-safe bowl, melt the chocolate chips with the optional vegetable oil in 30-second intervals, stirring in between until smooth.
Once melted, dip each pretzel rod halfway into the chocolate, allowing any excess to drip back into the bowl, then place them on the prepared baking sheet. Before the chocolate hardens, sprinkle your favorite toppings over the dipped chocolate, and then refrigerate the rods for about 20 minutes or until the chocolate is fully set.
Remember that patience is key when melting chocolate. To avoid burning, be sure to stir the chocolate between intervals in the microwave.
Additionally, for a more colorful presentation, consider using white chocolate or colored candy melts that can be drizzled on top for a fun design. Always supervise younger children when using the microwave and be cautious with sharp utensils.
Enjoy your chocolate-covered pretzel rods with friends and family!
Frosted Animal Cracker Cookies
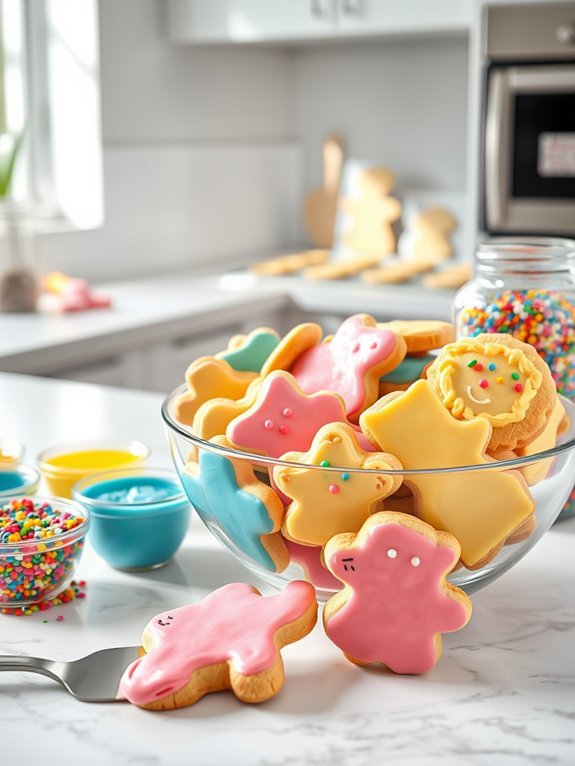
Frosted Animal Cracker Cookies are a fun and colorful treat that kids will love to help make and enjoy. These cookies are reminiscent of childhood snacks, combining the crunch of animal crackers with a sweet and creamy frosting. The best part is that they’re easy to prepare and can be customized with different sprinkles and colors, making them perfect for parties or just a fun afternoon baking activity with the kids.
To start the process, gather your ingredients and get your little ones excited about decorating! Not only will they’ve a blast mixing and creating the base cookies, but they’ll also take pride in icing and sprinkling their creations. These cookies offer a wonderful way to encourage creativity in children as they can personalize their snacks in a million different ways. Plus, the tasty frosted treats are sure to bring smiles and satisfaction!
- 1 cup all-purpose flour
- 1/2 cup granulated sugar
- 1/4 cup unsalted butter, softened
- 1/2 teaspoon baking powder
- 1/4 teaspoon salt
- 1 teaspoon vanilla extract
- 1 large egg
- 1 cup powdered sugar
- 1-2 tablespoons milk
- Food coloring (optional)
- Sprinkles (optional)
Preheat your oven to 350°F (175°C). In a mixing bowl, combine the butter and granulated sugar together until creamy. Beat in the egg and vanilla extract until well mixed. In a separate bowl, whisk together the flour, baking powder, and salt. Gradually add the dry ingredients to the wet mixture, stirring until combined.
Roll the dough into small balls and flatten them slightly before placing them on a lined baking sheet. Bake for 10-12 minutes, or until the edges are lightly golden. Allow the cookies to cool completely before frosting.
When frosting your cookies, let your imagination run wild! You can use different colors of icing to match various themes or holidays, and sprinkles can add texture and fun. For a smoother frosting, make sure the cookies are completely cool before applying.
If you have leftover frosting, store it in an airtight container in the fridge for up to a week. Experimenting with flavors is also a great way to keep things interesting—try adding almond extract or different types of sprinkles to enhance the fun!
Step-by-Step Cooking Guide
Easy Fruit Tarts
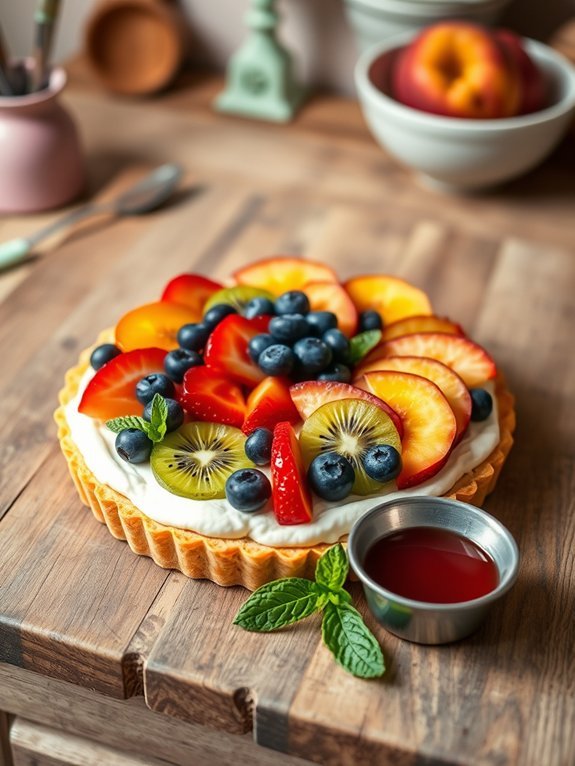
Easy fruit tarts are a delightful way to introduce kids to baking while encouraging creativity and healthy eating. These colorful treats combine a buttery tart crust with a creamy filling, topped with an array of fresh fruits.
Making fruit tarts isn’t only a fun kitchen activity but also a great way for kids to learn about different fruits and their vibrant colors, textures, and flavors. The best part? They can customize their tarts with their favorite fruits, making each dessert unique and personal.
These tarts are surprisingly simple to make, requiring only a few basic ingredients that are usually found in most kitchens. Kids can be involved in various steps, from mixing ingredients to arranging the fruit on top. The result is a tasty and visually appealing treat that’s perfect for parties, family gatherings, or a fun afternoon snack.
So, roll up your sleeves and get ready to create these easy fruit tarts that are sure to impress everyone!
Ingredients:
- 1 pre-made pie crust or tart shell
- 1 cup cream cheese, softened
- 1/2 cup powdered sugar
- 1 teaspoon vanilla extract
- 2 cups mixed fresh fruit (such as strawberries, blueberries, kiwi, and peaches)
- 1/4 cup fruit glaze (optional)
Spread the softened cream cheese in the pre-made pie crust or tart shell, then mix in the powdered sugar and vanilla extract until well combined. After that, layer your mixed fresh fruit on top of the cream cheese filling.
If using fruit glaze, brush it over the fruit to give it a shiny finish. Chill the fruit tart in the refrigerator for at least 30 minutes before serving to let it set.
When making easy fruit tarts, feel free to get creative with the toppings! Kids can choose their favorite fruits, and even add a sprinkling of nuts or coconut flakes for extra texture.
If you want to make the tart more colorful, try mixing different types of fruits together for a rainbow effect. Just be sure to supervise the kids while they’re using knives with any fruit preparation!
S’mores Dip
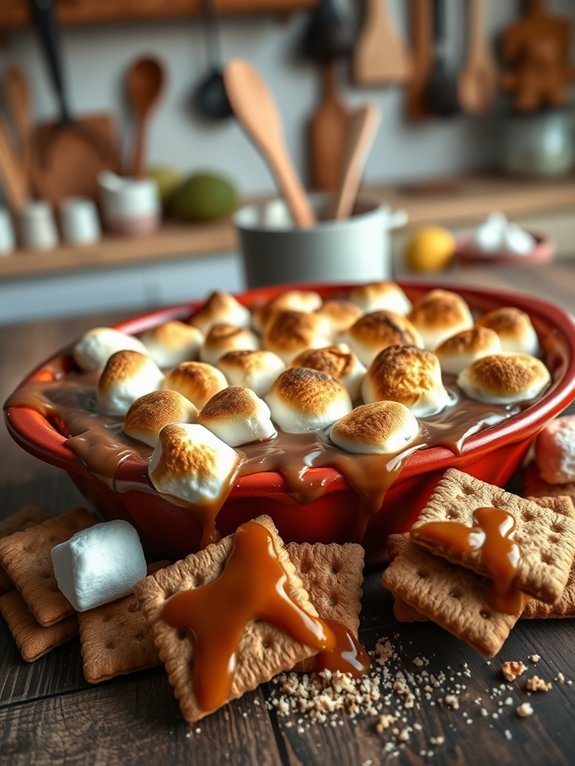
S’mores dip is a delightful twist on the classic campfire treat, making it a fun and easy dessert for kids of all ages. Perfect for birthday parties, family gatherings, or a cozy movie night, this indulgent dish is simple to whip up and allows little ones to get creative.
Combating the fall chill or satisfying a sweet craving, this gooey chocolate and marshmallow dip served with graham crackers is sure to become a favorite.
Making s’mores dip is a breeze, requiring minimal preparation and cooking time. The best part is that kids can participate in the process – whether it’s layering the ingredients in a baking dish or scooping the dip onto graham crackers.
You don’t need a campfire to enjoy this treat; all that’s needed is a hot oven for a few minutes, and you have a warm, melted, and shareable dessert that brings the nostalgic flavors of s’mores right into your home.
Ingredients:
- 1 cup semi-sweet chocolate chips
- 1 cup mini marshmallows
- 1 tablespoon butter
- 1/2 teaspoon vanilla extract
- Graham crackers (for dipping)
Preheat your oven to 350°F (175°C). In a medium-sized oven-safe dish, combine the chocolate chips and butter, melting them together either in the oven for about 5 minutes or in the microwave for 30-second intervals until smooth.
Remove from heat and stir in the vanilla extract. Evenly spread the mini marshmallows over the melted chocolate, then place the dish in the oven. Bake for 5–7 minutes, or until the marshmallows are golden and gooey.
Remove from the oven and let cool slightly before serving.
For a fun twist, consider adding toppings like crushed graham crackers, a drizzle of caramel or chocolate sauce, or even a sprinkle of sea salt to enhance the flavor. This way, children can personalize their s’mores dip experience.
Make sure to keep an eye on the marshmallows while they’re baking, as they can quickly go from perfectly toasted to burnt! Enjoy creating sweet memories with your kids while indulging in this delicious treat!
Cupcake Cones
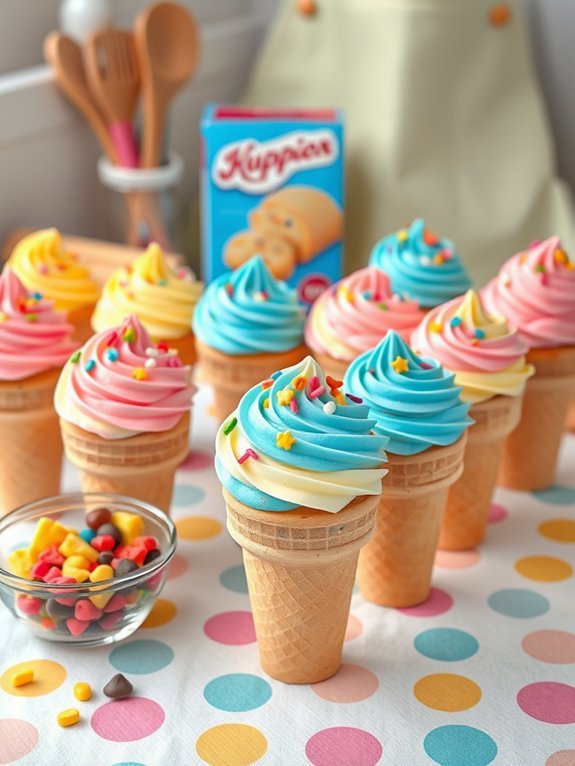
Cupcake cones are a delightful twist on traditional cupcakes that are perfect for kids! They combine the fun of ice cream cones with the sweetness of cake, making them an irresistible treat for any occasion.
Not only are they easy to make, but they also allow for creative decorating options, making them ideal for birthday parties, family gatherings, or just a fun afternoon baking project with your little ones.
The best part about cupcake cones is that they can be customized to fit any theme or flavor preference. From chocolate and vanilla to rainbow sprinkles and colorful frosting, the combinations are endless.
With a few simple ingredients and minimal prep time, you’ll be able to whip up these adorable treats that kids will surely love!
- 12 ice cream cones
- 1 box of cake mix (and the ingredients needed to prepare it, usually eggs, oil, and water)
- 1 tub of frosting (your choice of flavor)
- Sprinkles or other fun toppings (optional)
- Food coloring (optional, for colored frosting)
Preheat your oven to 350°F (175°C) and prepare the cake mix according to the package instructions.
Once the batter is ready, carefully fill each ice cream cone about 2/3 full with the cake mix.
Place the cones in a muffin tin to help them stand upright while baking, then bake for 15-20 minutes, or until a toothpick inserted into the center comes out clean.
Allow the cupcake cones to cool before frosting them with your favorite frosting and adding sprinkles or other toppings.
When making cupcake cones, be sure to keep an eye on the baking time as it can vary depending on your oven and the size of the cones.
To create colorful frosting, you can mix in a few drops of food coloring to your frosting before spreading it on the cooled cupcake cones.
Encourage kids to get creative with their decorations and add their favorite candies or fruits on top for a personalized touch!
Yogurt Parfait Cups
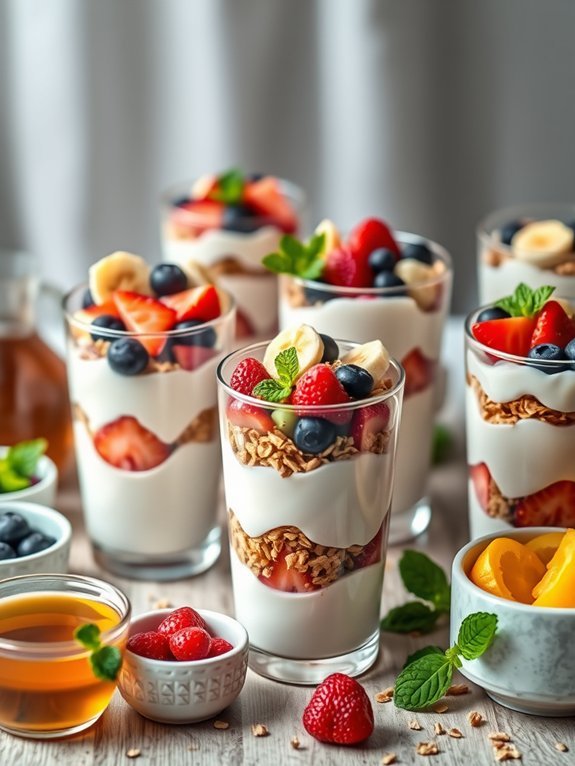
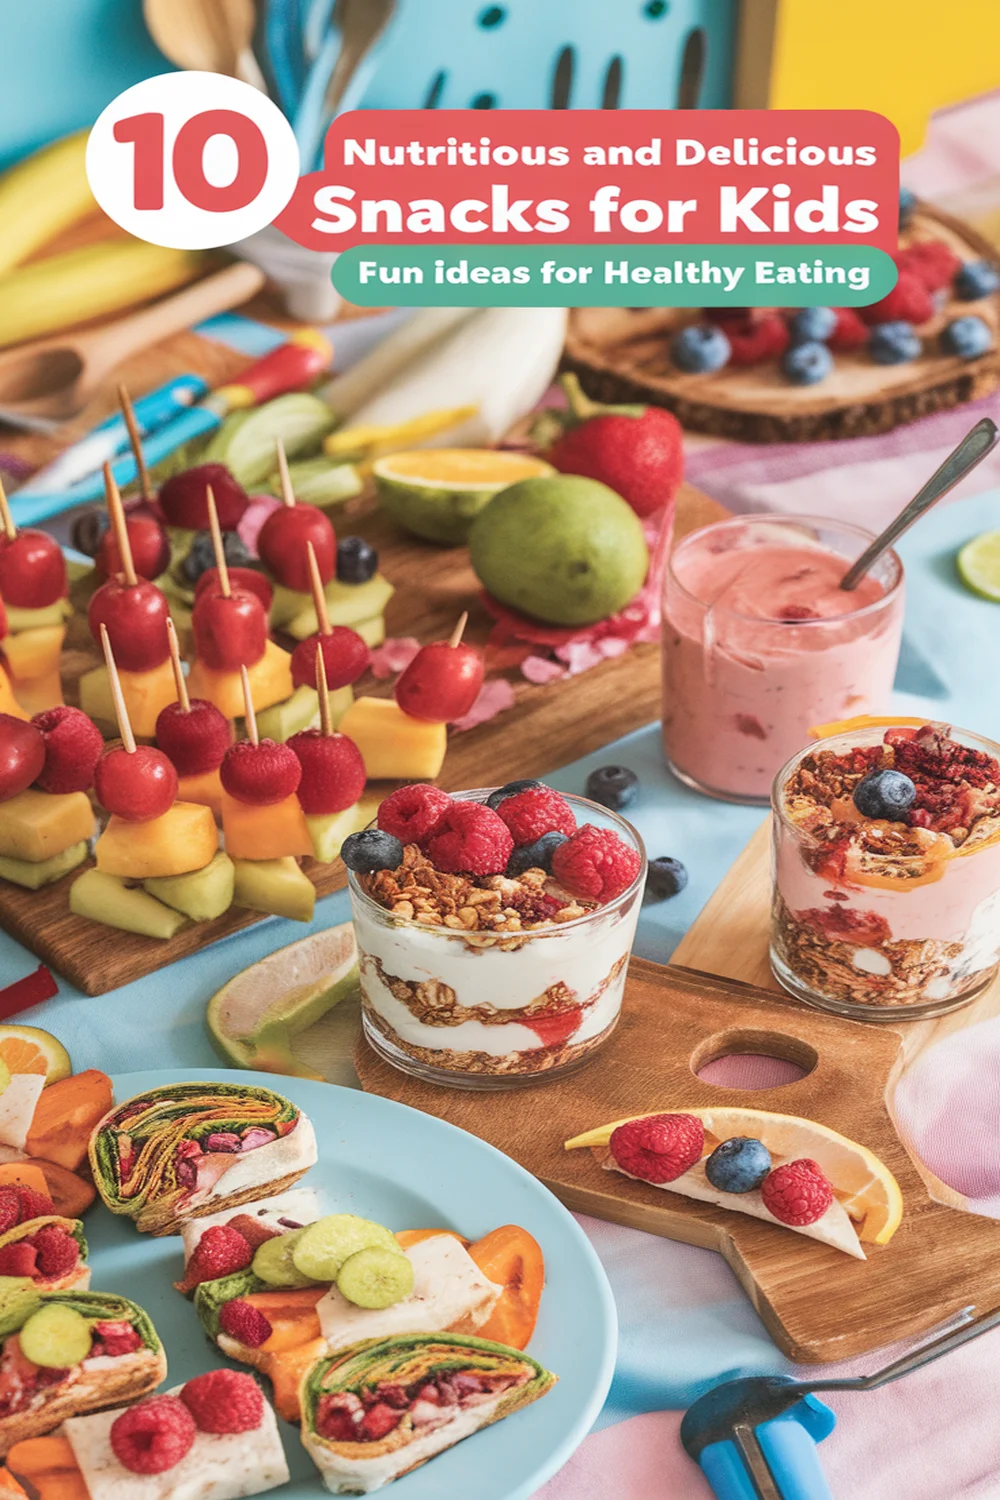
Yogurt parfait cups are a delightful and healthy dessert option that kids will love to assemble and enjoy. With their colorful layers of creamy yogurt, fresh fruit, and crunchy granola, these parfaits aren’t only visually appealing but also packed with nutrients. This recipe is perfect for teaching kids about balancing flavors and textures while engaging their creativity in the kitchen.
Creating yogurt parfait cups is a fantastic way to encourage kids to participate in preparing their own meals. They can customize their parfaits with their favorite fruits and toppings, making it a fun and interactive experience. This recipe isn’t only easy to follow but also allows for variations based on personal preferences and seasonal ingredients.
Ingredients:
- 2 cups of yogurt (plain or flavored)
- 2 cups of mixed fruits (strawberries, blueberries, bananas, etc.)
- 1 cup of granola
- Honey or maple syrup (optional, for sweetness)
- Fresh mint leaves (for garnish, optional)
Layer yogurt, fruits, and granola in cups or bowls, starting with a layer of yogurt at the bottom. Add a layer of mixed fruits, followed by a layer of granola. Repeat the layers until the cups are filled to your liking, finishing with a sprinkle of granola and a few pieces of fruit on top. Drizzle with honey or maple syrup if desired, and garnish with fresh mint leaves for a pop of color.
When making yogurt parfait cups, feel free to get creative with your ingredients! Encourage the kids to explore different flavor combinations, such as adding nuts for extra crunch or using flavored yogurt for a twist. This recipe is versatile, and it’s a great opportunity to let kids experiment with what they enjoy most.
Additionally, consider using seasonal fruits for freshness and variety.
Ice Cream Sandwiches
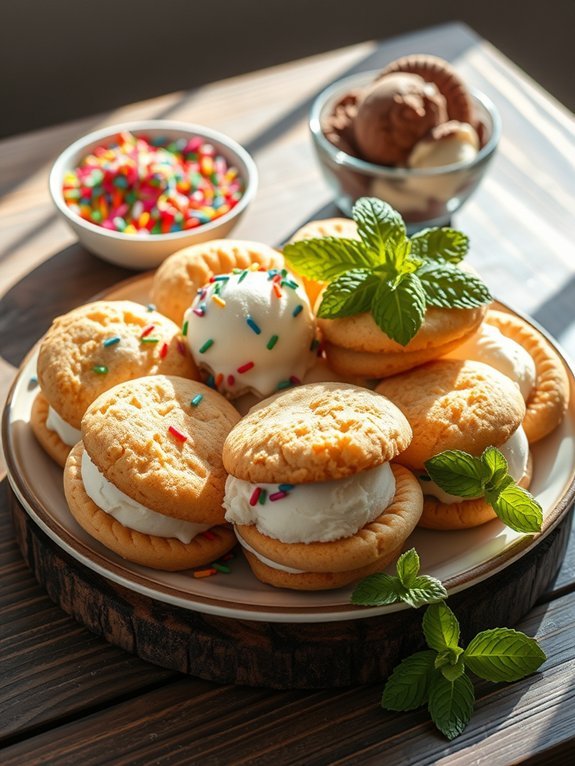
Ice cream sandwiches are a fun and delicious treat that kids will love to assemble and enjoy. This simple recipe allows little hands to get creative, selecting their favorite flavors and fillings to customize each sandwich. Perfect for a hot day or a special after-school snack, these homemade delights bring a sense of joy and accomplishment, making the process just as fun as the final product.
To make ice cream sandwiches, you can use store-bought cookies or whip up a quick batch of homemade cookies. The traditional combination often pairs chocolate chip cookies with vanilla ice cream, but the possibilities are endless! Get the kids involved in choosing their flavors and toppings—in addition to ice cream, consider sprinkles, crushed cookies, or fresh fruit to add an extra fun twist.
- 1 cup of butter, softened
- 1 cup of brown sugar
- 1 cup of white sugar
- 1 teaspoon of vanilla extract
- 2 large eggs
- 2 ½ cups of all-purpose flour
- 1 teaspoon of baking soda
- ½ teaspoon of salt
- 2 cups of chocolate chips (or cookie of your choice)
- 2 cups of your favorite ice cream
In a large bowl, cream the softened butter, brown sugar, and white sugar together until fluffy. Add in the vanilla extract and eggs, mixing well. In another bowl, mix the flour, baking soda, and salt together before gradually adding it to the wet ingredients.
Fold in the chocolate chips, then drop spoonfuls of dough onto a baking sheet lined with parchment paper. Bake in a preheated oven at 350°F (175°C) for about 10-12 minutes or until edges are golden. Let them cool, then sandwich a scoop of ice cream between two cookies.
For an extra special touch, try rolling the edges of your ice cream sandwiches in sprinkles or mini chocolate chips after assembling them. You can freeze the sandwiches for about 30 minutes to help them hold their shape before serving.
Encourage kids to get inventive by layering different ice creams and cookies, or by using fun cookie cutters to shape the cookies before baking. Enjoy experimenting!
Funfetti Marshmallow Treats
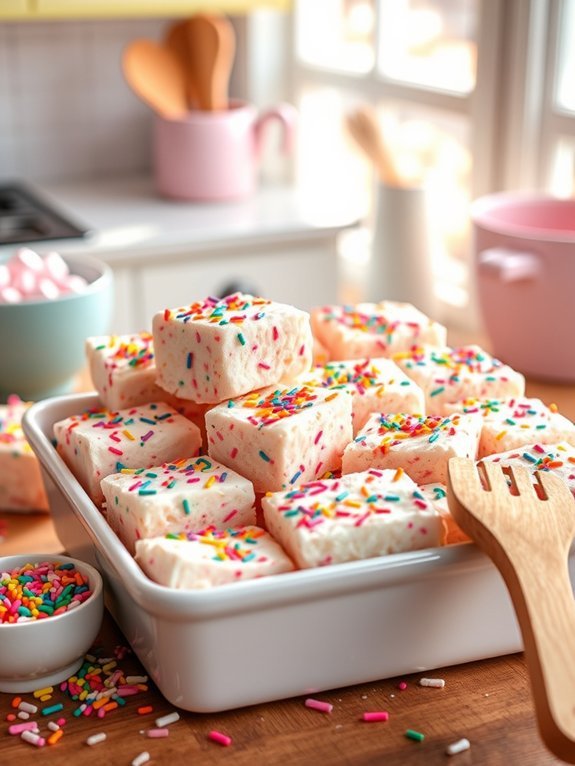
Funfetti Marshmallow Treats are a colorful and delightful twist on the classic rice cereal treat, making them an instant hit for kids and adults alike. They’re incredibly easy to prepare, making them perfect for a fun afternoon cooking activity with the little ones. With vibrant sprinkles throughout, these treats not only taste great but also look festive and inviting, ideal for birthday parties or as a special dessert on any day of the week.
This recipe adds a playful element to the traditional marshmallow treat by incorporating funfetti cake mix and rainbow sprinkles, creating an irresistible sweet treat that will leave everyone asking for a second piece. The mixture of gooey marshmallows and crunchy rice cereal paired with the soft cake mix creates a perfect texture every child will love.
Get ready to roll up your sleeves, because these Funfetti Marshmallow Treats are so much fun to make and enjoy!
Ingredients:
- 4 cups rice cereal
- 1 bag (10 oz) mini marshmallows
- 3 tablespoons butter
- 1/2 cup funfetti cake mix
- 1/2 cup rainbow sprinkles
- 1 teaspoon vanilla extract
In a large saucepan, melt the butter over low heat. Add the mini marshmallows and stir continuously until they’re completely melted and smooth.
Remove the saucepan from heat and stir in the vanilla extract and funfetti cake mix until well combined. Gradually add the rice cereal, folding gently to combine until all the cereal is coated. Finally, fold in the rainbow sprinkles.
Transfer the mixture into a greased 9×13-inch baking dish and press it down evenly with a spatula, allowing it to cool before cutting them into squares.
For best results, make sure that you use fresh marshmallows for maximum gooeyness, and don’t be afraid to customize your sprinkles; there are endless options out there! If you want an extra touch, you can drizzle melted chocolate on top of the treats after they cool for a delightful finishing touch.
Store any leftovers in an airtight container to maintain their softness and freshness. Enjoy your colorful and delicious Funfetti Marshmallow Treats!
Chocolate Chip Banana Muffins
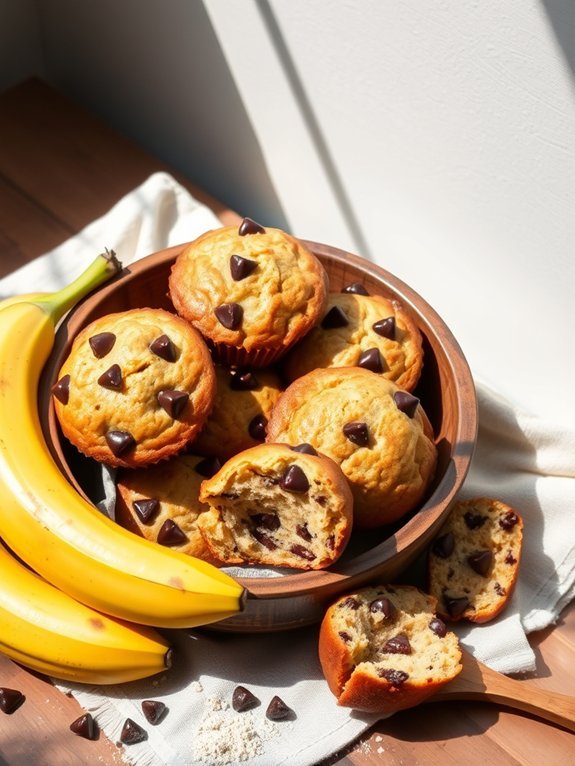
Chocolate Chip Banana Muffins are a delightful treat that’s sure to please both kids and adults alike. They’re easy to make and are a great way to use up those overripe bananas sitting on your countertop.
Packed with the goodness of bananas and the sweetness of chocolate chips, these muffins can be enjoyed as a breakfast option or a fun snack throughout the day. They’re also an excellent way to introduce kids to baking, as they can help with mashing the bananas and mixing the ingredients.
This recipe yields soft, moist muffins that are bursting with flavor. They aren’t only delicious but also a healthier choice compared to store-bought muffins, as you can control the amount of sugar and use whole-grain flour if you prefer.
Plus, they can easily be customized with nuts, oats, or other add-ins to suit your family’s taste. With just a few simple ingredients, you’ll have a batch of yummy muffins that will be devoured quickly!
- 2 to 3 ripe bananas, mashed
- 1/3 cup melted butter
- 1 teaspoon baking soda
- Pinch of salt
- 3/4 cup sugar
- 1 large egg, beaten
- 1 teaspoon vanilla extract
- 1 cup all-purpose flour
- 1/2 cup chocolate chips
Preheat your oven to 350°F (175°C) and line a muffin tin with paper liners or grease it lightly.
In a mixing bowl, combine the mashed bananas with the melted butter. Stir in the baking soda and salt, followed by the sugar, beaten egg, and vanilla extract.
Add the flour and mix until just combined, then gently fold in the chocolate chips. Divide the batter evenly among the muffin cups, filling each about two-thirds full. Bake for approximately 18-20 minutes, or until the tops are golden brown and a toothpick inserted into the center comes out clean.
When baking these muffins, make sure not to overmix the batter as this can lead to dense muffins. If you’d like to add a fun twist, consider adding a handful of chopped nuts or a sprinkle of cinnamon for extra flavor.
You can also substitute some of the flour with whole wheat flour for a healthier option. These muffins freeze well, so feel free to make a double batch and store some for a quick treat later!

