This post may contain affiliate links. Please read our policy page.
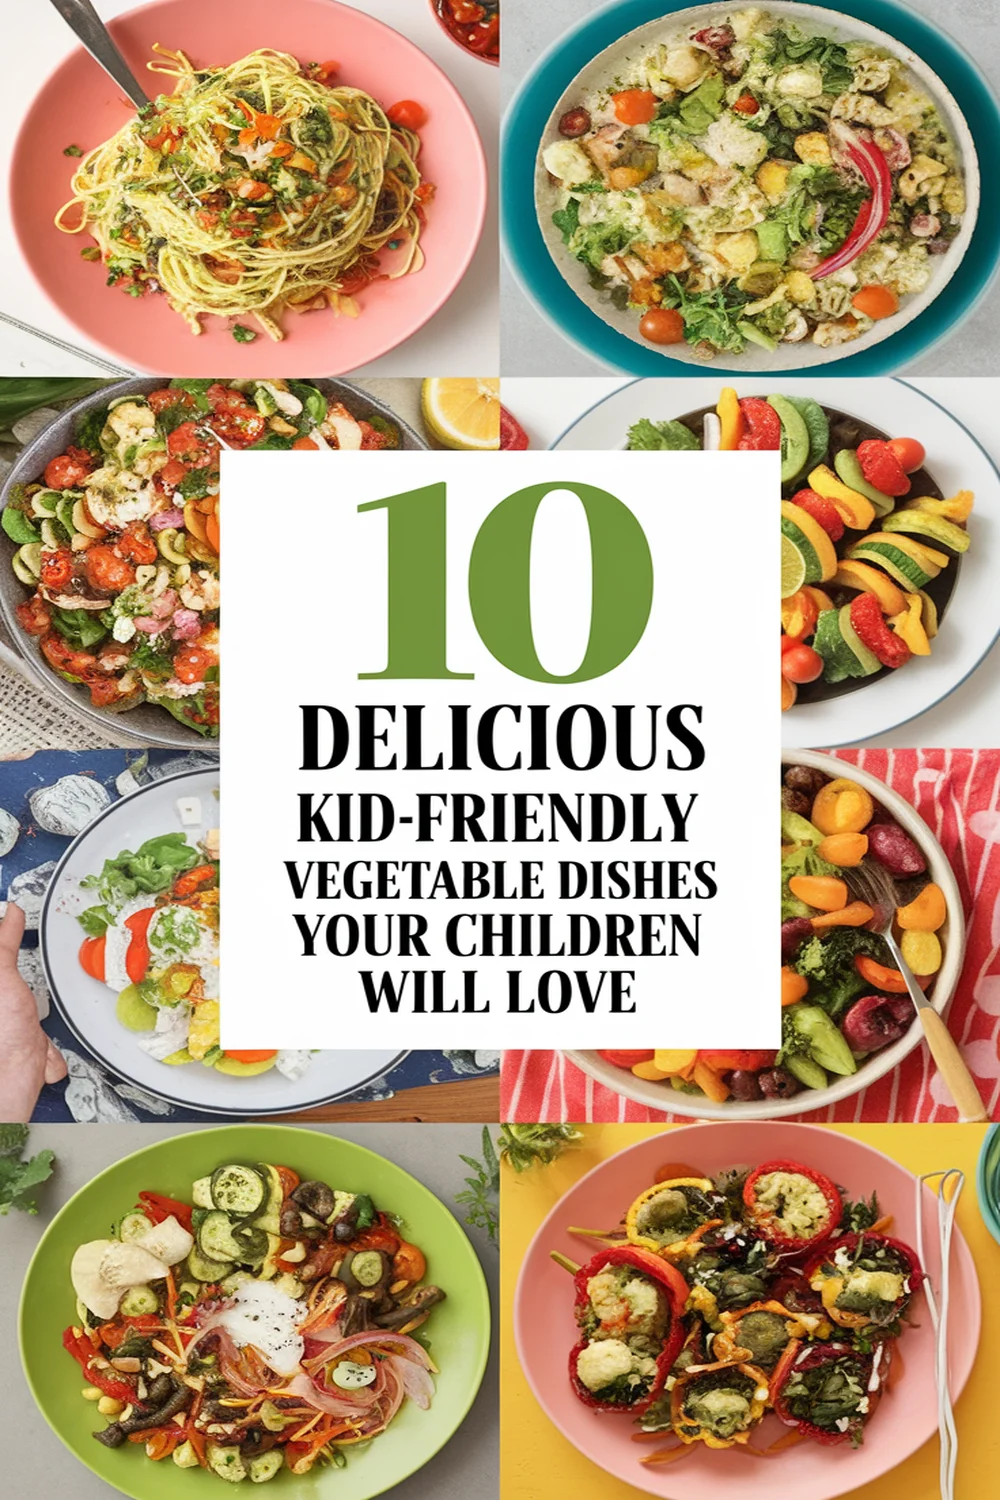
Looking for delicious kid-friendly vegetable dishes that your little ones will love? Try Cheesy Broccoli and Rice Casserole for comfort or Veggie-Loaded Hidden Pasta Sauce for sneaky nutrition. Sweet Potato Fries With a Twist are a healthier snack, while Colorful Vegetable Quesadillas make veggies fun. Spinach and Cheese Stuffed Shells and Fun Vegetable Skewers engage kids in cooking, and Garden Vegetable Muffins and Zucchini Noodle Stir-Fry pack in flavor. There’s even more to discover, so don’t stop here!
Cheesy Broccoli and Rice Casserole
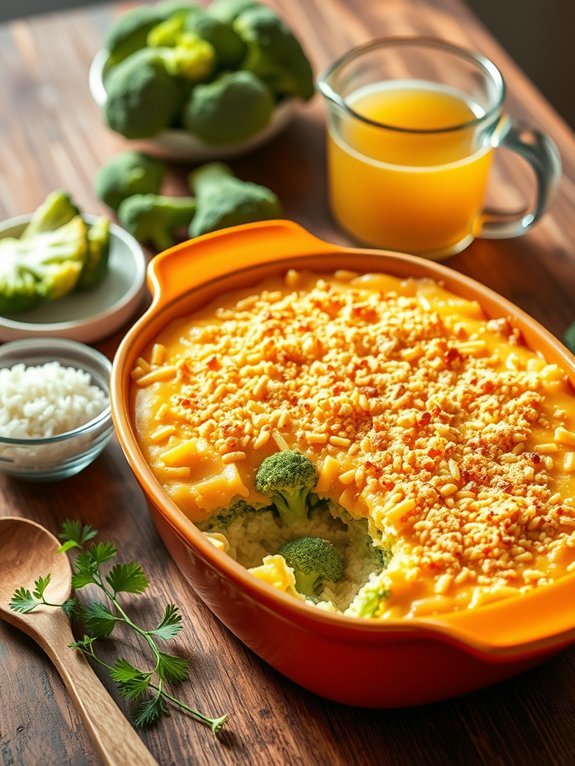
Cheesy Broccoli and Rice Casserole is a delightful and wholesome dish that even the pickiest eaters will love. The combination of tender broccoli, fluffy rice, and creamy cheese creates a comforting meal that can be served as a main dish or a hearty side.
This recipe is perfect for family dinners, potlucks, or simply when you want to sneak in those essential veggies without any fuss. You can prepare this dish in advance and bake it just before serving, which means it’s also excellent for busy weeknights.
This casserole not only satisfies hunger but also packs a nutritional punch. Broccoli is loaded with vitamins and minerals, while the addition of rice makes it a filling option.
The cheese gives it that creamy, indulgent touch that will draw your kids in. Plus, with a few simple ingredients, this dish is easy to whip up and customize according to your family’s preferences, ensuring that everyone leaves the table happy and full.
Ingredients:
- 2 cups fresh or frozen broccoli florets
- 1 cup uncooked white or brown rice
- 2 cups vegetable or chicken broth
- 1 cup shredded cheddar cheese
- 1 cup cream of mushroom soup
- 1/2 cup milk
- 1/2 teaspoon garlic powder
- 1/2 teaspoon onion powder
- Salt and pepper to taste
- Optional: breadcrumbs for topping
In a large pot, combine the rice, broth, and seasonings. Bring to a boil, then reduce heat and simmer for about 15 minutes until the rice is tender.
While the rice is cooking, steam or microwave the broccoli until just tender. Once the rice is ready, mix in the cream of mushroom soup, milk, steamed broccoli, and half of the shredded cheese.
Stir until well combined and transfer the mixture to a greased baking dish. Top with the remaining cheese and breadcrumbs if desired, and bake in a preheated oven at 350°F (175°C) for 25-30 minutes or until bubbly and golden.
When making this casserole, feel free to experiment with different types of cheese; mozzarella or pepper jack can add a unique twist. You can also enhance the flavor by adding cooked chicken or sautéed onions and mushrooms for an extra savory touch.
If you’re preparing this in advance, consider undercooking the rice slightly, as it will continue to cook while baking. Additionally, let the casserole sit for a few minutes after removing it from the oven to set before serving; this will make it easier to slice and serve.
Veggie-Loaded Hidden Pasta Sauce
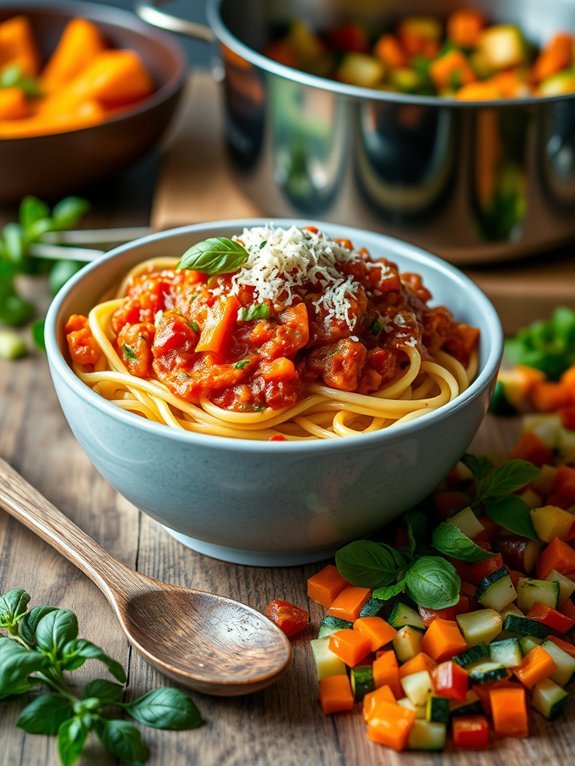
Transforming mealtime into a fun and nutritious experience is simple with this veggie-loaded hidden pasta sauce. Packed with vitamins and minerals, this sauce is a sneaky way to incorporate a variety of vegetables into your child’s diet without them even noticing!
The blend of flavors from tomatoes, carrots, zucchini, and bell peppers creates a delicious sauce that pairs perfectly with any type of pasta. With a touch of herbs and garlic, this recipe guarantees a whiff of deliciousness that will awaken even the pickiest eaters’ appetites.
The beauty of this sauce is that it can be easily customized based on what you have on hand or your family’s preferences. You can use fresh or frozen veggies, and the addition of protein-packed lentils or ground turkey can elevate this dish even further.
Once made, it keeps well in the refrigerator for a week or can be frozen for up to three months, making it an excellent choice for meal prep. Prepare for mealtime battles to be dramatically reduced as your family enjoys this hidden veggie masterpiece!
- 1 tablespoon olive oil
- 1 onion, diced
- 3 cloves garlic, minced
- 2 carrots, peeled and diced
- 1 zucchini, diced
- 1 bell pepper, diced
- 1 can (14 oz) crushed tomatoes
- 1 cup vegetable broth
- 1 teaspoon dried basil
- 1 teaspoon dried oregano
- Salt and pepper to taste
- 1 cup cooked pasta of your choice
- Optional: Grated Parmesan cheese for serving
In a large pot, heat the olive oil over medium heat, then add diced onion and sauté until translucent. Stir in the garlic, carrots, zucchini, and bell pepper, cooking for about 5-7 minutes until softened.
Pour in the crushed tomatoes and vegetable broth, followed by the herbs, salt, and pepper. Allow the mixture to simmer for 20-25 minutes to meld the flavors, stirring occasionally. Once ready, blend the sauce until smooth using an immersion blender or by transferring to a traditional blender.
Combine with your cooked pasta and serve with a sprinkle of Parmesan cheese if desired. For added texture and flavor, consider roasting the vegetables before blending to enhance their sweetness and depth.
If your little ones are particularly discerning, you might want to pass the finished sauce through a fine-mesh sieve to guarantee an ultra-smooth consistency. Feel free to experiment by adding spinach or kale for extra nutrients, and always taste before serving—sometimes, a little extra seasoning can make all the difference!
Recommended Items
Get ready to make mealtime fun with these fantastic products and tools—your kids will love them!
Sweet Potato Fries With a Twist
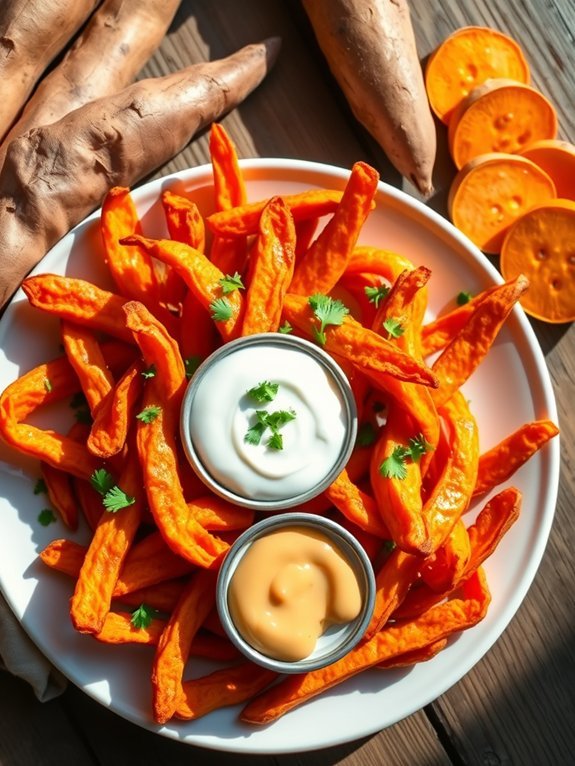
Sweet potato fries are a fantastic way to incorporate the deliciousness of sweet potatoes into a kid-friendly dish that appeals to both children and adults alike. These naturally sweet and slightly creamy root vegetables are a healthier alternative to traditional French fries, packed with vitamins and minerals. In this recipe, we’ll add a twist with a sprinkle of cinnamon and a hint of paprika to create a delightful flavor combination that will keep the little ones coming back for more.
Making sweet potato fries is simple and fun, and they can be baked or fried depending on your preference. Baked fries aren’t only healthier but also easy to prepare and offer a crispy exterior without the added oil of frying. With a little bit of patience while they bake, you’ll end up with perfectly crispy sweet potato fries that are both tasty and satisfying.
Let’s get started on this flavorful journey!
Ingredients:
- 2 large sweet potatoes
- 2 tablespoons olive oil
- 1 teaspoon paprika
- 1 teaspoon cinnamon
- 1 teaspoon garlic powder
- Salt and pepper to taste
- Optional: Fresh parsley for garnish
Preheat your oven to 425°F (220°C). Start by peeling the sweet potatoes and cutting them into thin strips, aiming for about 1/4 inch thickness for even cooking. In a large bowl, toss the sweet potato strips with olive oil, paprika, cinnamon, garlic powder, and a pinch of salt and pepper until they’re evenly coated.
Spread the fries in a single layer on a baking sheet lined with parchment paper and bake in the preheated oven for 25-30 minutes, flipping halfway through, until they’re crispy and golden brown.
When making sweet potato fries, it’s important to ascertain they’re cut into uniform sizes to promote even cooking. If you find that your fries aren’t getting crispy enough, consider soaking them in cold water for about 30 minutes before seasoning and baking; this helps to remove excess starch.
Additionally, for an extra kick, try adding a sprinkle of your favorite seasoning or dipping sauces like honey mustard or ranch on the side to enhance the flavor experience for kids. Enjoy this nutritious twist on a classic dish!
Colorful Vegetable Quesadillas
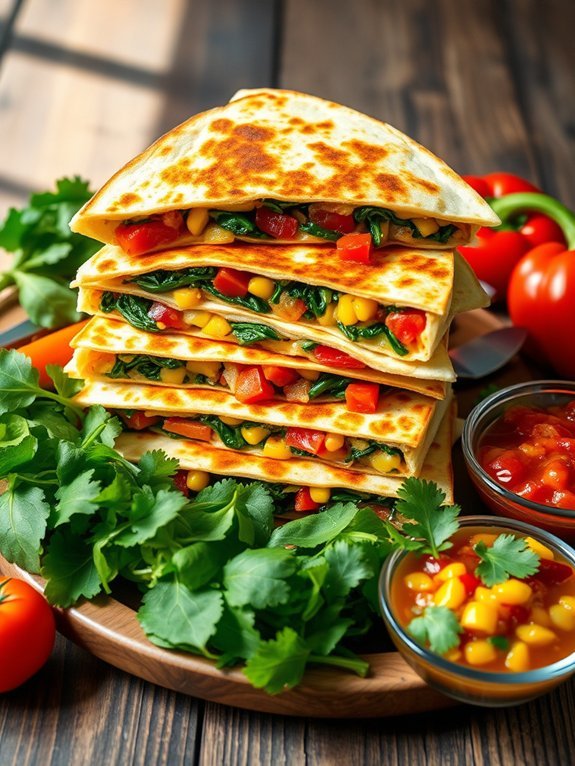
Colorful vegetable quesadillas are a fun and delicious way to introduce children to a variety of wholesome veggies while enjoying a tasty meal. They’re versatile and can be customized with any vegetables your little ones prefer, making them an appealing choice for picky eaters.
These quesadillas not only pack a punch in flavor but also provide a vibrant plate that will intrigue kids and make mealtime exciting. With gooey cheese and a crispy tortilla exterior, colorful vegetable quesadillas are both satisfying and healthy. The combination of sautéed peppers, spinach, and corn melds together beautifully to create a colorful medley, ensuring that kids won’t even notice that they’re eating their greens.
Whether served as a main dish or a fun snack, these quesadillas can be paired with salsa or guacamole for extra flavor.
- 4 large flour tortillas
- 1 cup shredded cheese (cheddar or Mexican blend)
- 1 red bell pepper, diced
- 1 yellow bell pepper, diced
- 1 cup corn (canned or frozen)
- 1 cup fresh spinach, chopped
- 1 small onion, diced
- 1 tablespoon olive oil
- Salt and pepper to taste
In a large skillet, heat the olive oil over medium heat. Add the diced onion and sauté until soft, about 3-4 minutes. Next, stir in the bell peppers and cook until they start to soften, around 2-3 minutes.
Add the corn and chopped spinach and continue to cook for another 2 minutes, until the spinach wilts. Season the mixture with salt and pepper. On half of each tortilla, sprinkle a layer of cheese, followed by a portion of the vegetable mixture.
Fold the tortilla over to create a half-moon shape and cook in the skillet for about 3-4 minutes on each side, until the tortillas are golden and the cheese is melted. Cut into wedges and serve warm.
For an extra touch, try to incorporate different colors of vegetables for a more appealing dish, and don’t hesitate to experiment by adding cooked beans for added protein or substituting different cheese types.
If introducing quesadillas to younger children, cutting them into smaller pieces or fun shapes can make them more enticing. Finally, serve with a variety of dips like salsa, ranch, or creamy avocado to engage kids and enhance their eating experience.
Spinach and Cheese Stuffed Shells
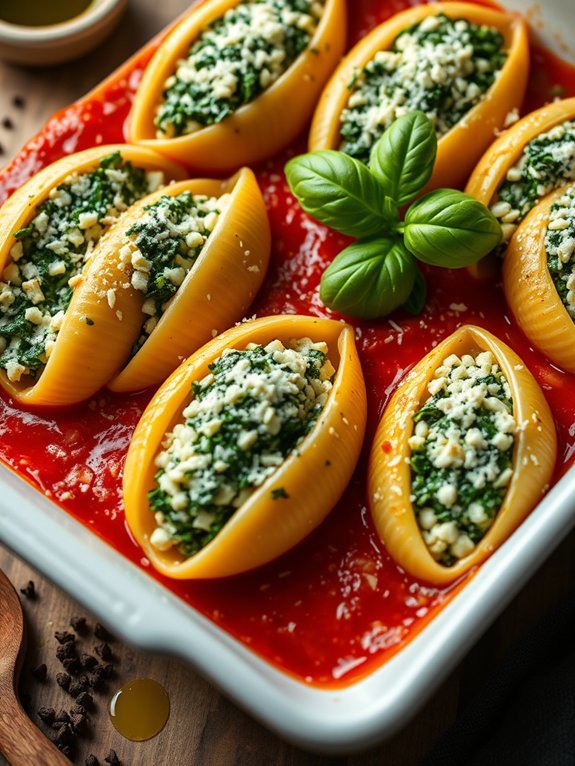
Spinach and cheese stuffed shells are a delightful way to sneak some healthy greens into your kids’ meals, and they can be a satisfying and flavorful dish that your whole family will love. These large pasta shells are filled with a creamy mixture of ricotta and spinach, baked in a rich marinara sauce, and topped with gooey melted cheese. With their appealing shape and comforting flavors, these stuffed shells are sure to please even the pickiest of eaters.
Preparing spinach and cheese stuffed shells can be a fun family activity, allowing kids to help with the filling process. The combination of spinach, ricotta, and mozzarella cheese creates a delicious filling that pairs wonderfully with the marinara sauce.
This dish not only offers a burst of flavors but is also visually appealing, making it an excellent choice for dinner or a special occasion.
Ingredients:
- 12 large pasta shells
- 1 cup ricotta cheese
- 1 cup fresh spinach, chopped
- 1 cup shredded mozzarella cheese
- 1/4 cup grated Parmesan cheese
- 1 egg
- 1 jar (about 24 oz) marinara sauce
- 1 teaspoon garlic powder
- Salt and pepper to taste
- Olive oil (optional)
Cook the pasta shells according to package directions until al dente, then drain and set aside. In a mixing bowl, combine ricotta cheese, chopped spinach, half of the mozzarella, Parmesan cheese, egg, garlic powder, salt, and pepper.
Preheat the oven to 375°F (190°C) and spread some marinara sauce at the bottom of a baking dish. Stuff each cooked shell with the spinach and cheese mixture, place them in the baking dish, and pour the remaining marinara sauce over the top. Sprinkle the rest of the mozzarella cheese on top before covering the dish with foil.
Bake for 25 minutes, then remove the foil and bake for an additional 10 minutes, or until the cheese is bubbly and golden.
When making spinach and cheese stuffed shells, feel free to customize the filling by adding other vegetables like mushrooms or bell peppers to increase the nutrition and flavor. You can also substitute cottage cheese for ricotta if you’re looking for a lower-fat option.
For added richness, consider stirring in some herbs like basil or oregano into the filling, and serve the dish with a side salad or garlic bread for a complete meal.
Recipe Overview
Cauliflower Crust Pizza
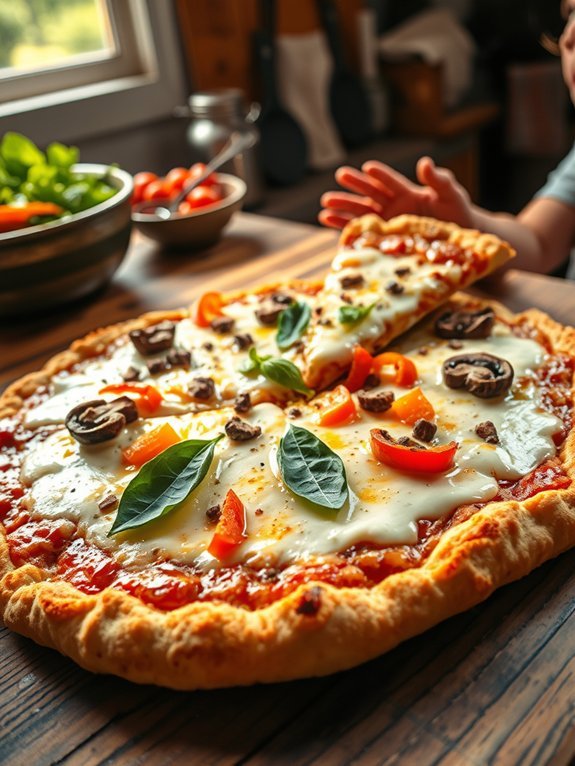
Cauliflower Crust Pizza is a delightful and healthy twist on the traditional pizza that kids will love. This dish cleverly substitutes the typical dough with a flavorful cauliflower crust, making it a fantastic way to incorporate vegetables into your child’s diet without them even realizing it. Not only is it a lower-carb alternative, but it also offers a unique taste and texture that pairs beautifully with a variety of toppings.
Making cauliflower crust pizza is an engaging activity that you can enjoy with your kids. It involves simple ingredients and basic kitchen skills, providing an excellent opportunity for them to help out and get excited about eating their veggies. Plus, this crust can serve as a blank canvas for all sorts of toppings, meaning you can customize it to suit your family’s tastes.
- 1 medium head of cauliflower, cut into florets
- 1/2 cup shredded mozzarella cheese
- 1/4 cup grated Parmesan cheese
- 1 large egg
- 1 teaspoon dried oregano
- 1/2 teaspoon garlic powder
- Salt and pepper, to taste
- Tomato sauce, for topping
- Additional toppings (pepperoni, bell peppers, mushrooms, etc.)
Begin by preheating your oven to 425°F (220°C). In a food processor, pulse the cauliflower florets until they resemble fine rice. Microwave the processed cauliflower for about 4-5 minutes until softened, then let it cool slightly.
Once cooled, place it in a clean kitchen towel and wring out any excess moisture. In a bowl, mix the cauliflower with mozzarella cheese, Parmesan cheese, the egg, oregano, garlic powder, salt, and pepper until well combined. Shape the mixture into a crust on a baking sheet lined with parchment paper and bake for 15-20 minutes until golden.
Remove from the oven, add your favorite toppings, and return it to the oven for another 10 minutes until the cheese is bubbly. For the best results, make certain to thoroughly wring out the excess moisture from the cauliflower after steaming, as a dry crust will hold together better and guarantee a crispy texture.
Feel free to get creative with the toppings, letting your kids choose their favorites—this can make the dish even more exciting for them. Additionally, consider making a larger batch of crusts to freeze and use for quick dinners later on. Enjoy your cooking adventure!
Fun Vegetable Skewers
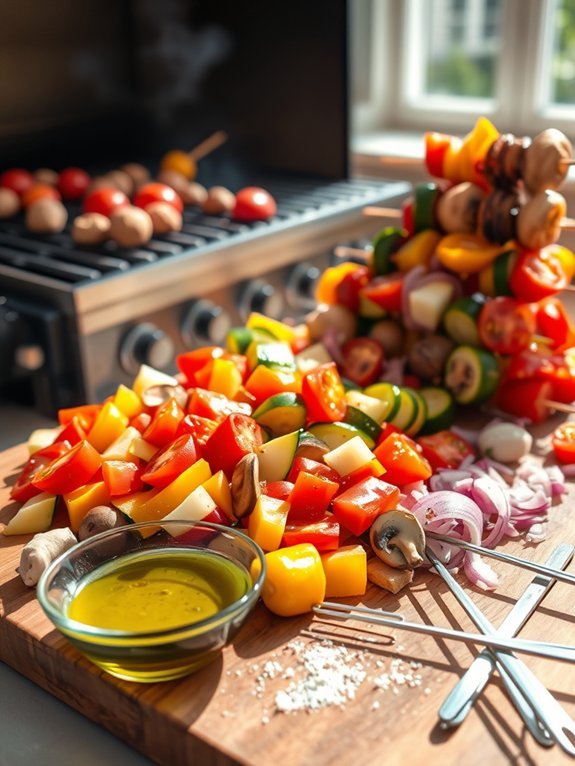
Vegetable skewers are a fun and playful way to get kids excited about eating their vegetables. These colorful and delicious skewers aren’t only visually appealing but also easy to prepare, making them perfect for family gatherings, barbecues, or even a simple weeknight dinner.
You can get creative with the types of vegetables you use, allowing kids to pick their favorites, and they can even help assemble the skewers, making it a fun cooking activity together.
Whether grilled, baked, or even enjoyed fresh, vegetable skewers are versatile and can be seasoned to suit your family’s taste preferences. Pair them with a tasty dip or serve them alongside their favorite protein for a well-rounded meal. The possibilities are endless, and you might just find that these skewers become a regular hit at the dinner table!
- Bell peppers (red, yellow, green)
- Cherry tomatoes
- Zucchini
- Mushrooms
- Red onion
- Olive oil
- Salt and pepper
- Garlic powder (optional)
- Wooden or metal skewers
Start by preheating your grill or oven to a medium-high heat. While it’s heating up, wash and chop your vegetables into bite-sized pieces.
In a bowl, toss the vegetables with olive oil, salt, pepper, and garlic powder if desired. Thread the vegetables onto the skewers in any order you like. Once the grill or oven is ready, cook the skewers for about 10-15 minutes, turning occasionally, until the vegetables are tender and have lovely grill marks or are nicely roasted.
For extra flavor, try marinating the vegetables in your favorite dressing for at least 30 minutes before skewering them.
Consider incorporating some protein like cubed tofu, chicken, or shrimp for a heartier dish that kids will love. Additionally, encourage kids to experiment with different combinations of vegetables and colors to make their skewers uniquely their own.
Garden Vegetable Muffins
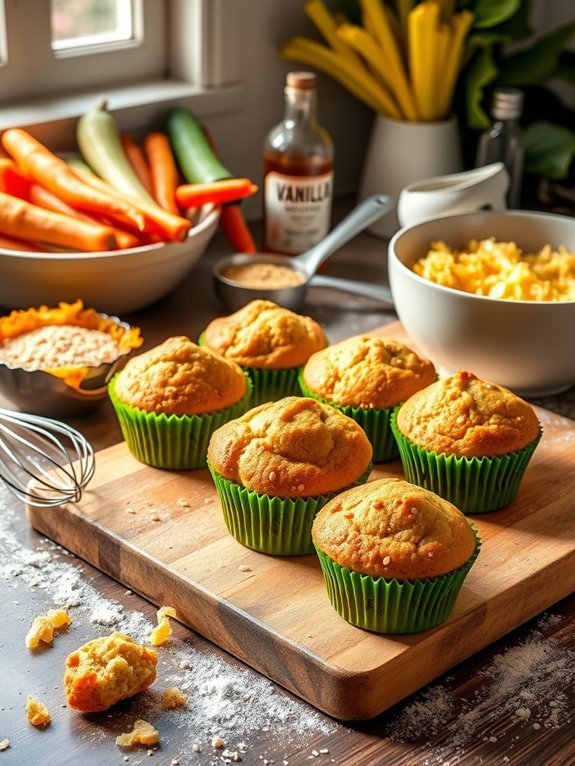
Garden Vegetable Muffins are a delightful and nutritious way to introduce vegetables to your child’s diet. These muffins aren’t only colorful and appealing, but they’re also packed with hidden veggies that even the pickiest eaters will enjoy. The combination of fresh, grated vegetables such as zucchini, carrots, and bell peppers provides a subtle sweetness and moisture, making each bite both satisfying and flavorful.
Best of all, they’re perfect as a snack, lunchbox treat, or even a quick breakfast option. Baking these muffins is simple and fun! Involve your children in the preparation process by letting them help grate the vegetables and mix the batter. This won’t only make them more excited to eat the muffins but will also encourage them to try different vegetables.
The versatility of this recipe allows you to customize it based on your family’s preferences or whatever ingredients you have on hand. So roll up your sleeves and prepare for a baking session that will nourish both the body and soul!
Ingredients:
- 1 cup all-purpose flour
- 1 cup whole wheat flour
- 1 teaspoon baking powder
- 1/2 teaspoon baking soda
- 1/2 teaspoon salt
- 1 teaspoon ground cinnamon
- 1/2 cup sugar (or honey)
- 1/2 cup vegetable oil (or applesauce)
- 2 large eggs
- 1 teaspoon vanilla extract
- 1 cup grated zucchini
- 1/2 cup grated carrots
- 1/2 cup finely chopped bell peppers
- 1/4 cup chopped green onions (optional)
Preheat your oven to 350°F (175°C) and line a muffin tin with paper liners or grease it with cooking spray. In a large mixing bowl, combine the all-purpose flour, whole wheat flour, baking powder, baking soda, salt, and cinnamon.
In another bowl, whisk together the sugar, oil (or applesauce), eggs, and vanilla extract. Gradually mix the wet ingredients into the dry ingredients, stirring until just combined. Fold in the grated zucchini, carrots, bell peppers, and green onions, if using.
Spoon the batter into the prepared muffin tin and bake for about 20-25 minutes or until a toothpick inserted in the center comes out clean. For best results, make sure you don’t overmix the batter, as this can result in dense muffins.
You can also experiment with different vegetables by substituting or adding other favorites like spinach or corn. If you want to make the muffins even healthier, you can reduce the sugar or replace it with alternatives like mashed bananas or unsweetened applesauce.
Store any leftovers in an airtight container, and they can also be frozen for later enjoyment—just reheat before serving!
Zucchini Noodle Stir-Fry
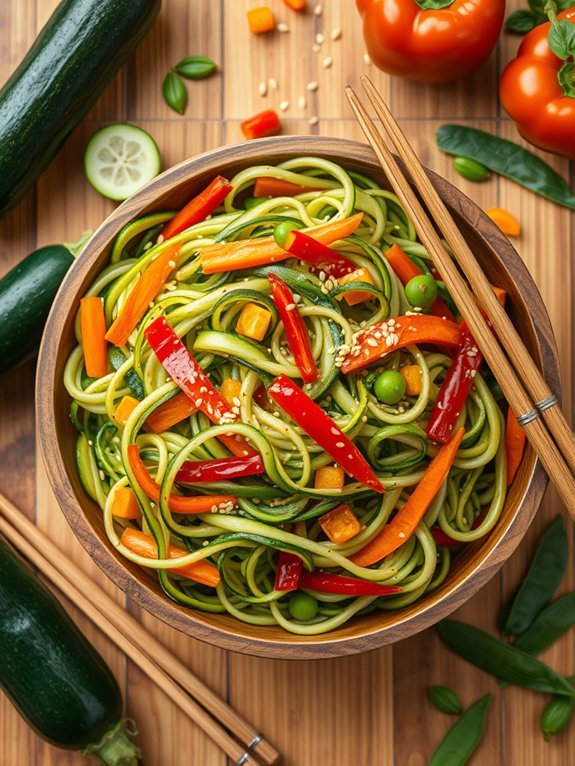
Zucchini Noodle Stir-Fry is a vibrant and nutritious dish that appeals to both kids and adults alike. With its colorful medley of vegetables and the delightful crunch of zucchini noodles, this meal isn’t only fun to eat but is also rich in essential vitamins and minerals.
It’s a fantastic way to sneak in those greens while sparking a child’s interest in colorful foods. Plus, it’s quick and easy to whip up, making it ideal for busy weeknight dinners!
You can customize this stir-fry with whatever vegetables you have on hand, such as bell peppers, carrots, or snap peas. The zucchini noodles serve as a light and healthy base, absorbing the flavors of the stir-fry sauce without overwhelming the dish. This recipe offers a delicious and guilt-free alternative to traditional noodle dishes, perfect for instilling a love of vegetables in your little ones!
Ingredients:
- 3 medium zucchinis
- 1 cup bell peppers, sliced (any color)
- 1 cup carrots, julienned
- 1 cup snap peas, trimmed
- 2 cloves garlic, minced
- 2 tablespoons soy sauce
- 1 tablespoon sesame oil
- 1 tablespoon olive oil
- Salt and pepper to taste
- Sesame seeds for garnish (optional)
Start by spiralizing the zucchinis to create zucchini noodles, also known as “zoodles.” In a large skillet or wok, heat the olive oil over medium-high heat. Add the minced garlic and sauté for about 30 seconds until fragrant.
Then, add the sliced bell peppers, carrots, and snap peas to the skillet. Stir-fry the vegetables for approximately 5-7 minutes until they’re tender yet crisp. Finally, add the zucchini noodles, soy sauce, and sesame oil. Toss everything together and cook for another 3-4 minutes until the zoodles are heated through.
Season with salt and pepper to taste, then serve hot, garnished with sesame seeds if desired. For the best zoodle texture, avoid overcooking them; they should have a slight crunch.
To ascertain even cooking, try to cut vegetables into similar sizes. If you want an extra protein boost, consider adding cooked chicken, shrimp, or tofu to the stir-fry. Feel free to experiment with different sauces or spices to make it your own, and don’t hesitate to involve your kids in the cooking process—let them help with mixing or selecting their favorite vegetables!
Carrot and Pea Fritters

Carrot and pea fritters are a delightful and nutritious way to introduce vegetables to your child’s palate. Packed with the sweetness of carrots and the vibrant color of peas, these fritters aren’t only tasty but also visually appealing. They make for an excellent snack or a light meal option, perfect for promoting healthy eating habits among kids.
With a crispy exterior and a tender interior, they’re sure to be a hit at your dinner table or packed in your child’s lunchbox. Making carrot and pea fritters can be a fun activity to do with your little ones. They can assist in mixing the ingredients, helping them feel more engaged in the cooking process.
Plus, these fritters can be served with a variety of dips, such as yogurt or hummus, adding an extra layer of flavor and excitement to the dish. Enjoy this simple and delicious recipe that can be made in no time, guaranteeing that your children get their daily dose of veggies without any fuss.
Ingredients:
- 2 cups grated carrots
- 1 cup cooked peas (fresh or frozen)
- 1/2 cup all-purpose flour
- 1/2 cup breadcrumbs
- 2 large eggs
- 1 teaspoon baking powder
- 1 teaspoon garlic powder
- 1 teaspoon onion powder
- Salt and pepper to taste
- Olive oil for frying
In a large mixing bowl, combine the grated carrots, cooked peas, flour, breadcrumbs, eggs, baking powder, garlic powder, onion powder, salt, and pepper. Mix until well combined and the mixture holds together.
Heat a non-stick skillet over medium heat and add a tablespoon of olive oil. Once hot, scoop about a tablespoon of the mixture and flatten it slightly in the skillet. Cook the fritters for about 3-4 minutes on each side or until they turn golden brown and crispy. Remove from the skillet and place them on a paper towel-lined plate to absorb any excess oil.
Repeat with the remaining mixture. When cooking carrot and pea fritters, it’s important to verify the oil is hot enough before adding the fritters to achieve a nice crispy texture. If you’re looking to make these fritters healthier, consider baking them in the oven at 400°F (200°C) on a lined baking sheet for approximately 20-25 minutes, flipping them halfway through to guarantee even cooking.
Also, you can spice up the flavor by incorporating herbs like parsley or cilantro into the mixture. Don’t hesitate to experiment with other vegetables like zucchini or corn to create your own variations!

