This post may contain affiliate links. Please read our policy page.
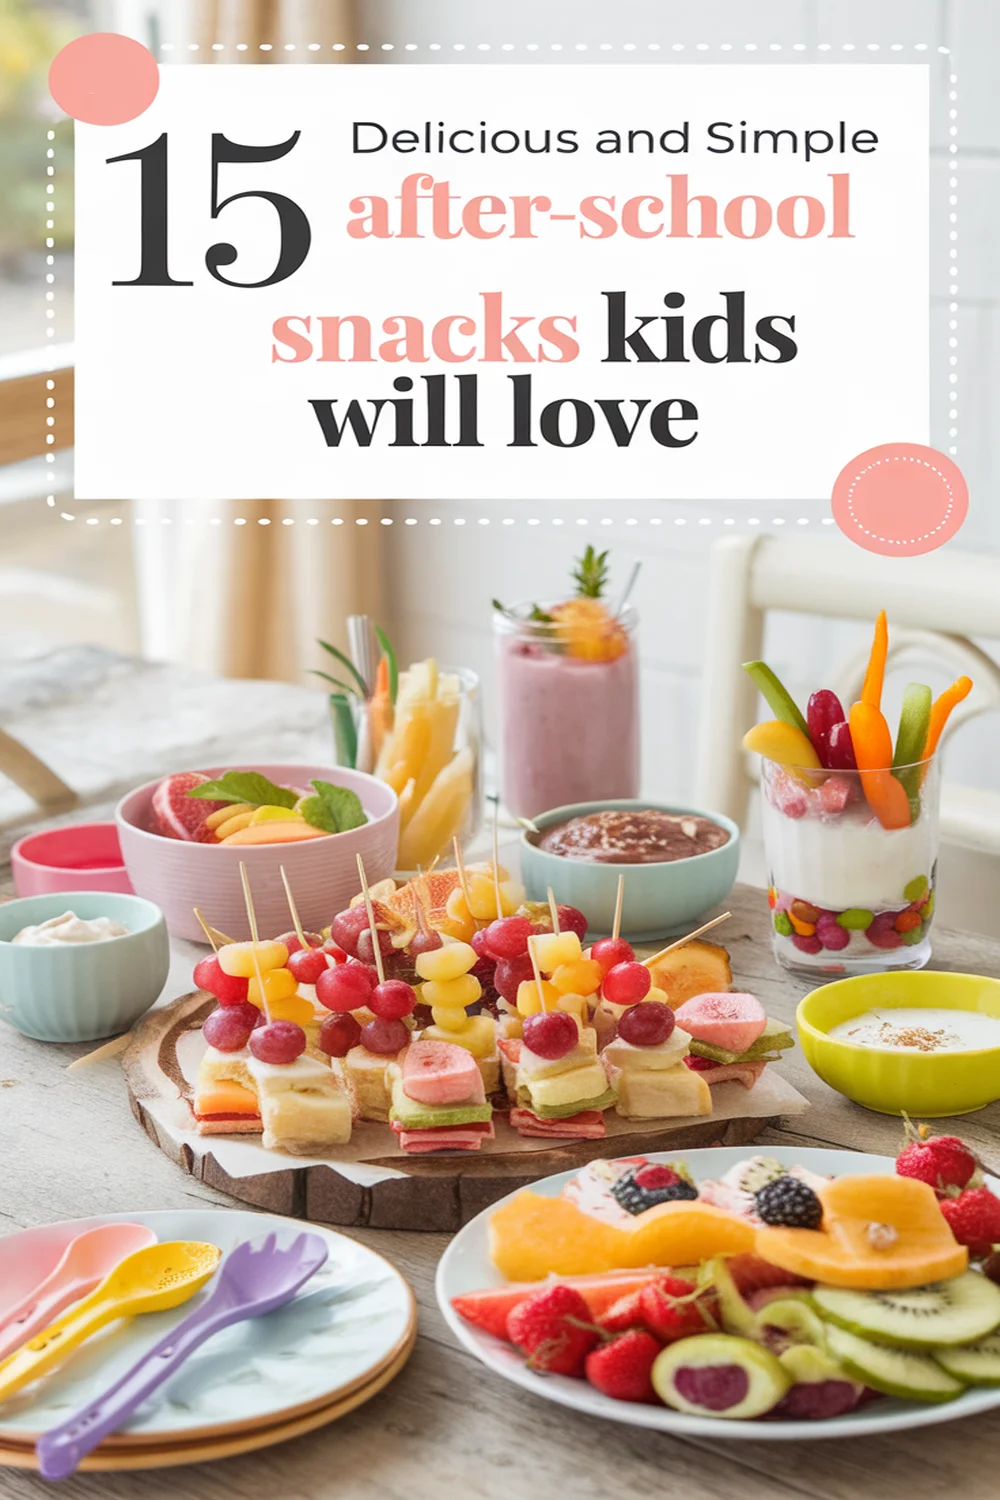
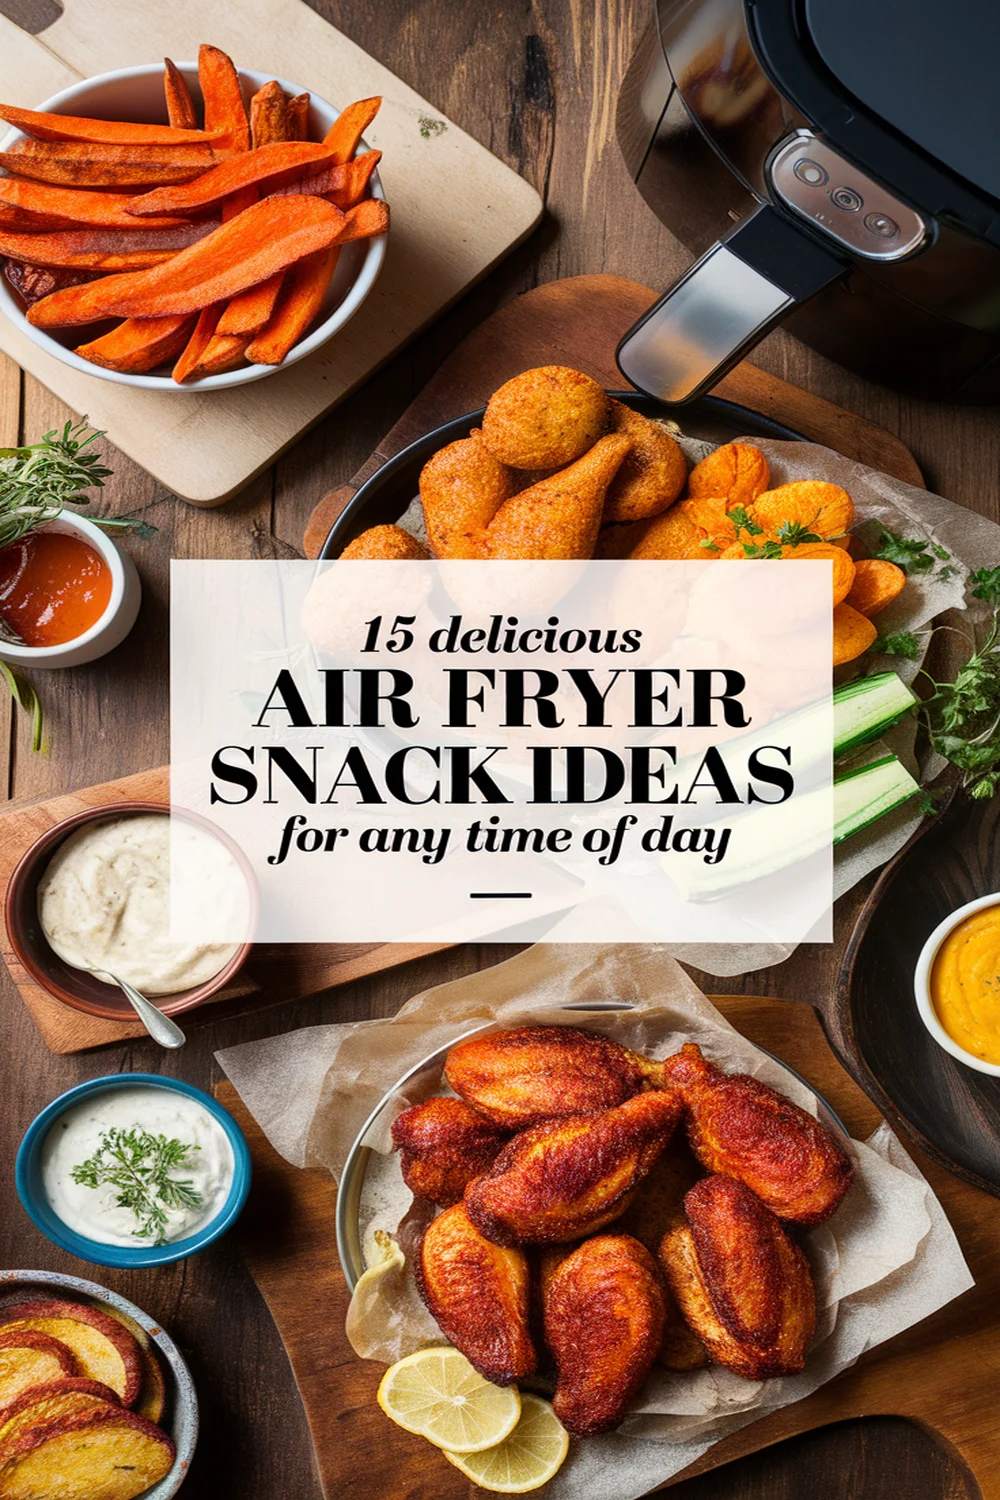
After a long day at school, your kids will love these 15 delicious and simple after-school snacks! Think crunchy apple slices with peanut butter, vibrant yogurt parfaits, and cheesy quesadillas that are quick to make. Don’t forget about colorful veggie sticks with creamy hummus or fun trail mix and tasty deviled eggs. There’s also sweet chocolate-covered pretzels and satisfying overnight oats. Want to discover even more yummy ideas? Keep going to find the perfect treats for your little ones!
Apple Slices With Peanut Butter
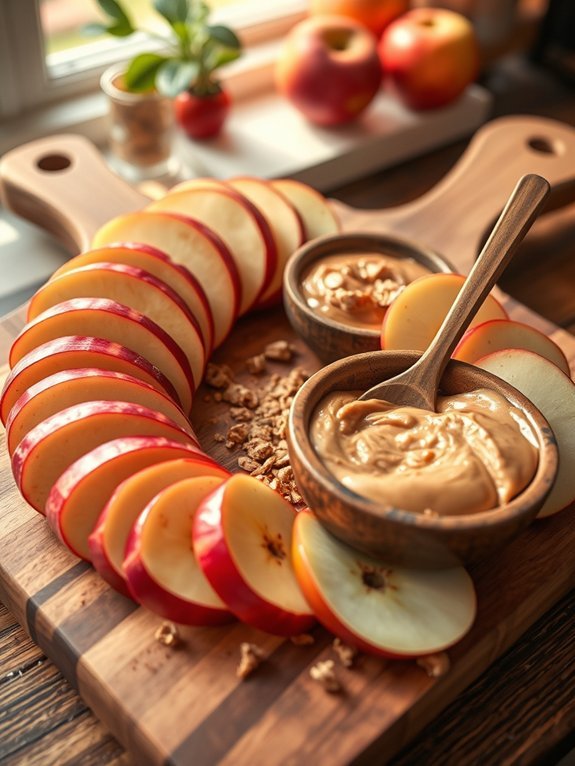
Apple slices with peanut butter make for a delightful and nutritious after-school snack that kids will love. Combining the crisp sweetness of fresh apples with the rich, creamy texture of peanut butter offers a balanced mix of flavors and nutrients. This simple, yet satisfying snack can help refuel your child’s energy after a day at school, and it can be prepared in just a matter of minutes.
Not only do apple slices with peanut butter taste great, but they also provide a punch of health benefits. Apples are high in fiber and vitamin C, while peanut butter is a source of healthy fats and protein. This combination can keep kids full and energized, perfect for powering them through homework or playtime. Additionally, it’s a fun way to encourage kids to eat fruit, as the dipping aspect of peanut butter makes it more appetizing for little ones.
- 1 medium apple (any variety)
- 2 tablespoons peanut butter
- Optional toppings: honey, granola, or cinnamon
Begin by washing the apple thoroughly under running water. Once clean, slice the apple into wedges or thin rounds, removing the core as you go. Spread a tablespoon of peanut butter on each slice or serve it on the side for dipping. You can also add toppings like a drizzle of honey, a sprinkle of granola, or a dash of cinnamon for extra flavor.
When choosing apples, look for ones that are firm and crisp, as they hold up well during slicing and provide a satisfying crunch. To keep the apple slices from browning, you can brush them lightly with lemon juice before serving. If you’re using peanut butter, opt for natural varieties to avoid added sugars and preservatives.
Encourage your kids to experiment with different toppings to find their favorite flavor combinations!
Yogurt Parfaits
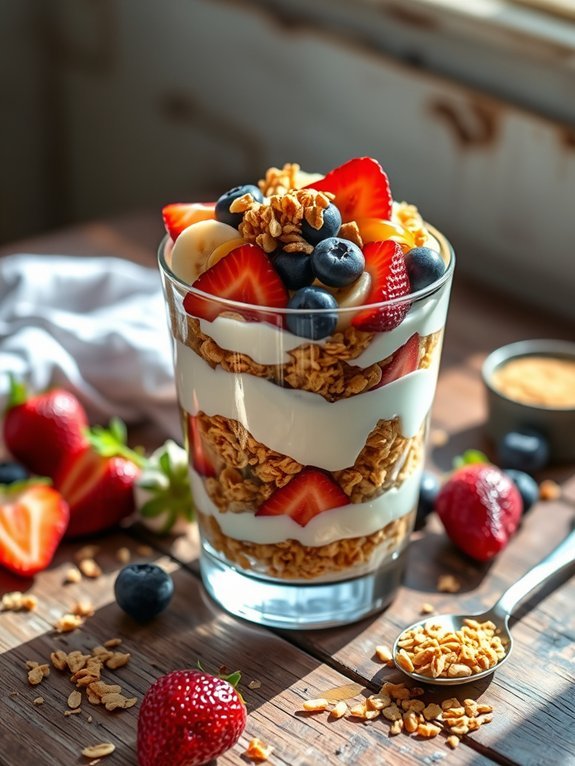
Yogurt parfaits are a delightful and healthy after-school snack that kids will love! These layered treats not only look visually appealing but also provide a nutritious boost after a long day at school. The combination of creamy yogurt, fresh fruits, and crunchy granola creates a delicious harmony of flavors and textures that makes it an irresistible option for your little ones.
Plus, yogurt parfaits are incredibly versatile, allowing you to customize them with your child’s favorite ingredients. Making yogurt parfaits is a quick and enjoyable process that even kids can take part in. This snack can be prepared in just a few minutes, making it an excellent choice for busy afternoons.
Simply gather your ingredients and let the kids get creative by layering their favorite elements. The result is a wholesome redoubtable snack that not only satisfies hunger but also offers a healthy dose of calcium, vitamins, and fiber!
- 2 cups of Greek yogurt (plain or flavored)
- 1 cup of granola
- 2 cups of assorted fresh fruits (such as strawberries, blueberries, bananas, or kiwi)
- Honey or maple syrup (optional, for sweetness)
- A handful of nuts or seeds (optional, for added crunch)
In a clear glass or bowl, start by spooning a layer of Greek yogurt at the bottom, followed by a layer of granola, and then a layer of fresh fruits. Repeat these layers until you reach the top of the glass or bowl. Drizzle honey or maple syrup on top if desired, and add nuts or seeds for an extra crunch. Serve immediately and enjoy!
When making yogurt parfaits, feel free to switch up the ingredients based on seasonal favorites or what you have on hand. Use different types of yogurt, such as coconut or almond, to cater to dietary preferences.
Encourage kids to experiment with layers by trying various combinations of fruits or adding a sprinkle of cinnamon for extra flavor. Preparing these parfaits can also become a fun family activity; let each child create their own unique version!
Recommended Items
Get ready to delight your kids with these tasty snack ideas—check out our recommended products and equipment!
Products
Cheese Quesadillas
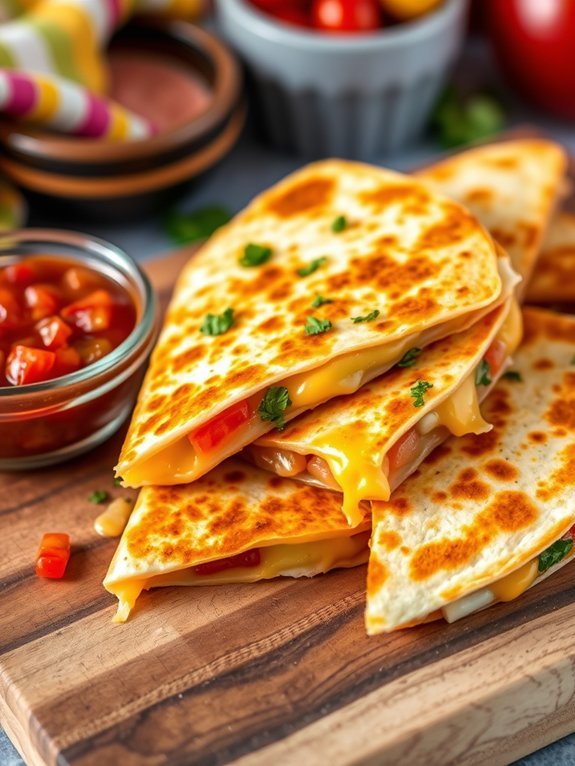
Cheese quesadillas are a quick and delightful option for an after-school snack that kids will love. They aren’t only simple to prepare but also provide a wonderful opportunity to introduce various flavors and ingredients. With their crispy, golden-brown exterior and melty, gooey cheese inside, quesadillas are bound to satisfy hungry little bellies.
Plus, they can easily be customized with different types of cheese, vegetables, and even proteins, making them a versatile choice that can adapt to your child’s taste preferences.
The best part about making cheese quesadillas is how fast they come together. In just a matter of minutes, you can have a delicious snack ready to serve. Whether enjoyed alone or paired with salsa, guacamole, or sour cream, cheese quesadillas can be a simple yet exciting culinary experience for children. This recipe is wonderful for teaching kids some basic cooking skills, allowing them to be hands-on in preparing their own snack.
Ingredients:
- 2 flour tortillas
- 1 cup shredded cheese (cheddar, mozzarella, or a blend)
- 1 tablespoon butter or oil
- Optional: diced vegetables (bell peppers, onions, spinach)
- Optional: cooked chicken or beans for additional protein
- Optional: salsa, sour cream, or guacamole for dipping
To make the cheese quesadillas, heat a non-stick skillet over medium heat and add the butter or oil. Place one tortilla in the skillet, then sprinkle half of the shredded cheese evenly on top. If using, add any optional ingredients such as vegetables or protein before placing the second tortilla on top.
Cook for about 2-3 minutes until the bottom tortilla is golden brown and the cheese starts to melt. Carefully flip the quesadilla using a spatula, and cook the other side for another 2-3 minutes until golden and crispy as well. Once done, remove from the skillet and cut into wedges to serve.
For a great quesadilla, make sure not to overload it with too many ingredients, as this can make flipping difficult and result in a mess. Additionally, feel free to experiment with different types of cheese for varied flavors and textures.
For a healthier option, consider adding finely chopped vegetables inside the quesadilla or serving alongside fresh salsa for a burst of freshness. Enjoy these delightful treats while they’re warm for the best melty experience!
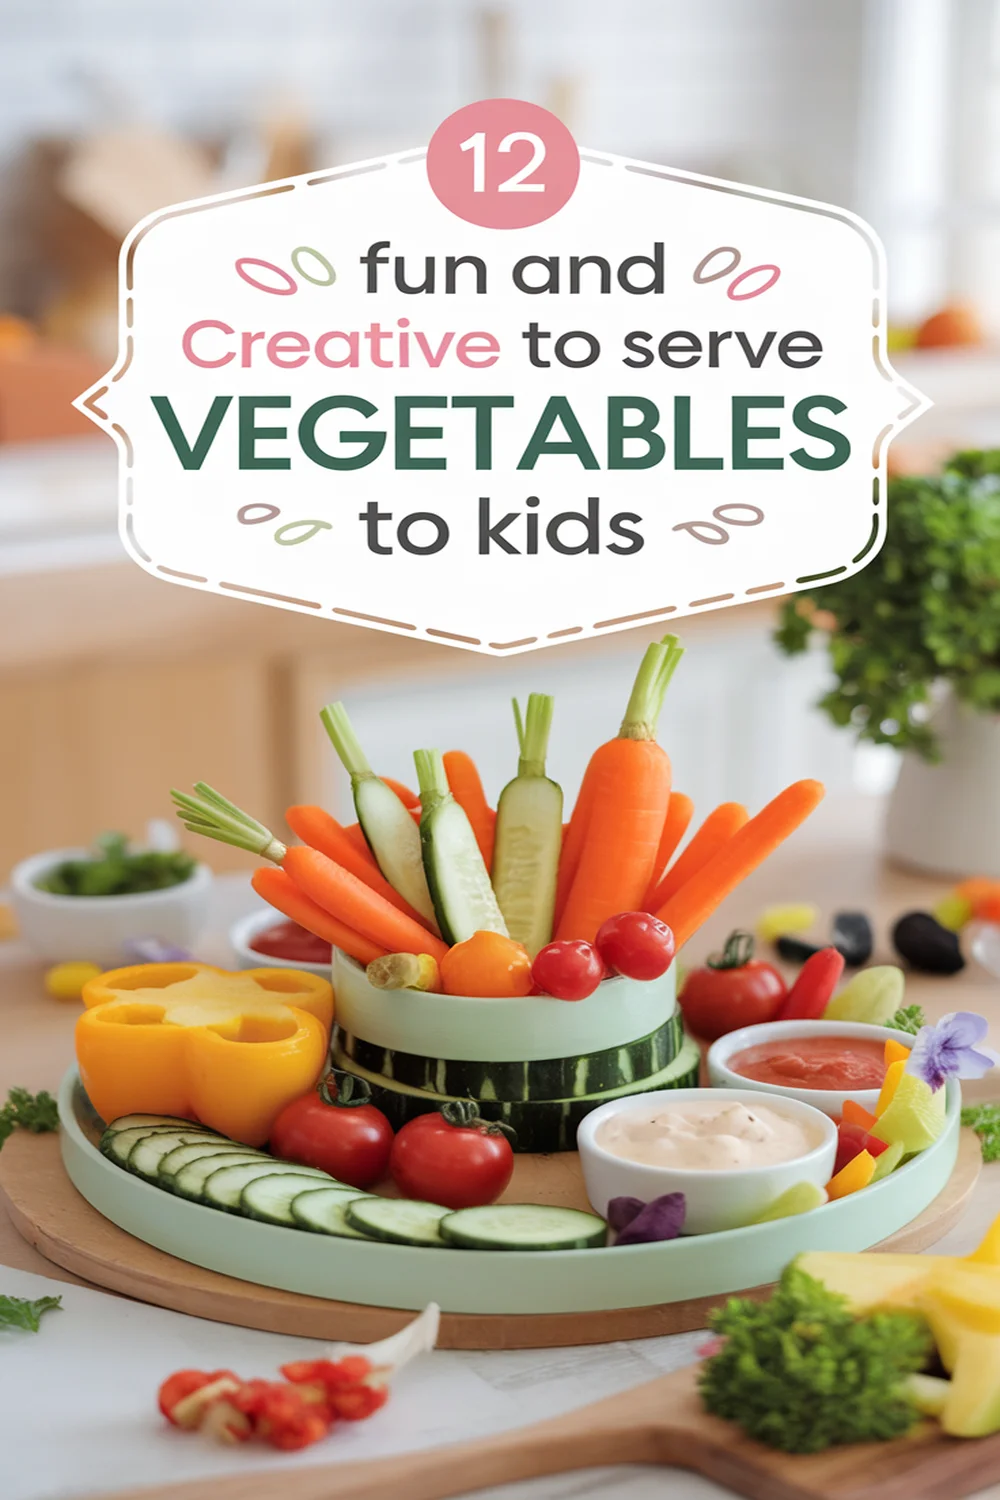
Veggie Sticks With Hummus
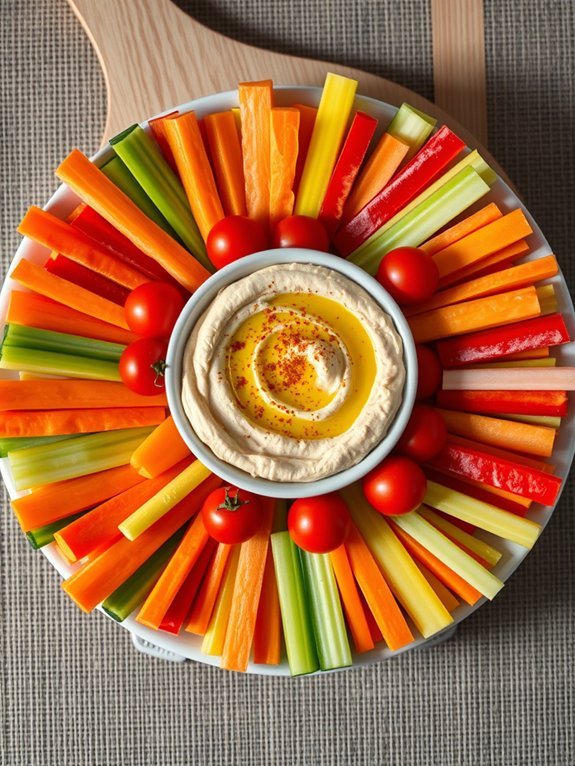
Veggie sticks with hummus aren’t only a nutritious after-school snack, but they also provide an opportunity for kids to enjoy their vegetables in a fun and flavorful way. This simple dish combines the crunch of fresh, colorful vegetables with the creamy, savory taste of hummus, making it an ideal option for little ones who might be hesitant to eat their greens.
The vibrant presentation of assorted veggies will entice even the pickiest eaters, while the protein-rich hummus guarantees they’re getting a satisfying boost of energy.
Making veggie sticks with hummus is incredibly easy and quick, allowing you to whip up this snack in no time. You can customize the veggies based on what your kids enjoy, and you can even make your own hummus at home or use store-bought for convenience.
This snack is perfect for dipping and can also serve as a great appetizer for parties or family gatherings. Gather your ingredients, and let’s get started on this colorful and healthy treat!
- Fresh carrot sticks
- Cucumber sticks
- Bell pepper strips (variety of colors)
- Celery sticks
- Cherry tomatoes
- Hummus (store-bought or homemade)
Begin by washing, peeling (if necessary), and cutting your vegetables into sticks or bite-sized pieces that are easy for kids to hold and dip.
Arrange the veggie sticks on a platter or a lunchbox compartment and place a small bowl of hummus in the center for dipping. This not only makes it appealing but also keeps everything tidy and easy to grab for your little snackers.
To enhance the enjoyment of this dish, encourage your kids to experiment with different combinations of veggies and hummus flavors, such as garlic, roasted red pepper, or lemon.
You can also turn this into a fun activity where kids can help wash and prepare the vegetables themselves, promoting healthy eating habits. If you’re looking to pack this snack for school or an outing, consider using a small, insulated container to keep the hummus fresh and cool.
Trail Mix
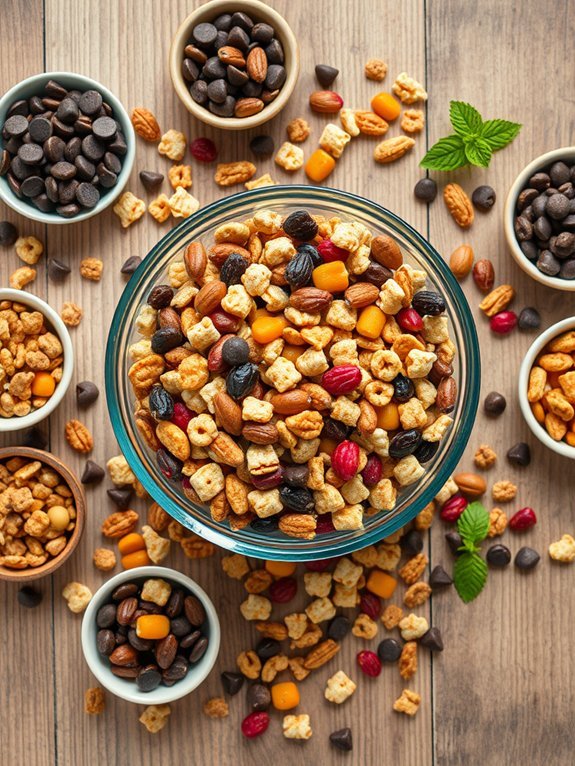
Trail mix is the perfect after-school snack for kids, combining a variety of textures and flavors that make it both nutritious and delicious. This versatile snack can be customized to suit your child’s preferences and dietary needs, guaranteeing that they get the energy they need after a long day at school.
Plus, it’s easy to put together and can be stored in an airtight container for quick snacking throughout the week.
Making trail mix isn’t only simple but also a fun activity that kids can participate in. They can help choose their favorite ingredients, and the result is a personalized snack that they’re more likely to enjoy.
You can mix and match different nuts, seeds, dried fruits, and crunchy cereals to create a unique blend that appeals to your family’s taste.
With this recipe, you’ll have a delightful trail mix ready to fuel your kids’ activities and adventures.
- 1 cup mixed nuts (e.g., almonds, cashews, walnuts)
- 1 cup dried fruits (e.g., raisins, cranberries, apricots)
- 1 cup whole-grain cereal or granola
- ½ cup chocolate chips or yogurt-covered raisins (optional)
- ¼ cup pumpkin seeds or sunflower seeds
- ½ teaspoon cinnamon (optional)
In a large mixing bowl, combine all the ingredients until they’re evenly mixed. Make certain to break up any clumps of dried fruit or clusters of cereal to guarantee an even distribution of flavors.
Once everything is well combined, transfer the trail mix to an airtight container for storage or serve immediately in small portions.
For an exciting twist to your trail mix, encourage your kids to experiment by adding different ingredients each week, such as coconut flakes, pretzels, or even mini marshmallows.
You can also involve them in the process by letting them decorate their snack containers or creating themed trail mixes, like a “tropical” mix with pineapple and coconut.
Be mindful of potential allergies, especially with nuts, and make certain to label the mix if sharing with others. Enjoy this snack as a fun and healthy way to refuel and satisfy post-school munchies!
Banana Oatmeal Cookies
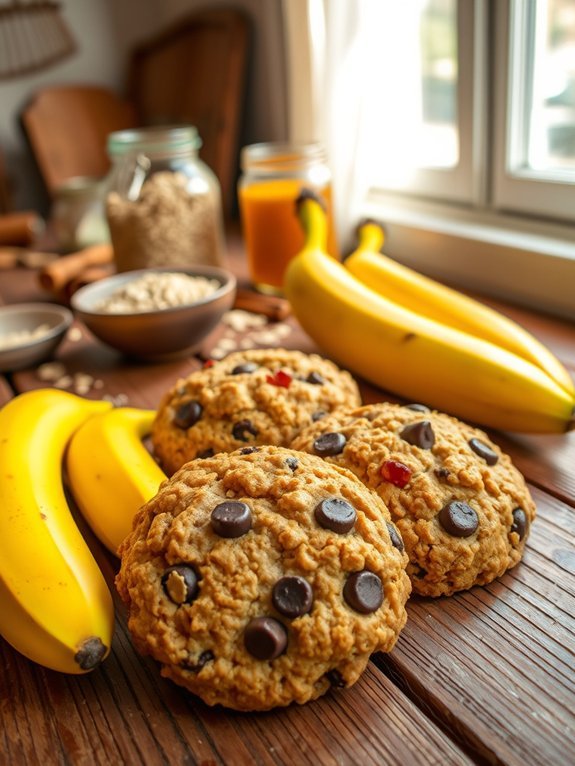
Banana oatmeal cookies are a delightful and healthy treat perfect for after-school snacking. They aren’t only easy to make but also incorporate natural ingredients that provide energy and nutrients for your growing kids. With ripe bananas as the main flavor component, these cookies are naturally sweet and moist, making them a hit with children and adults alike.
Plus, they can be customized with various add-ins such as chocolate chips or dried fruit for an extra burst of flavor. This recipe uses simple pantry staples and can be prepared in under 30 minutes. It’s a great way to use up those overripe bananas that may be sitting on your counter, giving them a second life as a delicious snack.
Whether your little ones want something sweet after school or you’re looking for a simple dessert option, these banana oatmeal cookies fit the bill perfectly.
- 2 ripe bananas, mashed
- 1 cup rolled oats
- 1/2 cup flour (all-purpose or whole wheat)
- 1/2 teaspoon baking powder
- 1/4 teaspoon salt
- 1/2 teaspoon cinnamon (optional)
- 1/4 cup honey or maple syrup
- 1/4 cup chocolate chips or dried fruit (optional)
- 1/4 cup chopped nuts (optional)
Preheat your oven to 350°F (175°C) and line a baking sheet with parchment paper. In a mixing bowl, combine the mashed bananas, oats, flour, baking powder, salt, cinnamon (if using), and honey or maple syrup until well blended.
Fold in chocolate chips or dried fruit and nuts if desired. Scoop spoonfuls of the dough onto the prepared baking sheet, spacing them about 2 inches apart. Bake for about 10-12 minutes, or until the edges are golden brown.
For best results, allow the cookies to cool on the baking sheet for a few minutes before transferring them to a wire rack to cool completely. You can store the cookies in an airtight container at room temperature for a few days or refrigerate them for an extended shelf life.
If you find the cookies are too dry, you might consider slightly reducing the flour or adding a bit more banana to achieve the desired texture. Enjoy experimenting with your favorite mix-ins to keep the recipe exciting!
Mini Pita Pizzas
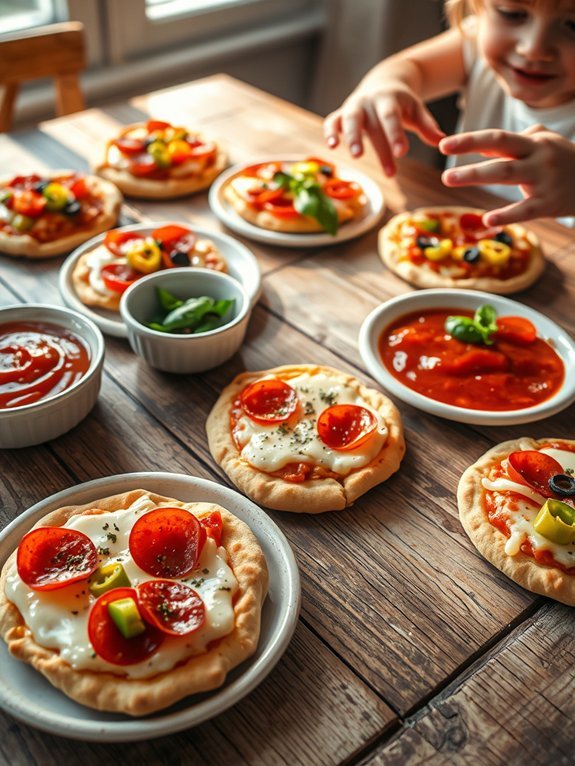
Mini pita pizzas are a fun and easy way to make a quick after-school snack that kids will adore. With their crispy crusts and customizable toppings, these mini pizzas can be tailored to suit each child’s tastes. Plus, using whole wheat pita bread adds a nutritious touch, making it a great option for parents looking to offer healthier choices.
Assembling the mini pizzas is a simple and interactive process, allowing kids to get hands-on in the kitchen. This creativity can turn dinner prep into a fun activity. With just a few ingredients, you can whip up these delightful snacks that are sure to satisfy any cravings.
- Whole wheat pita bread (small size)
- Marinara sauce or pizza sauce
- Shredded mozzarella cheese
- Pepperoni slices or other preferred toppings (vegetables, etc.)
- Italian seasoning or dried oregano
- Olive oil (optional)
Preheat your oven to 400°F (200°C). Start by placing the pita breads on a baking sheet. Spread a thin layer of marinara or pizza sauce over each pita. Sprinkle shredded mozzarella cheese generously on top, and add your favorite toppings, whether it’s pepperoni, veggies, or a mix of both.
Finally, sprinkle some Italian seasoning for extra flavor. Bake in the preheated oven for about 8-10 minutes or until the cheese is bubbly and golden brown.
For a crispier crust, feel free to brush the pita with a little olive oil before adding the sauce and toppings. If you’re feeling adventurous, try adding fresh herbs like basil or arugula after baking for a vibrant finish.
Kids may also enjoy a mini pizza bar where they can choose their toppings, allowing for creativity and ensuring they eat what they make!
Rice Cake Snacks
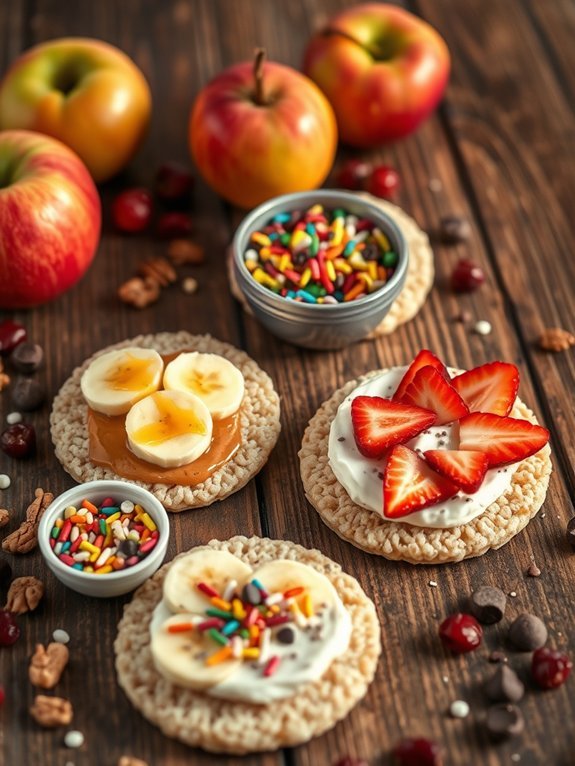
Rice cakes are a versatile and nutritious option for after-school snacks that kids love. They’re not only light and crispy but can also be topped with a variety of delicious ingredients to suit every taste preference. Whether your child prefers sweet or savory snacks, rice cakes can be easily customized to keep snack time exciting and healthy.
Plus, they’re easy to prepare, making them a quick solution for busy parents.
To prepare rice cake snacks, all you need are a few basic ingredients. You can build a snack bar with options that encourage creativity, allowing kids to create their own perfect rice cake masterpiece. From creamy spreads to crunchy toppings, this recipe allows for plenty of experimentation while ensuring your kids get the nutrition they need after a long day at school.
Ingredients:
- Rice cakes (plain or flavored)
- Nut butter (peanut, almond, or sunflower seed)
- Greek yogurt or cream cheese
- Honey or maple syrup
- Fresh fruits (sliced bananas, strawberries, or apples)
- Dried fruits (raisins, cranberries)
- Nuts or seeds (sliced almonds, chia seeds, or pumpkin seeds)
- Chocolate chips or sprinkles (optional)
Start by laying out the rice cakes on a clean surface or cutting board. Spread a layer of nut butter or creamy yogurt onto each rice cake, and then let your kids top them with their desired fruits, dried fruits, nuts, or seeds.
For a touch of sweetness, drizzle honey or maple syrup on top, or sprinkle with a few chocolate chips or rainbow sprinkles for fun. Serve immediately and enjoy the colorful creations!
When preparing rice cake snacks, consider offering a variety of toppings and spreads to encourage kids to try different flavors. You can also mix and match toppings to create themed snacks, such as a “tropical” rice cake with coconut yogurt, pineapple slices, and shredded coconut, or a “chocolate lover’s” option with nut butter, banana slices, and a sprinkle of cocoa powder.
Finally, keep leftovers in an airtight container, but it’s best to enjoy rice cakes right away to maintain their crunchy texture.
Smoothie Popsicles
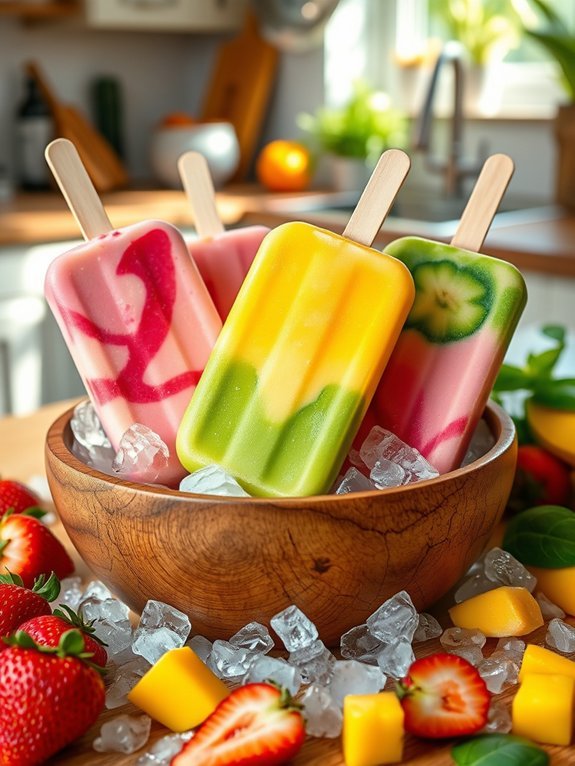
Smoothie popsicles are a delightful and nutritious way to keep your kids cool while satisfying their sweet tooth. They’re incredibly versatile and can be customized to feature your children’s favorite fruits or yogurts.
Ideal for hot afternoons or after-school treats, these popsicles not only provide essential vitamins and minerals but also offer a fun way to involve your kids in the kitchen. Making smoothie popsicles can be a crafty project, allowing kids to experiment with different flavors and colors.
To prepare smoothie popsicles, you’ll want to start with a base that combines fruits and dairy or dairy alternatives. Fresh fruits like bananas, berries, or mangoes work well, and you can even sneak in some greens like spinach for an added nutrient boost!
Opt for yogurt or plant-based yogurt for creaminess, and you can add honey or maple syrup for an extra touch of sweetness. These popsicles are easy to make, and once you have the ingredients combined, all you need is a few hours in the freezer to achieve a revitalizing treat.
- 2 cups of your favorite fresh or frozen fruits (e.g., bananas, strawberries, blueberries)
- 1 cup of yogurt (regular or plant-based)
- 1 tablespoon of honey or maple syrup (optional)
- 1 cup of juice (such as orange or apple) or milk
- Splash of vanilla extract (optional)
In a blender, combine the fruits, yogurt, honey (if using), juice or milk, and vanilla extract. Blend until smooth and well combined.
Pour the mixture into popsicle molds and insert sticks. Freeze for at least four hours or until solid. Once frozen, run the molds under warm water for a few seconds to loosen the popsicles, then gently pull them out.
When making smoothie popsicles, feel free to experiment with different texture combinations—try adding a handful of oats or chia seeds for a more filling treat.
You can also layer different smoothie mixtures in the molds for a fun, colorful effect. Remember that the sweetness of your fruits can vary, so taste the mixture before pouring it into the molds to adjust the flavors according to your preference.
Enjoy experimenting and creating your unique popsicle flavors!
Proposed Recipe for AfterSchool Snacks
Cucumber Sandwiches
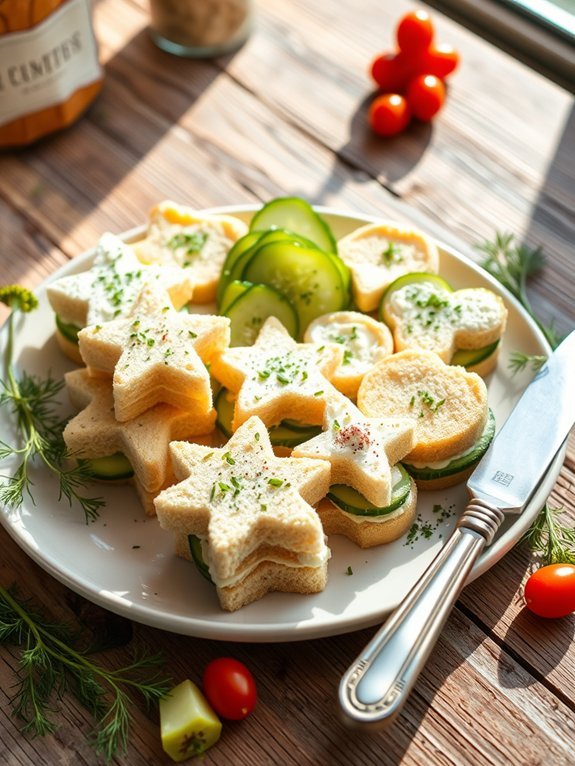
Cucumber sandwiches are a delightful and nutritious after-school snack that can be prepared quickly and easily. They’re perfect for children due to their fresh taste and appealing presentation. Loaded with vitamins and minerals, cucumbers add a revitalizing crunch, while the cream cheese provides a creamy texture and rich flavor.
These sandwiches can be customized with various spreads and herbs to suit your child’s palate, making them a versatile snack option. Making cucumber sandwiches isn’t only simple but also invites creativity. You can experiment with different types of bread, such as whole grain, sourdough, or even gluten-free options.
Adding herbs such as dill or chives can enhance the flavor profile, guaranteeing that every bite is both delicious and satisfying. Children will love the fun shapes and colors you can achieve with cookie cutters.
Ingredients:
- 1 medium cucumber
- 4 slices of bread (white, whole grain, or your choice)
- 4 ounces cream cheese (softened)
- 1 tablespoon fresh dill or chives (optional)
- Salt and pepper (to taste)
- Butter (optional for spreading on the bread)
Spread the softened cream cheese evenly on one side of each slice of bread. If using herbs, mix them into the cream cheese before spreading. Layer thinly sliced cucumbers on two of the bread slices and season with salt and pepper.
Place the other two slices on top, cream cheese side down, and gently press to create a sandwich. Remove the crusts if desired, and cut the sandwiches into quarters or fun shapes using cookie cutters.
To keep your cucumber sandwiches fresh, serve them immediately after making or store them in an airtight container in the refrigerator for a few hours. To prevent the bread from becoming soggy, consider patting the cucumber slices dry with a paper towel before assembling.
You can also add a layer of butter on the bread before the cream cheese to create a protective barrier. This simple step will guarantee your sandwiches retain their crispness, making for an even more pleasurable snack experience.
Frozen Grapes
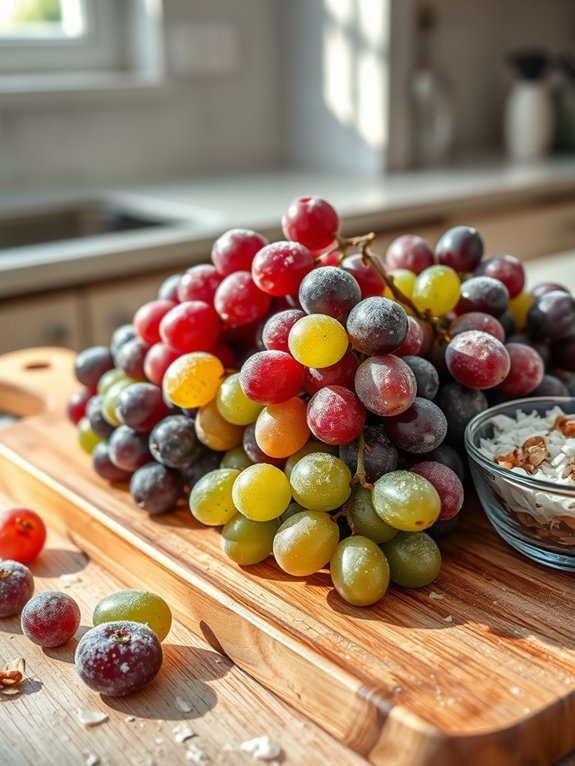
Frozen grapes make for a delightful after-school snack that both kids and parents can enjoy. This treat not only satisfies sweet cravings but also provides a revitalizing burst of flavor, especially on warm days. Grapes are naturally sweet and packed with antioxidants, making them a healthy choice for growing children. The best part? Preparing frozen grapes is incredibly simple and requires minimal effort, allowing you to spend more time engaging in fun after-school activities with your kids.
You can easily customize this snack by using various grape varieties, such as green, red, or black grapes. Each type offers a unique flavor profile, making the experience even more enjoyable. Frozen grapes can also serve as an excellent addition to smoothies or a cooling topping for yogurt. But on their own, they’re a perfectly bite-sized snack that kids will love. Plus, they’re portable, making them great for on-the-go snacking or as a lunchbox surprise.
- Fresh grapes (green, red, or black)
- Water (optional)
- Zip-top freezer bag or airtight container
Start by washing the grapes thoroughly under cold running water to confirm they’re clean. Remove the stems and pat them dry with a paper towel.
Once the grapes are clean and dry, place them in a single layer on a baking sheet. If desired, you can soak them in a bowl of water for a few minutes before placing them on the sheet to enhance their firmness before freezing. Transfer the baking sheet to the freezer and let the grapes freeze for about 2-3 hours.
Once frozen, you can store them in a zip-top freezer bag or an airtight container for later snacking. For the best experience, consider freezing the grapes overnight to confirm they’re fully firm before serving. If you’re preparing them for a party or gathering, try pairing frozen grapes with other fruits like strawberries or blueberries for an appealing fruit platter.
Additionally, if you prefer a sweeter touch, consider rolling the grapes in a bit of coconut or crushed nuts before freezing to give them an extra flavor boost. Just remember that frozen grapes will keep well in the freezer for months, so you can always have some on hand for a quick snack!
Deviled Eggs
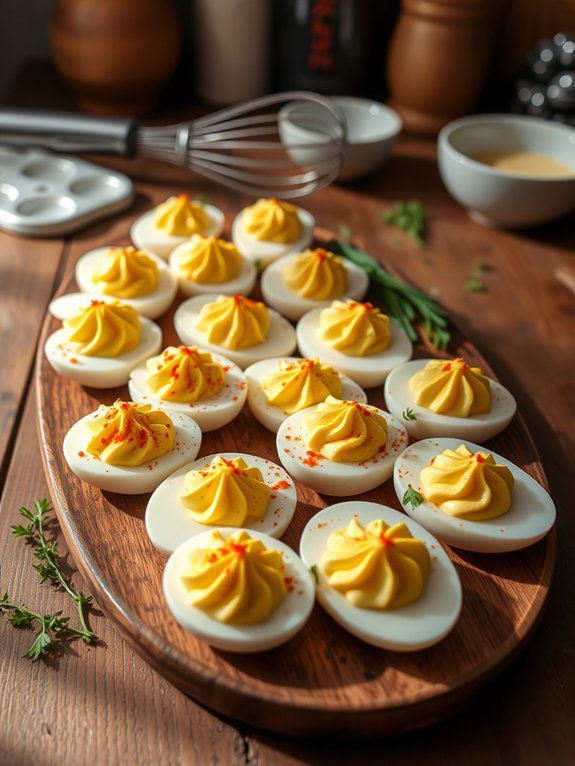
Deviled eggs are an all-time favorite snack that kids love, and they’re perfect for after-school munching. They aren’t only packed with protein from the eggs, but also lend themselves to a variety of flavors that can be tailored to your child’s taste preferences.
Whether you’re making them for a snack or a family gathering, these delicious bites are sure to please!
Making deviled eggs is a simple and fun activity that children can help with, making it a great way to involve them in the kitchen. With just a few ingredients, you can whip up this tasty treat in no time.
Let’s plunge into the recipe that will turn ordinary hard-boiled eggs into a creamy, flavorful delight.
- 6 large eggs
- 3 tablespoons mayonnaise
- 1 teaspoon Dijon mustard
- 1 teaspoon white vinegar
- Salt and pepper to taste
- Paprika (for garnish)
- Fresh chives or parsley (optional, for garnish)
Start by placing the eggs in a pot and covering them with water. Bring the water to a boil, then turn off the heat, cover the pot, and let the eggs sit for about 12 minutes.
Afterward, transfer the eggs to an ice bath to cool. Once cooled, peel the eggs, slice them in half lengthwise, and carefully scoop out the yolks into a mixing bowl.
Mash the yolks with mayonnaise, mustard, vinegar, salt, and pepper until well combined. Spoon or pipe the yolk mixture back into the egg whites, and sprinkle with paprika and fresh herbs if desired.
For best results, consider chilling the filled deviled eggs in the refrigerator for about 30 minutes before serving. This allows the flavors to meld perfectly and makes them even more invigorating.
If you want to switch things up, try adding different ingredients like diced pickles, hot sauce, or avocado to the yolk mixture for a unique twist that your kids will enjoy experimenting with.
Just remember to keep the balance of flavors to guarantee they remain kid-friendly!
Corn on the Cob
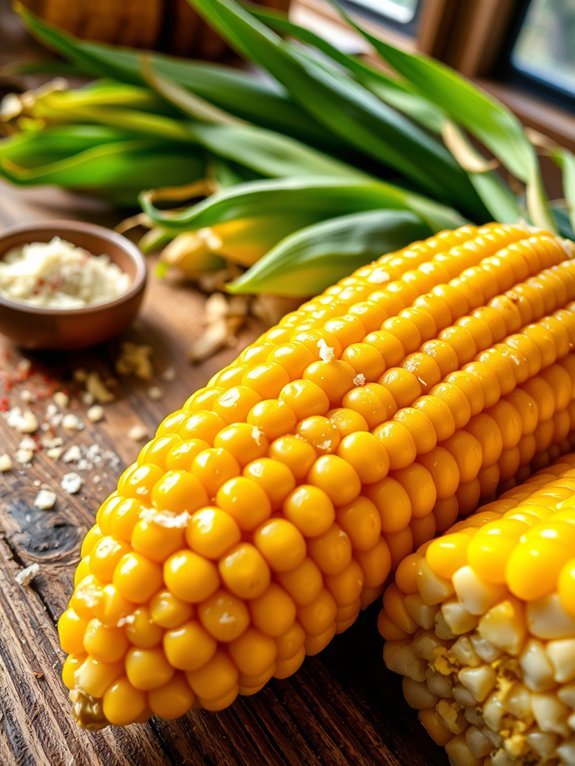
Corn on the cob is a delicious and versatile snack that’s perfect for after school, summer picnics, or any time you want a tasty treat. With its sweet, juicy kernels and satisfying crunch, it’s an excellent way to add some veggies to your kids’ diets. This simple recipe will keep the kids happy and provide a nutritious option they won’t be able to resist.
Cooking corn on the cob is as easy as boiling or grilling, and it can be enjoyed on its own or with a variety of toppings. Children can participate in the preparation by adding their favorite flavors, making it a fun family bonding experience. Plus, corn on the cob is naturally gluten-free and can easily fit into a variety of dietary preferences.
- Fresh corn on the cob (about 4 ears)
- Water
- Salt (to taste)
- Butter (optional)
- Parmesan cheese (optional)
- Pepper (optional)
- Chili powder (optional)
Begin by husking the corn, removing all the silk and any damaged kernels. Bring a large pot of water to a boil and add a pinch of salt. Carefully place the corn cobs in the boiling water and cook for about 4-6 minutes, or until the kernels are bright yellow and tender.
If you prefer grilling, you can wrap the husked corn in aluminum foil and grill for about 15-20 minutes, turning occasionally. When cooking corn on the cob, feel free to experiment with different toppings to enhance the flavor!
For a classic taste, slather on some butter and a sprinkle of salt. For a twist, try adding grated Parmesan cheese and fresh cracked pepper, or even a sprinkle of chili powder for a little kick. Cooking time may vary based on the size of the cobs, so it’s always best to check for tenderness as they cook.
Finally, for an even more flavorful experience, try soaking the corn in water for 30 minutes before cooking; this will help to keep the corn moist and enhance its sweetness.
Chocolate-Covered Pretzels
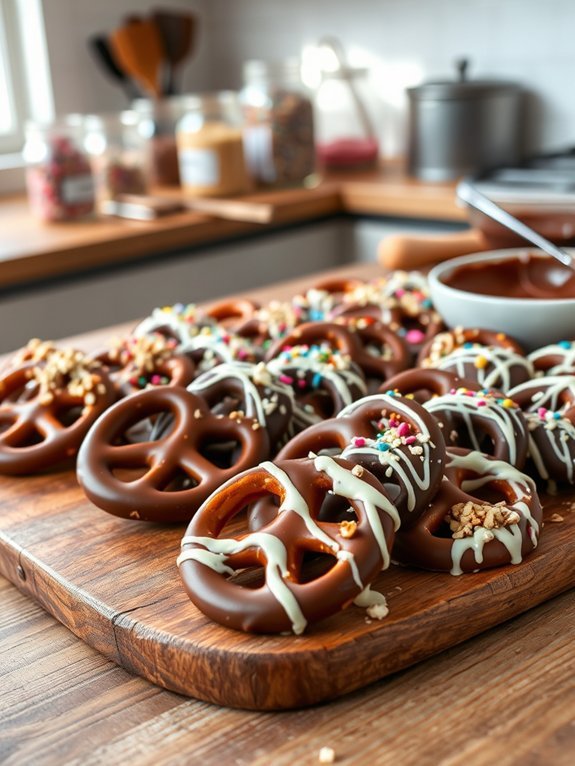
Chocolate-covered pretzels are a delightful combination of sweet and salty, making them an irresistible snack for kids and adults alike. These tasty treats are perfect for after-school munching or as a fun dessert during family gatherings.
The crunchy pretzels are coated in creamy chocolate, creating a satisfying texture that’s both indulgent and playful. Plus, they’re incredibly easy to make!
Making chocolate-covered pretzels also presents an opportunity for kids to get involved in the kitchen. They can help with the dipping process, stirring the chocolate, and even adding their favorite toppings.
This activity not only allows for quality family time, but it also encourages creativity as each pretzel can be decorated uniquely. Now, let’s plunge into the simple recipe!
- Pretzel rods or traditional pretzels
- 1 cup of semi-sweet chocolate chips or chocolate melting wafers
- Sprinkles, crushed nuts, or drizzles of white chocolate (optional)
Begin by lining a baking sheet with parchment paper. In a microwave-safe bowl, melt the chocolate chips in 30-second intervals, stirring in between until the chocolate is smooth and fully melted.
Dip each pretzel into the melted chocolate, making sure to coat it evenly, and then place it on the prepared baking sheet. If desired, sprinkle toppings onto the chocolate before it sets, and allow the pretzels to cool until the chocolate hardens.
For best results, make sure your pretzels are entirely dry and free of moisture before dipping them in chocolate, as water can cause the chocolate to seize.
You can also experiment with different types of chocolate, such as milk chocolate, dark chocolate, or white chocolate, to find your family’s favorite.
Additionally, storing chocolate-covered pretzels in an airtight container at room temperature will help keep them fresh and delicious for days!
Overnight Oats
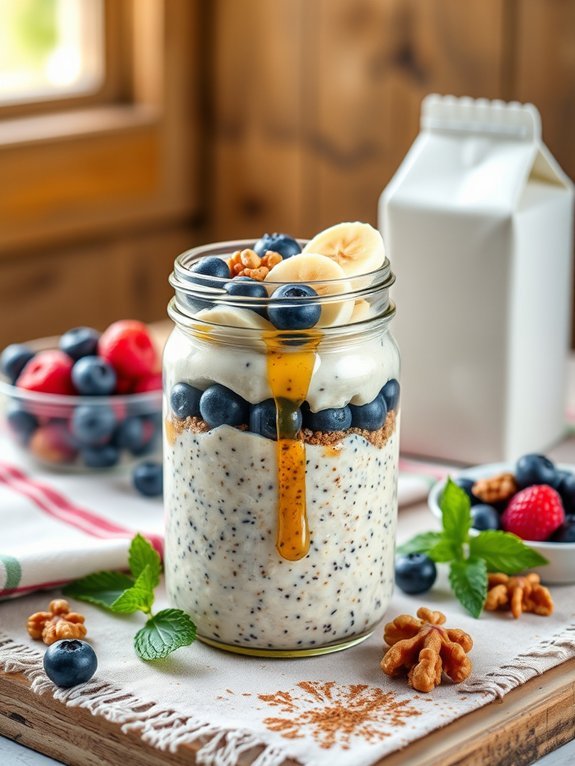
Overnight oats are a delicious and nutritious option for after-school snacks that kids will love. This easy-to-make treat requires minimal preparation and can be customized with your child’s favorite flavors. Simply prepare the oats the night before, and in the morning, you’ll have a quick and satisfying snack ready to go. They’re packed with fiber and protein, providing kids with the energy they need for homework, sports, or playtime.
The beauty of overnight oats lies in their versatility. You can mix and match various ingredients to suit your child’s taste preferences, whether they lean towards fruity, nutty, or chocolatey flavors. Plus, they’re convenient for busy parents, as they can be made in advance and stored in the fridge. Just grab a jar, and you’re all set for a healthy snack anytime.
Ingredients:
- 1 cup rolled oats
- 1 cup milk (dairy or non-dairy)
- 1 tablespoon chia seeds (optional)
- 1 tablespoon honey or maple syrup
- 1/2 teaspoon vanilla extract
- 1/2 cup yogurt (optional)
- 1/2 cup fresh or frozen fruit (e.g., berries, banana slices)
- Nuts or seeds for topping (e.g., almonds, walnuts, pumpkin seeds)
In a medium bowl or jar, combine the rolled oats, milk, chia seeds, honey or maple syrup, vanilla extract, and yogurt, if using. Stir well to confirm all the ingredients are evenly mixed.
Add your chosen fruit and gently fold it into the mixture. Cover the bowl or jar and refrigerate overnight. In the morning, give the oats a good stir, add your desired toppings, and enjoy!
When making overnight oats, feel free to experiment with different flavor combinations. You can switch up the milk type, try different sweeteners, or even add spices like cinnamon or cocoa powder for added flavor.
Additionally, remember to keep the oats in an airtight container to maintain freshness and prevent them from soaking up too much moisture. Enjoy a variety of toppings each time, so your kids don’t get bored with the same flavors!

