This post may contain affiliate links. Please read our policy page.
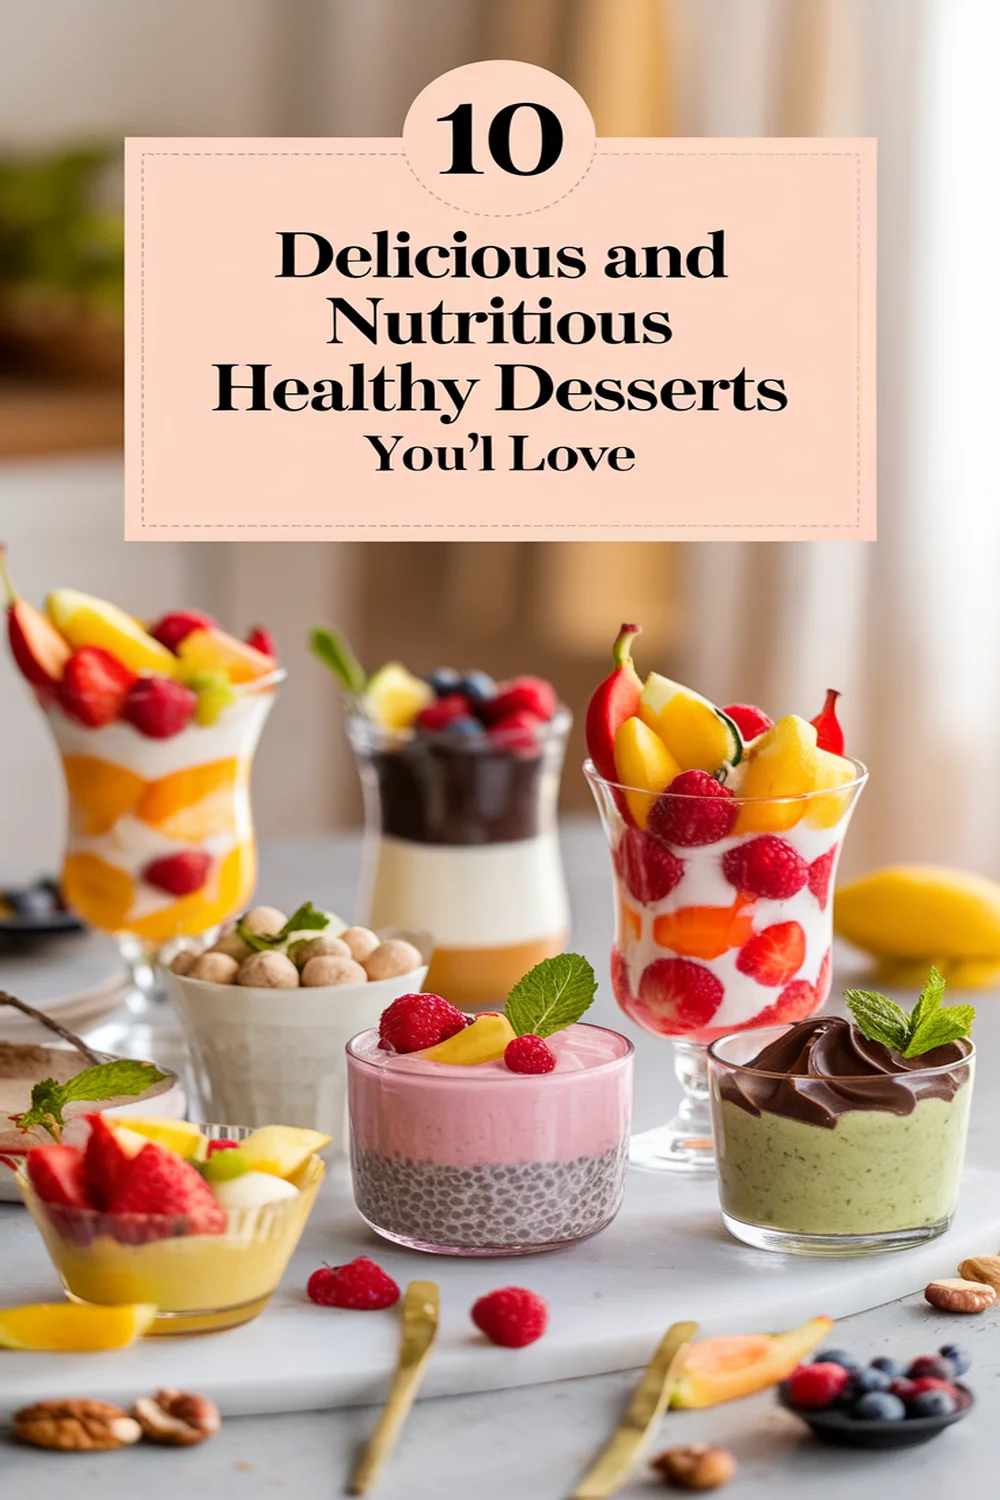
You’ll love these 10 delicious and nutritious healthy desserts! Start with creamy chia pudding or decadent avocado brownies for a sweet yet healthy treat. Try healthy banana ice cream for the ultimate guilt-free indulgence. Don’t forget about quinoa chocolate chip cookies and coconut flour mini muffins for a fun twist on classics. For chocolate lovers, consider fruit and nut bark or sweet potato brownies. Greek yogurt parfaits and raw chocolate truffles round out the list. Discover new favorites as you explore more!
Creamy Chia Pudding
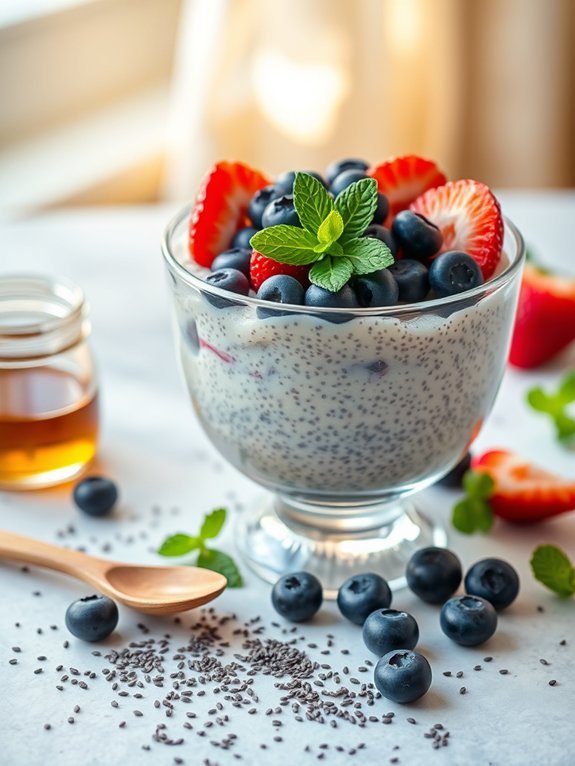
Creamy Chia Pudding is a delightful and nutritious dessert that’s not only easy to prepare but also incredibly versatile. Packed with omega-3 fatty acids, fiber, and protein, chia seeds transform into a luscious pudding that will satisfy your sweet tooth while nourishing your body.
The best part? It requires minimal ingredients and can be personalized with your favorite flavors and toppings. This dessert is perfect for meal prep; you can make a big batch ahead of time and enjoy it throughout the week.
Its creamy texture is achieved by combining chia seeds with a liquid, such as almond milk or coconut milk, which gives the pudding a rich and satisfying consistency. You can enjoy it plain or layer it with fruits, nuts, or granola for added flavor and crunch.
- 1/2 cup chia seeds
- 2 cups almond milk (or any milk of your choice)
- 2-4 tablespoons maple syrup or honey (to taste)
- 1 teaspoon vanilla extract
- A pinch of salt
In a mixing bowl, combine the chia seeds, almond milk, maple syrup (or honey), vanilla extract, and salt. Stir well to guarantee the chia seeds are evenly distributed in the liquid. Let the mixture sit for about 5-10 minutes, then stir again to break up any clumps of seeds.
Cover the bowl and refrigerate for at least 2 hours or overnight until the pudding has thickened to your desired consistency.
To elevate your chia pudding experience, feel free to experiment with various flavor additions such as cocoa powder for a chocolate twist, or fresh fruits like blueberries or strawberries for a burst of freshness. Additionally, if you find the pudding too thick after chilling, simply whisk in a bit more milk until you achieve your preferred texture.
Don’t forget that chia pudding can be stored in the refrigerator for up to a week, making it a convenient choice for busy days!
Decadent Avocado Brownies
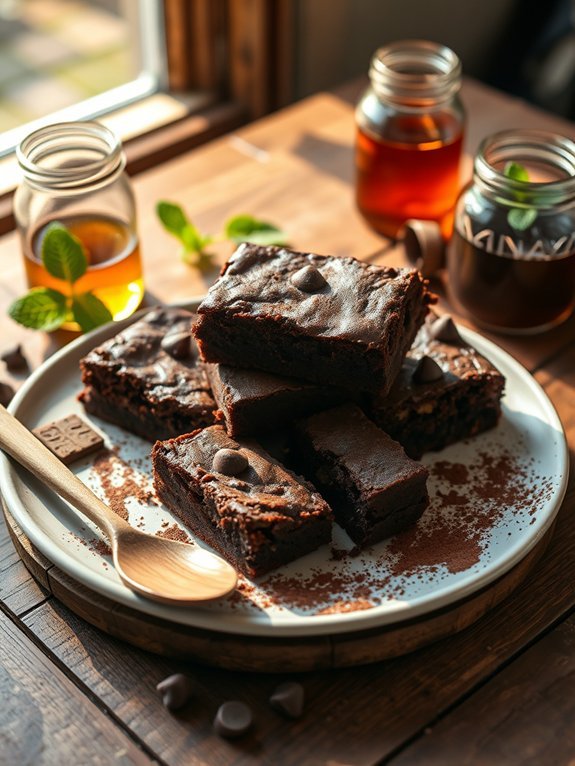
Indulging in a rich dessert doesn’t always mean sacrificing your health, and these decadent avocado brownies are a perfect example of how you can enjoy a sweet treat without the guilt.
By using ripe avocados as a base, not only do we enhance the moisture and creaminess of the brownies, but we also introduce healthy fats and nutrients that elevate the dessert to a wholesome level. These brownies boast a fudgy texture and a deep chocolate flavor that will satisfy even the most discerning chocolate cravings.
Not only are these avocado brownies delicious, but they’re also simple to prepare. With just a few pantry staples and ripe avocados, you’ll have a luscious dessert that you can feel good about. Perfect for any occasion or just a night in, these brownies will impress your family and friends, making them question how something so tasty can actually be healthy!
- 2 ripe avocados
- 1 cup unsweetened cocoa powder
- 1 cup maple syrup or honey
- 1/2 cup almond flour
- 1 teaspoon vanilla extract
- 1/2 teaspoon baking soda
- 1/4 teaspoon salt
- 1/2 cup dark chocolate chips (optional)
Preheat your oven to 350°F (175°C) and grease an 8×8-inch baking pan. In a mixing bowl, mash the ripe avocados until smooth.
Then, add the cocoa powder, maple syrup or honey, almond flour, vanilla extract, baking soda, and salt, and mix until well combined. Fold in the dark chocolate chips if using, then pour the batter into the prepared pan and spread it evenly. Bake for 20-25 minutes until a toothpick inserted in the center comes out mostly clean. Allow the brownies to cool before slicing.
One important tip to keep in mind is to verify that your avocados are perfectly ripe for the best flavor and texture; they should be soft but not mushy.
If you prefer a sweeter brownie, feel free to adjust the sweetness by adding more maple syrup or honey. Finally, let the brownies cool thoroughly before cutting them to help maintain their fudgy consistency, and store any leftovers in an airtight container for up to a week!
Healthy Banana Ice Cream
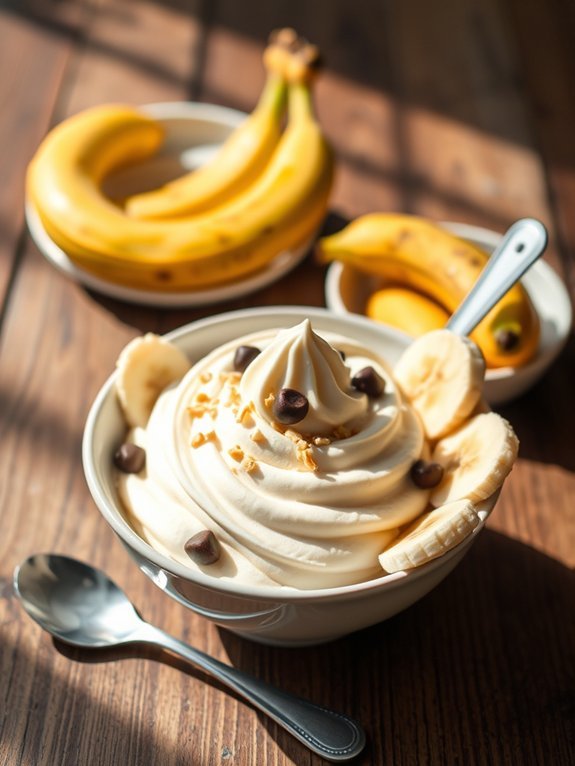
Whether you’re looking for a guilt-free dessert or a revitalizing treat on a warm day, healthy banana ice cream is the perfect choice. Made with only ripe bananas, this creamy delicacy isn’t only delicious but also incredibly simple to prepare. The natural sweetness of the bananas shines through, and by freezing them, you can create a texture that rivals traditional ice cream.
Plus, it’s dairy-free and vegan-friendly, making it suitable for various dietary preferences.
To get started, all you need is some ripe bananas, which are best for achieving that sweet, creamy goodness. This recipe allows you to indulge without the extra sugars or artificial ingredients found in store-bought ice creams. You can also customize the flavor by adding your favorite toppings or mix-ins, such as nuts, cocoa powder, or vanilla extract, for an extra delightful treat.
Ingredients:
- 4 ripe bananas
- Optional: 1 teaspoon vanilla extract
- Optional: toppings such as nuts, chocolate chips, or fresh fruit
Simply peel the bananas and slice them into small pieces. Arrange the banana slices in a single layer on a baking sheet lined with parchment paper, and freeze them for about 2 hours or until completely solid.
Once frozen, transfer the banana slices to a blender or food processor and blend until creamy and smooth, scraping down the sides as necessary. If desired, add vanilla extract during blending for added flavor. Once you achieve a soft-serve consistency, you can either enjoy it immediately or transfer it to a container and freeze for an hour or two for a firmer texture.
For the best results, use ripe bananas with plenty of brown spots, as they’ll be sweeter and creamier. If you want to experiment with flavors, consider swirling in nut butter or adding cocoa powder to make chocolate banana ice cream.
Keep in mind that the ice cream is best consumed within a couple of days after making it, as it may become too hard when frozen for long periods. If you find it too hard to scoop after being stored, leave it at room temperature for a few minutes before serving.
Quinoa Chocolate Chip Cookies
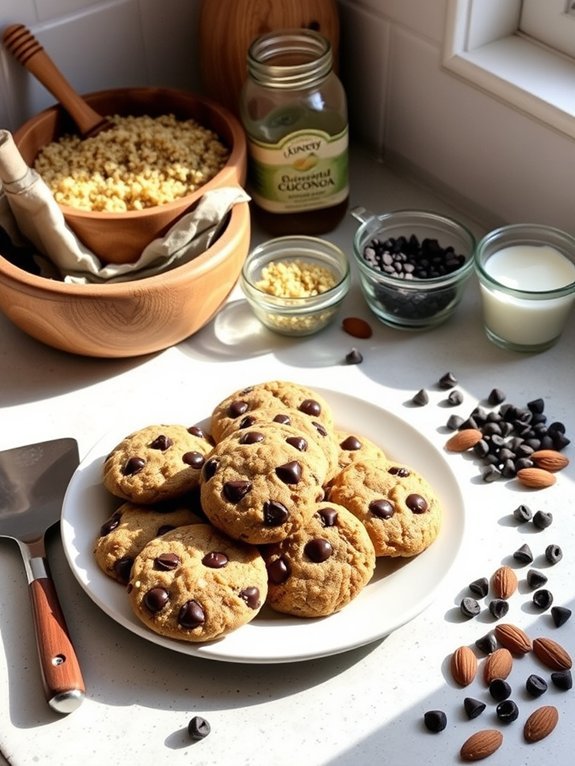
If you’re looking for a healthier twist on a classic treat, quinoa chocolate chip cookies are the way to go! These cookies combine the delightful flavors of chocolate with the nutty goodness of quinoa, offering a nutritious alternative that doesn’t skimp on taste. Quinoa, a complete protein, adds a boost of fiber and nutrients to this beloved treat, allowing you to indulge guilt-free.
The beauty of these cookies lies not only in their health benefits but also in their simplicity. With just a few ingredients, you can whip up a batch that’s perfect for an after-school snack, a healthy dessert option, or even a midday pick-me-up. They’re chewy, chocolatey, and have a unique texture that sets them apart from traditional cookies.
Ingredients:
- 1 cup cooked quinoa
- 1/2 cup almond flour
- 1/4 cup coconut flour
- 1/2 teaspoon baking powder
- 1/4 teaspoon salt
- 1/3 cup honey or maple syrup
- 1/4 cup coconut oil, melted
- 1 teaspoon vanilla extract
- 1/2 cup dark chocolate chips
To prepare the cookies, preheat your oven to 350°F (175°C) and line a baking sheet with parchment paper. In a large mixing bowl, combine the cooked quinoa, almond flour, coconut flour, baking powder, and salt.
In a separate bowl, mix together the honey (or maple syrup), melted coconut oil, and vanilla extract until well combined. Fold the wet ingredients into the dry mixture and add the dark chocolate chips, stirring until everything is evenly incorporated.
Drop spoonfuls of the dough onto the prepared baking sheet and bake for 12-15 minutes or until the edges are golden brown. Allow the cookies to cool before serving.
For the best results, make sure that your quinoa is well-cooked and fully cooled before adding it to the mixture. You can experiment with the type of chocolate chips, using milk chocolate or even a dairy-free option if desired.
Feel free to add nuts or dried fruits for an extra burst of flavor and nutrition. Store any leftovers in an airtight container to keep them fresh for several days. Remember to enjoy these cookies in moderation, as even healthy treats can be indulgent!
Recommended Items
Dive into our favorite products and tools to whip up these delightful desserts!
Coconut Flour Mini Muffins
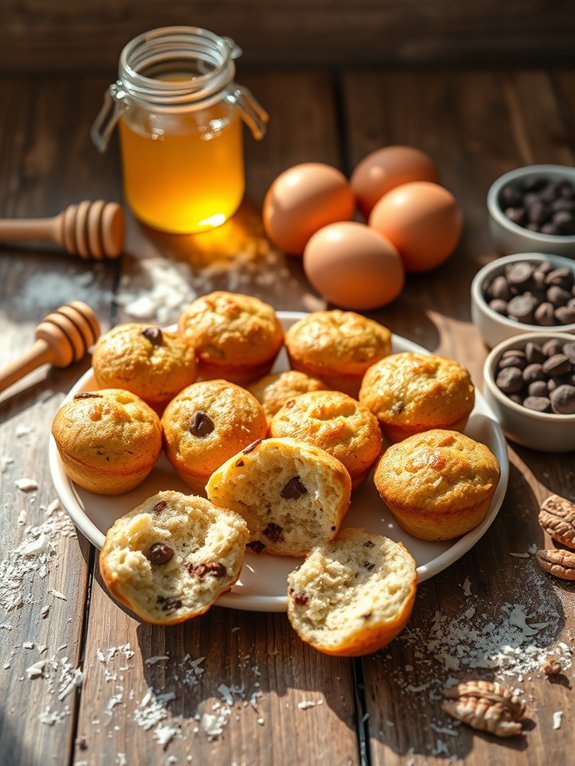
Coconut flour mini muffins are a delightful and healthy treat that can satisfy any sweet tooth without the guilt. Made from coconut flour, they’re naturally gluten-free and packed with fiber, making them a great choice for those looking to enjoy a dessert that aligns with their dietary needs.
These mini muffins aren’t only simple to make but can also be customized with your favorite add-ins such as nuts, seeds, or dried fruits, making them versatile and fun.
These muffins are perfect for those on a low-carb or ketogenic diet, as they utilize coconut flour, which is lower in carbohydrates than traditional wheat flour. They can be enjoyed fresh out of the oven for breakfast, as a snack, or even as a dessert for a healthy twist on sweets.
With their light texture and subtle coconut flavor, these mini muffins are sure to become a staple in your healthy dessert recipes.
Ingredients:
- 1 cup coconut flour
- 1/2 teaspoon baking soda
- 1/4 teaspoon salt
- 4 large eggs
- 1/3 cup honey or maple syrup
- 1/3 cup melted coconut oil
- 1 teaspoon vanilla extract
- Optional: 1/2 cup chocolate chips or nuts
In a medium bowl, mix together the coconut flour, baking soda, and salt. In another bowl, whisk together the eggs, honey or maple syrup, melted coconut oil, and vanilla extract until smooth.
Combine the wet ingredients with the dry ingredients, stirring until fully incorporated. If desired, fold in chocolate chips or nuts. Preheat your oven to 350°F (175°C) and line a mini muffin tin with paper liners or grease it lightly.
Pour the batter into the mini muffin cups, filling them about 2/3 full, and bake for 15-20 minutes or until a toothpick inserted into the center comes out clean.
When baking coconut flour mini muffins, remember that coconut flour absorbs a lot of moisture, so if you find the batter too thick, you can add a little extra liquid, such as milk or additional eggs, to reach your desired consistency.
Allow the muffins to cool before removing them from the tin to prevent them from sticking. Storing any leftover muffins in an airtight container in the refrigerator will help maintain their freshness, and they can be enjoyed cold or gently reheated.
Step-by-Step Cooking Guide
Almond Butter Energy Bites
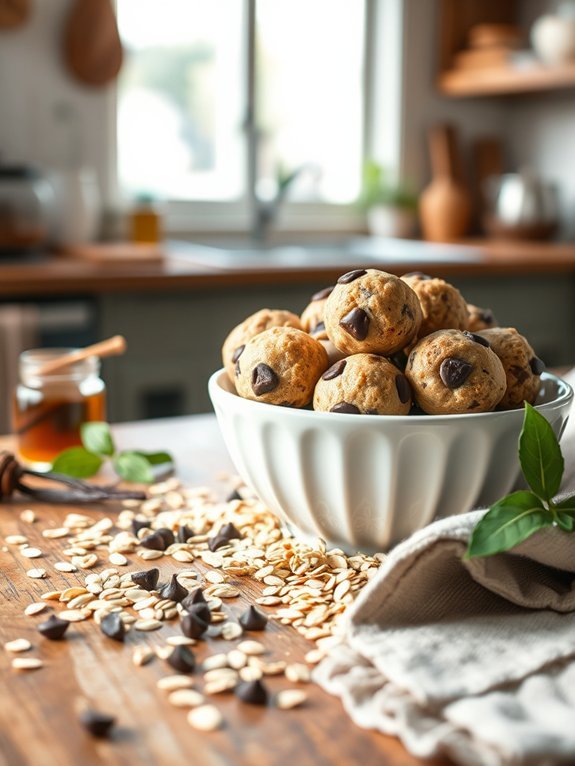
Almond Butter Energy Bites are a nutritious treat that satisfies your sweet cravings while providing a boost of energy. Perfect for a quick snack or a post-workout pick-me-up, these little bites are packed with wholesome ingredients and require minimal preparation. You can whip them up in just under 30 minutes, making them an ideal recipe for busy individuals or families looking for a healthy option.
These energy bites aren’t only delicious but also customizable to suit your taste preferences. Whether you prefer a little sweetness or a crunch, you can mix in various ingredients such as dried fruits, seeds, or even chocolate chips. They’re great for meal prepping, as they store well in the refrigerator or freezer, ensuring that you always have a healthy snack on hand.
- 1 cup almond butter
- 1 cup rolled oats
- 1/3 cup honey or maple syrup
- 1/2 cup ground flaxseed
- 1/2 cup mini dark chocolate chips (optional)
- 1 teaspoon vanilla extract
- A pinch of salt
In a large mixing bowl, combine the almond butter, rolled oats, honey or maple syrup, ground flaxseed, mini chocolate chips (if using), vanilla extract, and salt. Stir everything together until you achieve a sticky mixture that holds together.
Use your hands to form small balls, about the size of a tablespoon, and place them on a parchment-lined baking sheet. Once all the mixture is shaped into bites, refrigerate for at least 30 minutes to firm them up before enjoying or storing.
When making Almond Butter Energy Bites, feel free to experiment with the ingredients based on your dietary preferences or what you have on hand. You can swap almond butter for other nut or seed butters, switch up sweeteners, or add in extras like chia seeds, coconut flakes, or nuts for additional texture and flavor.
Additionally, these bites can be easily frozen, allowing you to make a large batch and take them out as needed, ensuring that your healthy snack is always just a bite away!
Fruit and Nut Bark
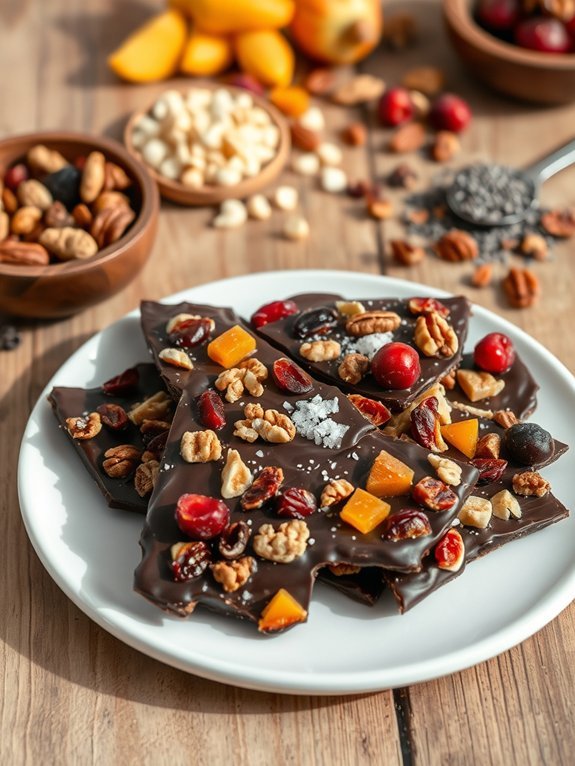
Fruit and nut bark is a delightful and versatile snack that’s not only easy to make but also packed with nutrients. Combining dried fruits and a mix of your favorite nuts, this treat can satisfy your sweet tooth without compromising on health. The rich flavors and textures come together beautifully, making it a perfect gift or a wholesome indulgence any time of the day.
Creating fruit and nut bark allows for endless customization. You can tailor it to your tastes by selecting specific nuts, dried fruits, and even chocolate types. Once you have gathered the ingredients, the process is straightforward and can be completed in under an hour, including the cooling time. It’s not just delicious; it’s also a great way to use up any leftover nuts or dried fruits lingering in your pantry.
Ingredients:
- 1 cup dark chocolate chips (or regular chocolate chips)
- ½ cup chopped mixed nuts (such as almonds, walnuts, pecans)
- ½ cup dried fruits (such as cranberries, apricots, figs)
- Pinch of sea salt
- Optional: 2 tablespoons chia seeds or flaxseeds
Melt the chocolate chips in a microwave-safe bowl, heating in 30-second intervals until fully melted and smooth. Once melted, stir in the chopped nuts, dried fruits, and seeds if using, ensuring everything is evenly coated.
Pour the mixture onto a parchment-lined baking sheet, spreading it out to your desired thickness. Sprinkle a pinch of sea salt on top for added flavor, then refrigerate for about 30 minutes until set.
Once hardened, break the bark into pieces and enjoy! When making fruit and nut bark, feel free to experiment with different flavor combinations. You can add spices like cinnamon or vanilla extract for an additional layer of taste or even sprinkle in some coconut flakes.
Store your bark in an airtight container for up to two weeks, but be prepared for it to disappear quickly as it’s irresistibly good!
Sweet Potato Brownies
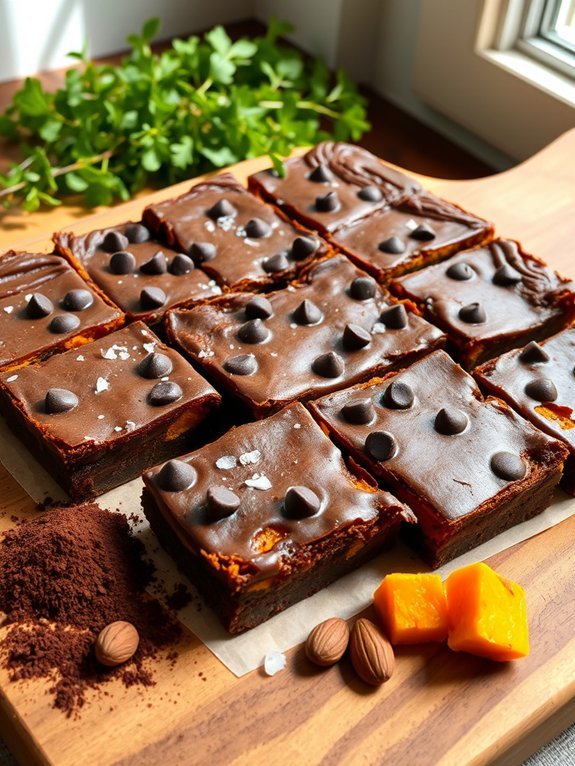
Sweet potato brownies are a decadent yet wholesome dessert option that combines the natural sweetness of sweet potatoes with rich chocolatey flavor. This guilt-free treat isn’t only satisfying for the sweet tooth but also packed with nutrients. Sweet potatoes are an excellent source of vitamins A and C, fiber, and antioxidants, making these brownies a much healthier alternative to traditional chocolate brownies.
These brownies are moist, chewy, and incredibly easy to make. The addition of sweet potatoes gives them a surprisingly fudgy texture, while cocoa powder and dark chocolate provide an intense chocolate flavor that will impress both health-conscious eaters and dessert lovers alike. Plus, they can easily be made vegan or gluten-free, adapting to a variety of dietary needs.
Ingredients:
- 1 cup cooked and mashed sweet potatoes
- 1 cup almond flour (or any preferred flour)
- 1/2 cup unsweetened cocoa powder
- 1/2 cup maple syrup (or agave nectar)
- 1/4 cup coconut oil, melted
- 1 teaspoon vanilla extract
- 1/2 teaspoon baking powder
- 1/4 teaspoon salt
- 1/2 cup dark chocolate chips (optional)
Combine all the ingredients in a mixing bowl and stir until you achieve a smooth batter. Preheat your oven to 350°F (175°C) and grease an 8×8-inch baking dish or line it with parchment paper.
Pour the brownie batter into the dish, spreading it evenly. Bake for about 25-30 minutes or until a toothpick inserted into the center comes out clean or with a few moist crumbs. Allow the brownies to cool before slicing and serving.
For an extra touch, consider adding nuts or dried fruits into the batter for added texture and flavor. Verify your sweet potatoes are cooked until soft, whether you steam, roast, or microwave them.
For a spicier kick, try adding a pinch of cinnamon or a dash of espresso powder to enhance the chocolate flavor. Leftover brownies can be stored in an airtight container for several days, and they also make a delightful snack when chilled from the refrigerator!
Greek Yogurt Parfait
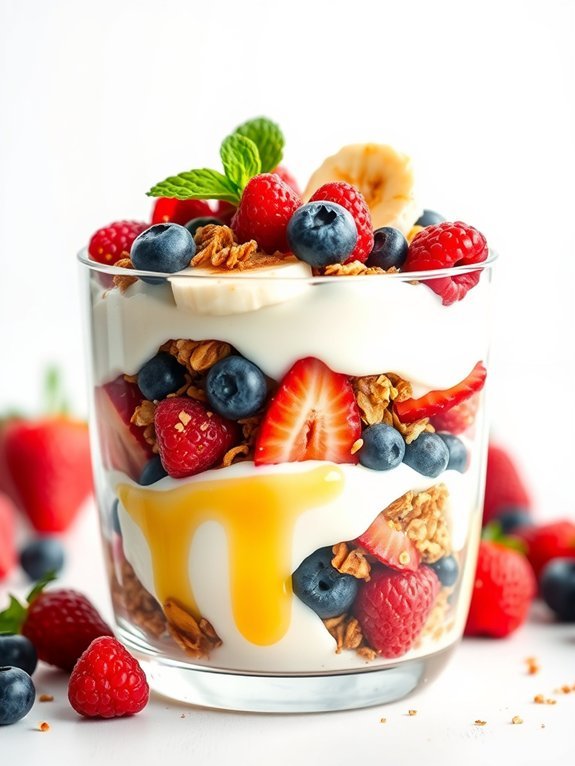
Greek yogurt parfaits are a delicious and healthy way to satisfy your sweet tooth without the guilt. They’re layered with creamy Greek yogurt, fresh fruits, and crunchy granola, making them not only visually appealing but also packed with nutrients. This dish is versatile and can be enjoyed for breakfast, as a snack, or even as a light dessert.
The combination of flavors and textures offers a rejuvenating experience that’s both satisfying and nourishing.
Making a Greek yogurt parfait is simple and quick, perfect for those busy mornings or when you’re in need of a healthy treat. You can easily customize your parfait with your favorite fruits, nuts, and honey, allowing you to experiment with different flavors. This recipe serves as a base that you can adapt to suit your palate, providing an opportunity for creativity in your cooking.
- 2 cups of Greek yogurt (plain or flavored)
- 1 cup of granola
- 1 cup of fresh berries (strawberries, blueberries, raspberries, etc.)
- 1 banana, sliced
- 2 tablespoons of honey or maple syrup (optional)
- A sprinkle of cinnamon (optional)
- Mint leaves for garnish (optional)
In a clear glass or bowl, start layering your parfait by adding a scoop of Greek yogurt at the bottom. Follow with a layer of granola, then add a layer of your chosen fresh fruits. Repeat the layers until you reach the top of the glass, finishing with a layer of yogurt. Drizzle honey or maple syrup over the top if desired, and sprinkle with cinnamon. Garnish with mint leaves for a rejuvenating touch.
When preparing a Greek yogurt parfait, it’s crucial to choose high-quality ingredients for the best flavor and nutrition. Look for low-fat or non-fat Greek yogurt to keep it light, and opt for natural sweeteners rather than processed ones to enhance the health benefits.
You can also experiment with various fruits according to the season, and don’t hesitate to add in a handful of nuts or seeds for extra crunch and nutrition. Enjoy your creation as a delightful indulgence that nourishes your body!
Raw Chocolate Truffles
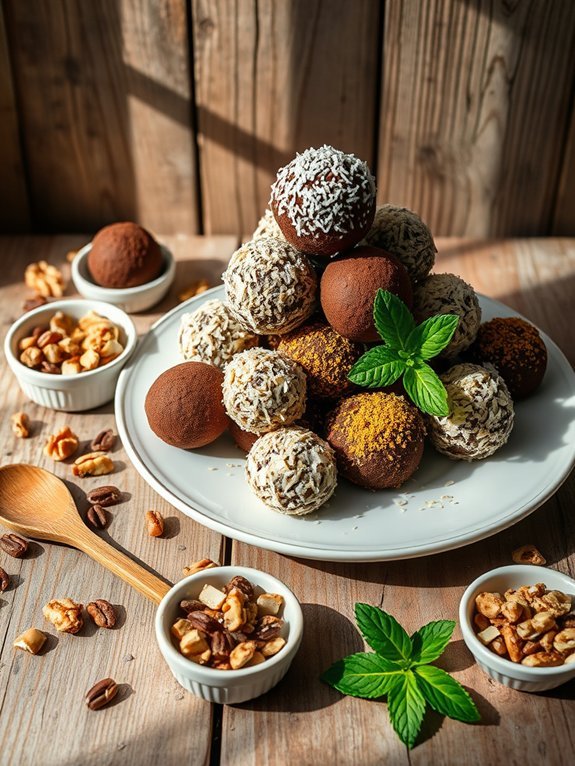
Indulging in dessert doesn’t have to come at the expense of your health, and raw chocolate truffles are a perfect example of a delicious yet nutritious treat. These bite-sized delights are made from wholesome ingredients, including nuts, dates, and raw cacao, which not only satisfy your sweet tooth but also provide essential nutrients.
They’re incredibly easy to prepare and require no baking, making them an ideal option for a quick and healthy dessert.
Raw chocolate truffles can be customized according to personal preferences, allowing you to get creative with flavors and ingredients. Whether you choose to roll them in coconut, nuts, or cacao powder, these truffles are sure to impress guests and loved ones alike. Perfect for an afternoon snack or as a post-dinner treat, these little bites of goodness will have everyone coming back for more.
Ingredients:
- 1 cup raw nuts (such as almonds or walnuts)
- 1 cup medjool dates, pitted
- 1/2 cup raw cacao powder
- 1 teaspoon vanilla extract
- A pinch of sea salt
- Optional toppings: shredded coconut, crushed nuts, or cacao powder
To make the raw chocolate truffles, begin by placing the nuts in a food processor and pulsing them until finely ground.
Then, add the pitted dates, raw cacao powder, vanilla extract, and a pinch of sea salt to the processor. Blend the mixture until it becomes sticky and well combined.
Scoop out small amounts of the mixture and roll them into bite-sized balls, then coat each truffle in your preferred toppings if desired.
When preparing raw chocolate truffles, feel free to experiment with different nut varieties or incorporate superfoods like chia seeds or hemp hearts for added nutrition.
For a richer flavor, try using dark chocolate instead of raw cacao powder.
Make sure to store your truffles in an airtight container in the refrigerator, where they can last for up to a week, ensuring you have a healthy treat on hand whenever cravings strike.

