This post may contain affiliate links. Please read our policy page.
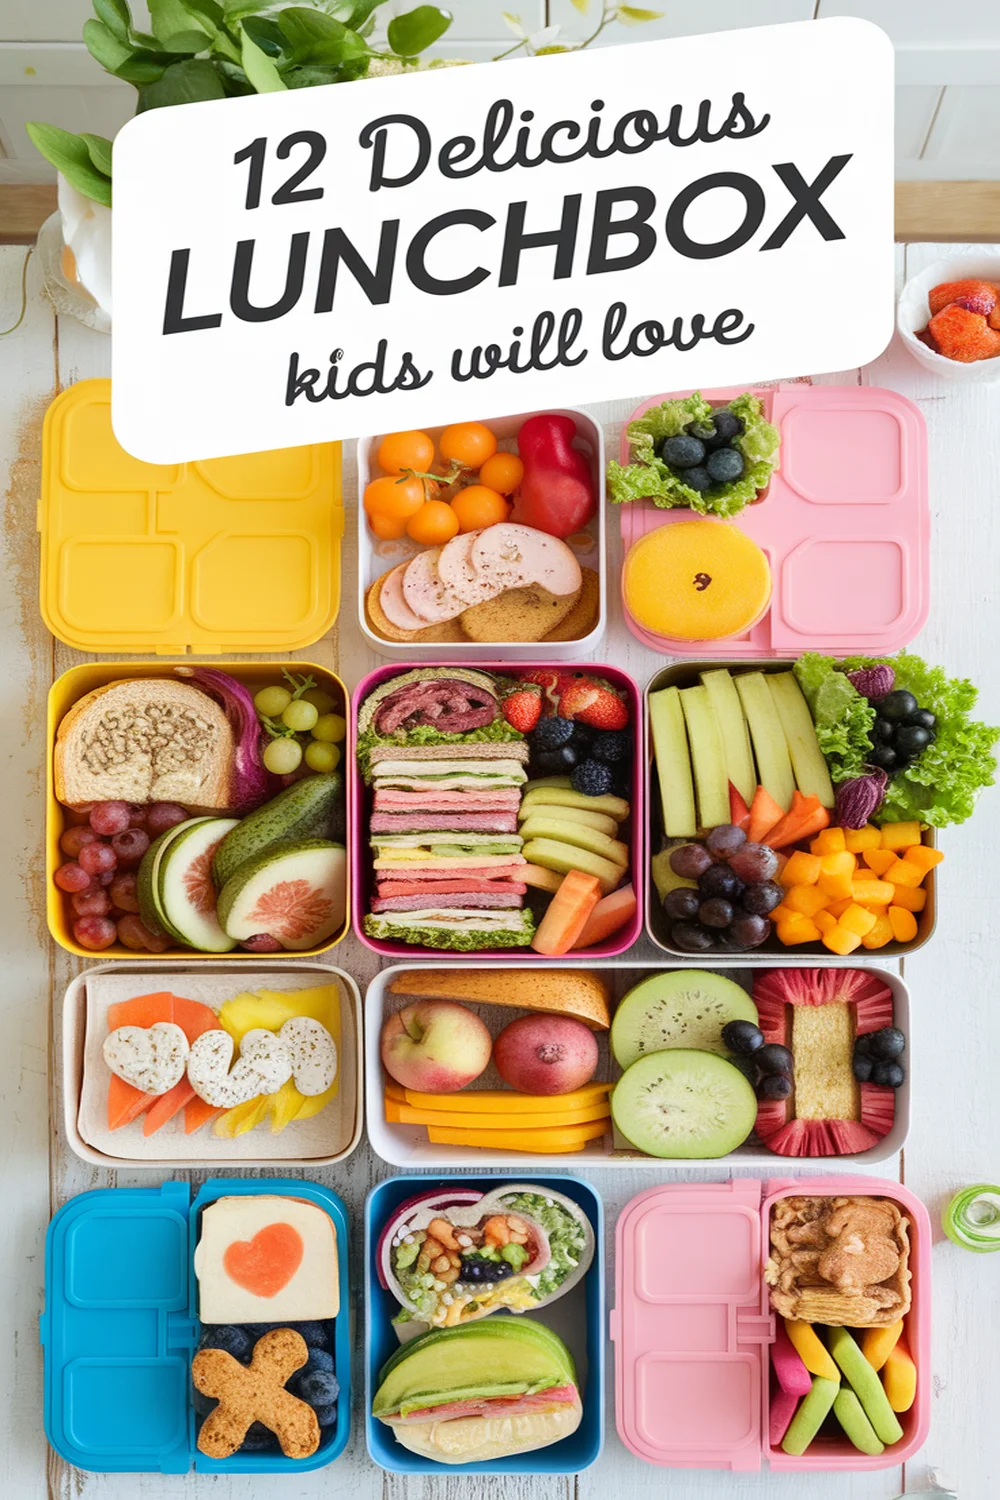
Looking for tasty lunchbox ideas your kids will adore? Try fun-shaped sandwiches with creative fillings, colorful bento boxes packed with vibrant fruits and proteins, or DIY mini pizzas where your kids can choose their toppings. Wraps and creative pasta salad are also hits, while cheese and cracker platters provide a delicious crunch. Tasty tacos and homemade sushi rolls can make lunchtime exciting. These ideas are sure to impress, and there’s more to discover!
Fun Shaped Sandwiches
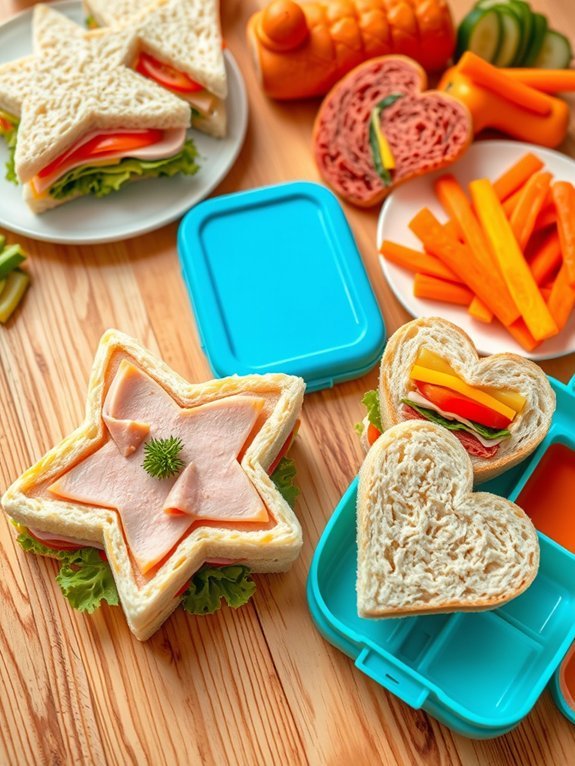
When it comes to packing a lunch that excites your kids, fun-shaped sandwiches are an excellent choice. By using creative cookie cutters, you can transform a simple sandwich into a delicious and visually appealing meal that your kids will look forward to every day. This not only makes lunchtime more enjoyable, but it can also be a great way to encourage picky eaters to try new ingredients.
The best part of fun-shaped sandwiches is the endless possibilities for fillings and shapes. With an array of cookie cutter shapes—from stars and hearts to animals—you can create thematic lunches that align with holidays, favorite characters, or interests. Involving your children in the process of selecting shapes and ingredients will make them feel more invested in their lunch and more enthusiastic to eat it.
Ingredients:
- Sliced bread (whole grain or white)
- Your choice of deli meats (turkey, ham, or chicken)
- Cheese slices (cheddar, Swiss, or American)
- Lettuce or spinach
- Mayonnaise or mustard (optional)
- Cookie cutters in fun shapes (stars, hearts, animals)
- Optional: Veggies for sides (carrot sticks, cucumber slices)
To prepare your fun-shaped sandwiches, start by laying out two slices of bread on a clean cutting board or plate. Spread a layer of mayonnaise or mustard on one or both slices if desired.
Next, layer in the deli meat, cheese, and some lettuce for extra crunch. Top with another slice of bread. Use your chosen cookie cutter to press down firmly on the sandwich, creating a fun shape. Repeat this process with as many sandwiches as you wish to make, and include any leftover crusts or scraps for a quick snack or waste-free meal option.
When making fun-shaped sandwiches, consider the balance of flavors and textures in your fillings. Mixing different cheeses or adding a spread such as hummus can add extra taste.
Also, be mindful of the size of the cookie cutters. Choose shapes that will fit nicely in your child’s lunchbox. Making sandwiches in advance and storing them in an airtight container will help keep them fresh and prevent them from getting squished.
2. Colorful Bento Box
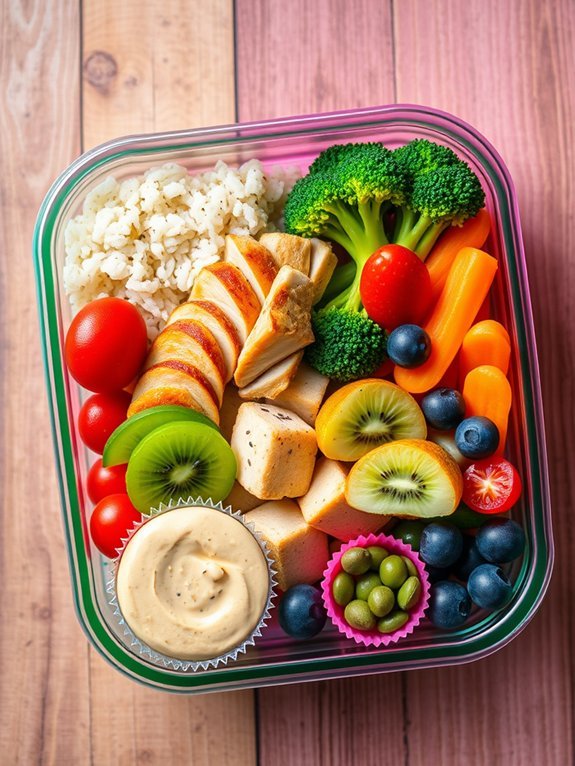
Creating a colorful bento box for your kids is an excellent way to make lunchtime exciting and nutritious. Packed with a variety of vibrant foods, these bento boxes can be both fun and healthy. You can tailor each box to include fruits, vegetables, proteins, and whole grains, all beautifully arranged to catch your child’s eye. The goal is to make the lunch visually appealing while guaranteeing it meets their taste preferences and dietary needs.
To begin, select different food items that offer a range of colors and textures. Consider incorporating items like cherry tomatoes, sliced cucumbers, carrots, broccoli florets, and fruits like strawberries, kiwi, and blueberries. Protein options such as grilled chicken strips, boiled eggs, or tofu can provide essential nutrients. Whole grains like rice or quinoa can be included as a base to complement the dish, making it a balanced meal. This bento box can be diverse, allowing your child to experience multiple flavors in every bite.
- Cherry tomatoes
- Sliced cucumbers
- Baby carrots
- Broccoli florets
- Strawberries
- Kiwi
- Blueberries
- Grilled chicken strips or tofu
- Boiled eggs (optional)
- Rice or quinoa (cooked)
Begin by preparing all your ingredients; wash and cut the vegetables and fruits into child-friendly bite-sized pieces. Cook the protein of your choice, whether it’s grilling chicken or boiling eggs. Cook the rice or quinoa according to package directions, and let everything cool slightly.
Once prepared, arrange the items in a bento box, mixing colors and textures for visual appeal. For example, use a compartment for rice or quinoa, one for protein, and fill the rest with colorful veggies and fruits.
When assembling your colorful bento box, consider using small silicone cups or dividers to separate different food items, which helps keep everything fresh and organized. Encourage creativity — let your child assist in the arrangement to boost their interest in healthy eating. Always be mindful of allergies and preferences, being flexible with ingredients based on what your child likes.
Finally, keep portions appropriate for their age to guarantee they enjoy the meal without feeling overwhelmed.
3. DIY Mini Pizzas
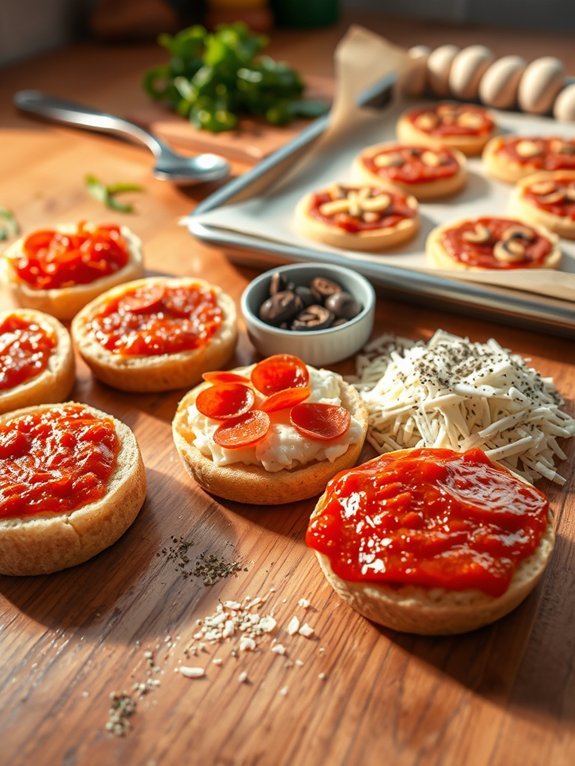
DIY mini pizzas are a fun and delicious way to involve kids in the kitchen! These little personal pizzas allow kids to express their creativity while learning basic cooking skills. They can choose their favorite toppings and help with assembling their own meal, making lunchtime an enjoyable and interactive experience.
This recipe isn’t only quick to prepare but also customizable to suit even the pickiest eaters.
To make DIY mini pizzas, you’ll first need to gather your ingredients and prep your workspace. Using pre-made pizza bases, English muffins, or pitas as the base, young chefs can easily pile on their desired toppings. The result is a perfectly portioned personal pizza that’s great for school lunches or a fun family dinner!
Ingredients:
- English muffins, pita bread, or mini pizza crusts
- Pizza sauce
- Shredded mozzarella cheese
- Pepperoni slices or diced ham
- Bell peppers, sliced
- Olives, sliced
- Mushrooms, sliced
- Dried oregano or Italian seasoning
Preheat your oven to 375°F (190°C). Place your chosen pizza bases on a baking sheet lined with parchment paper. Spread a spoonful of pizza sauce on each base, followed by a generous handful of shredded mozzarella cheese.
Allow the kids to add their favorite toppings, spreading them out evenly on top of the cheese. Once they’re ready, pop the baking sheet into the oven for 10-12 minutes or until the cheese is melted and bubbly, and the edges are golden brown.
When preparing DIY mini pizzas, it’s a great idea to encourage kids to experiment with different toppings each time. For a healthier option, consider offering a variety of vegetables such as spinach, zucchini, or artichoke hearts.
Additionally, you can provide some creative sauces like pesto or barbecue sauce for a different flavor profile. Remember that using a pizza cutter can help kids slice the pizzas easily once they cool down, making them perfect for lunchbox packing!
4. Wrap It Up
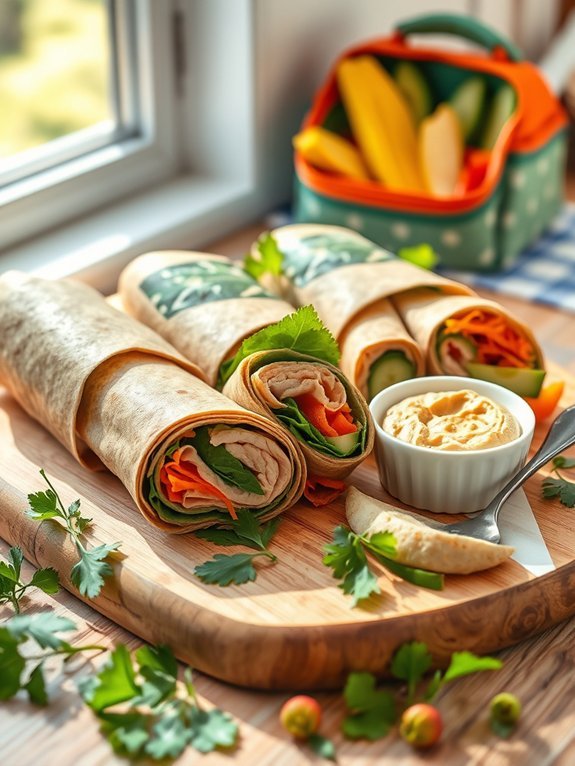
Wraps are a fantastic and versatile option for lunchboxes, offering endless possibilities to cater to your child’s tastes and dietary preferences. They can be customized with various fillings, making them a fun way to include healthy ingredients while keeping lunchtime exciting.
Whether you’re aiming for something savory, sweet, or a little bit of both, wraps can be a perfect solution to the age-old question of what to prepare for your kids’ lunch.
Creating wraps is simple, and they can be made ahead of time and stored in the refrigerator for quick access during busy mornings. Not only do they pack well, but they can also be eaten cold, which makes them a convenient sit-down or on-the-go meal.
Plus, they’re an excellent way to involve kids in the cooking process as they can assemble their own wraps, choosing their favorite ingredients for a personalized meal.
- 4 whole wheat or spinach tortillas
- 1 cup sliced turkey or chicken breast
- 1 cup baby spinach or mixed greens
- ½ cup shredded carrots
- ½ cup cucumber, thinly sliced
- ½ cup hummus or cream cheese
- ¼ cup shredded cheese (cheddar or mozzarella)
- Salt and pepper to taste
- Optional: sliced avocado or bell peppers
Spread a thin layer of hummus or cream cheese over each tortilla, then layer the sliced turkey or chicken, baby spinach, shredded carrots, cucumber slices, and shredded cheese on top.
Sprinkle a pinch of salt and pepper for seasoning. Roll the tortilla tightly from one end to the other, ensuring all the filling is secured inside. Cut the wraps in half or into pinwheels for easier handling. Place them in a lunchbox, and they’re ready to go!
When making wraps, don’t hesitate to get creative with your ingredients! You can include fresh herbs for an extra flavor boost or add fruit like thin apple or pear slices for a touch of sweetness.
Consider the texture as well; balance crunchy and soft ingredients to make the wrap more interesting. If you’re preparing them in advance, wrap them tightly in plastic wrap or parchment paper, and store them in the fridge to maintain freshness.
Recommended Items
Get ready to pack the perfect lunchbox with our recommended products and equipment—let’s make lunchtime fun!
Products
5. Creative Pasta Salad
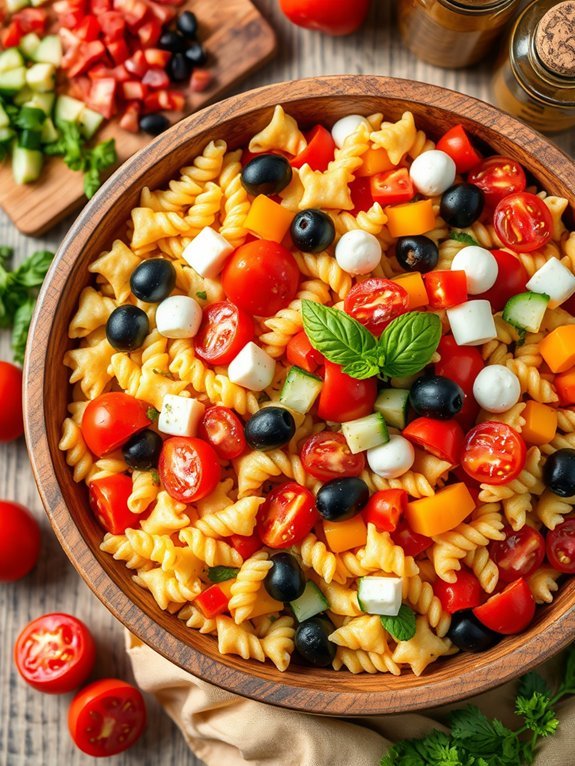
Pasta salad is a classic dish that’s both delicious and versatile, making it a perfect addition to any kid’s lunchbox. Not only does it provide a great source of carbohydrates, but it also allows for an array of colorful vegetables and proteins to be included, making it as nutritious as it’s visually appealing. This creative pasta salad can be customized to match your child’s taste preferences, ensuring they look forward to lunchtime every day.
With just a few ingredients and a bit of creativity, you can whip up a pasta salad that’s both fun and satisfying. Whether you’re trying to sneak in some veggies or simply spice up your child’s lunch, this recipe combines flavorful ingredients with a delightful dressing, transforming plain pasta into a vibrant and exciting meal.
Ingredients:
- 2 cups cooked pasta (any shape)
- 1 cup cherry tomatoes, halved
- 1 cup cucumber, diced
- 1 cup bell peppers, diced (any color)
- ½ cup black olives, sliced
- 1 cup mozzarella balls or cubed cheese
- ½ cup Italian dressing
- Salt and pepper to taste
- Fresh basil or parsley for garnish (optional)
In a large mixing bowl, combine the cooked pasta with all the chopped vegetables, olives, and cheese. Pour the Italian dressing over the mixture, tossing everything together until evenly coated. Season with salt and pepper to taste, then mix again.
For an extra touch, let the salad chill in the refrigerator for at least 30 minutes to allow the flavors to meld before packing it into lunchboxes.
When making this creative pasta salad, remember that freshness is key. Feel free to swap out any of the ingredients based on your child’s preferences or what you have on hand. Leftovers keep well in the refrigerator for a couple of days, and you can even use whole grain or bean-based pasta for added nutrition.
Additionally, get your kids involved in the preparation process, letting them pick and chop their preferred toppings—it makes the meal more personal and encourages them to try new combinations!
Proposed Recipe
6. Veggie and Hummus Cups
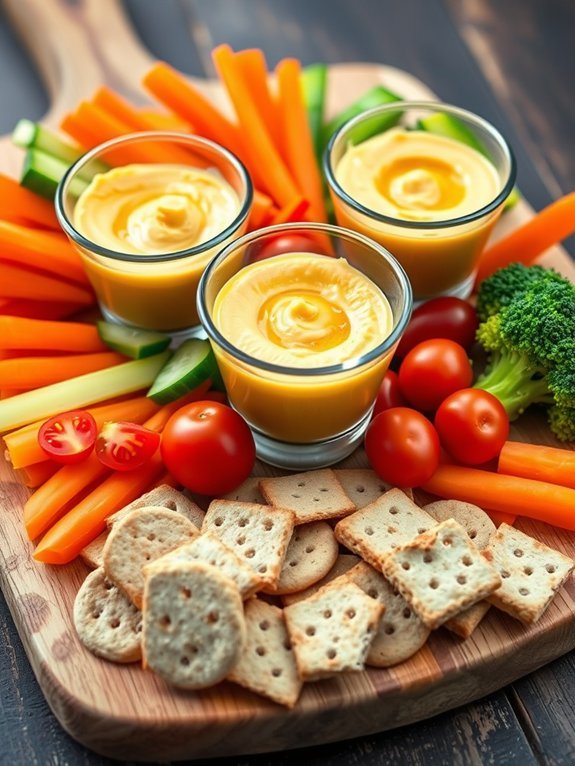
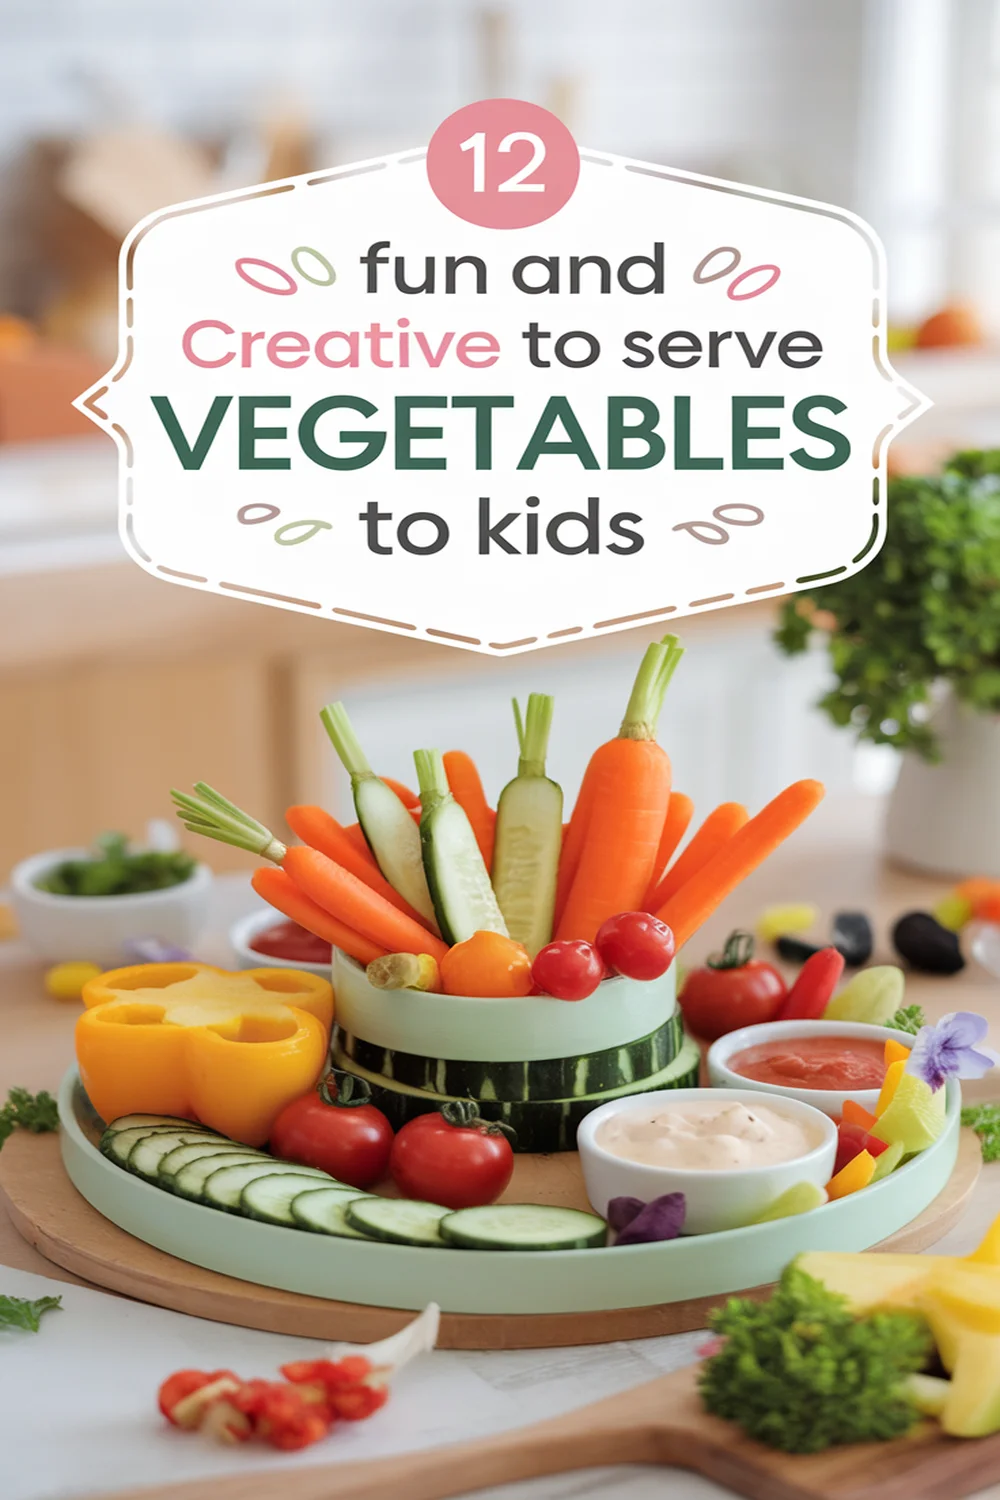
Veggie and hummus cups are a fun and nutritious option for kids’ lunches that make eating vegetables exciting. Not only do they provide essential vitamins and minerals, but the colorful presentation and interactive nature of dipping can encourage even picky eaters to enjoy their greens. Hummus, a chickpea-based dip rich in protein, pairs beautifully with a variety of crunchy vegetables, creating a satisfying snack that can be prepared in just a few minutes.
This recipe is highly customizable, allowing you to choose your child’s favorite vegetables to work alongside a simple homemade or store-bought hummus. It’s perfect for lunch boxes, parties, or after-school snacks. Get ready to introduce your kids to a delightful combination of flavors and textures, providing them with the perfect mid-day energy boost!
- 1 cup of hummus (store-bought or homemade)
- 1 cup of sliced cucumbers
- 1 cup of baby carrots
- 1 cup of bell peppers (sliced into strips)
- 1 cup of cherry tomatoes
- 1 cup of broccoli florets
- Optional: whole grain crackers or pita bread for added crunch
To prepare the veggie and hummus cups, begin by portioning out the hummus into small cups or containers, filling each one with about ¼ cup of hummus. Next, arrange an assortment of the sliced vegetables around the hummus in each cup. You can mix and match based on your child’s preferences, ensuring that each cup has a variety of colors and textures for visual appeal.
When preparing veggie and hummus cups, consider involving your kids in the selection and assembly process; it encourages them to be excited about their food. You can also experiment with different flavors of hummus, such as garlic, roasted red pepper, or spicy harissa, to keep things interesting.
Finally, for added fun, include a small side of whole grain crackers or pita bread to complement the veggies, making this a well-rounded and satisfying snack option!
7. Fruit Skewers
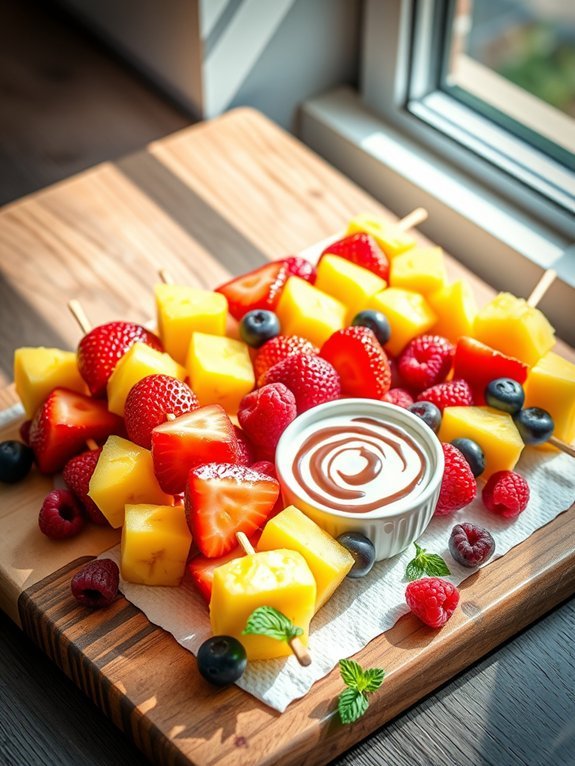
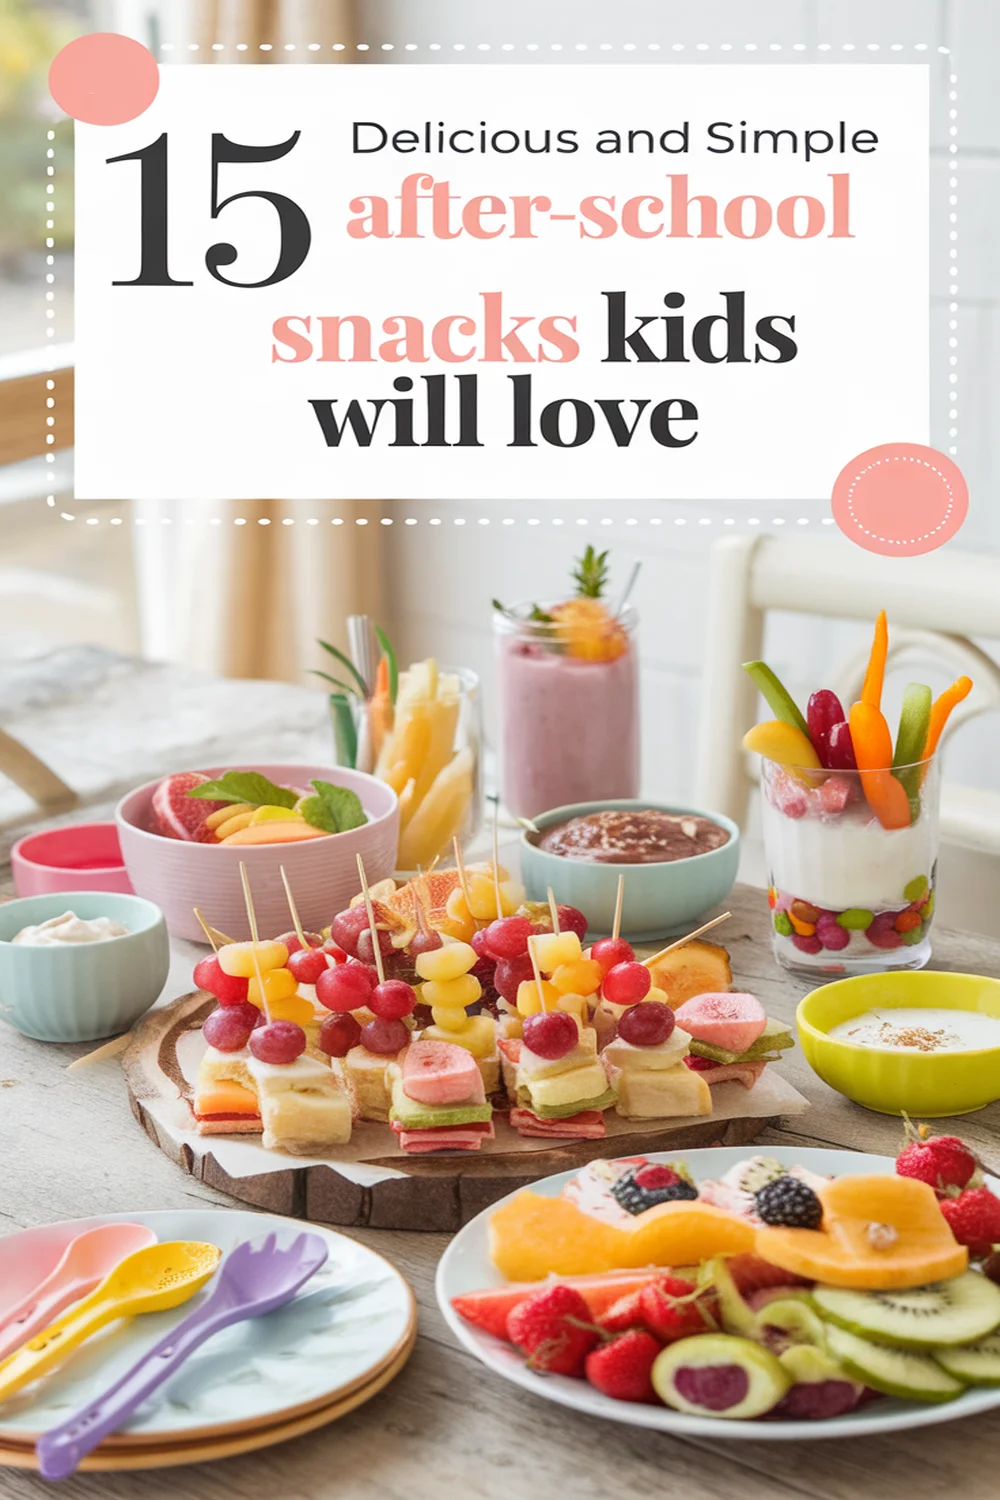
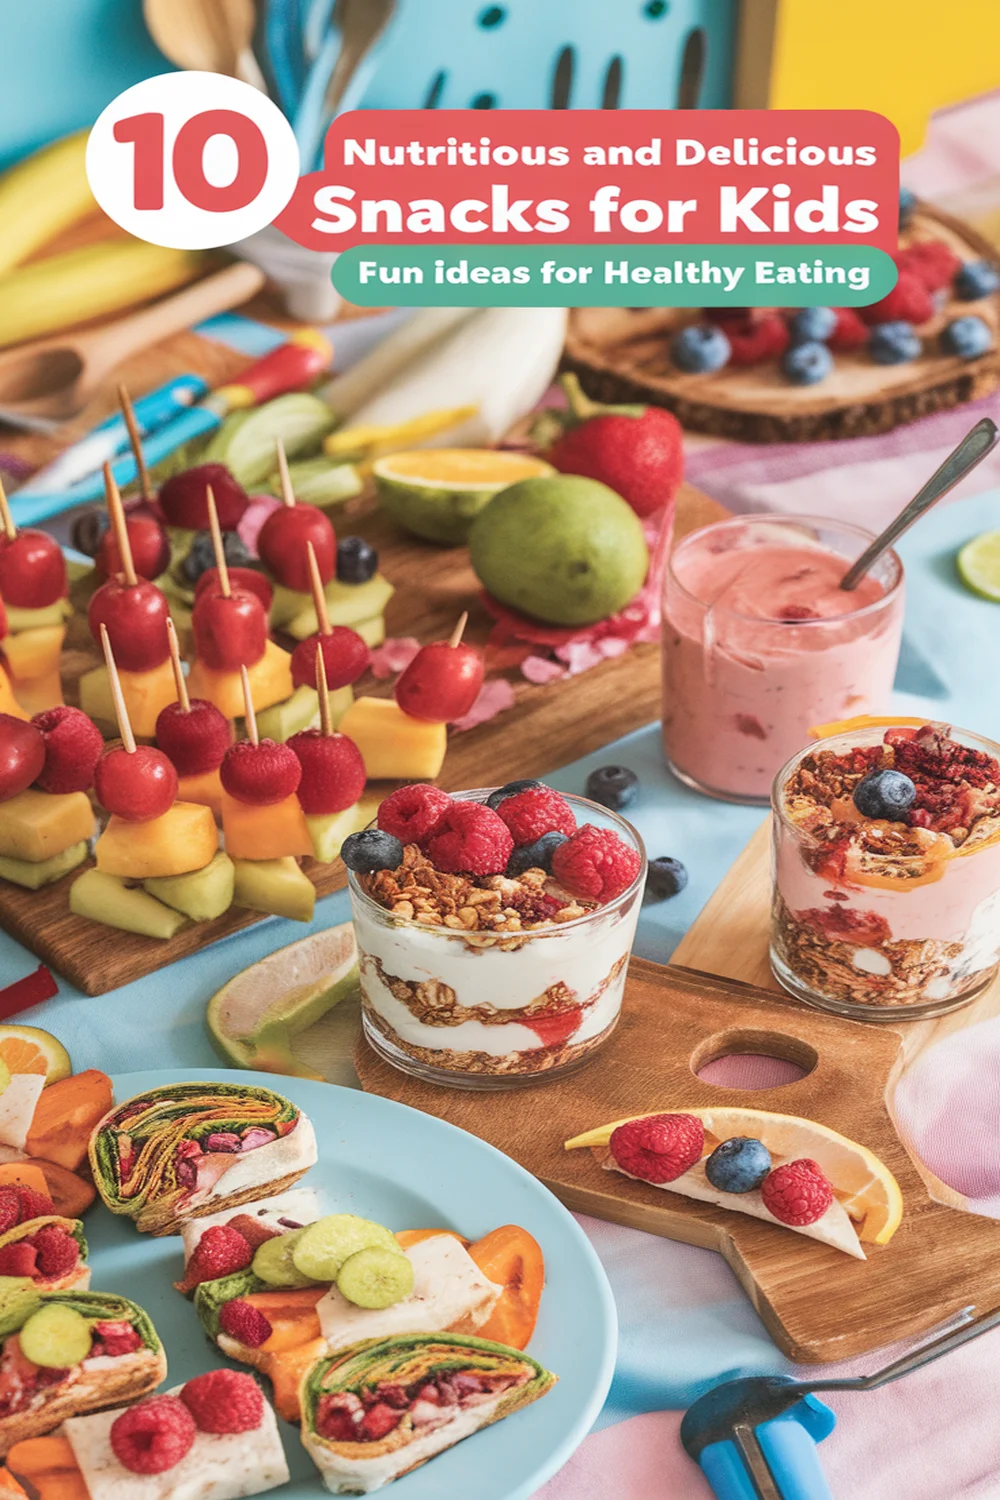
Fruit skewers are a delightful and nutritious way to add a touch of fun to your child’s lunchbox. Perfect for warm days or as a quick snack, these skewers can incorporate various fruits, making them both colorful and appetizing. Not only do they provide essential vitamins and minerals, but they also encourage kids to enjoy more fresh produce.
The best part? You can customize them with your child’s favorite fruits and even add some dips or toppings to make them even more appealing.
Making fruit skewers is a simple, engaging process that involves minimal cooking, making it ideal for little hands to help with. And since they can be assembled in just moments, they’re an excellent choice when you’re pressed for time but still want to provide a nutritious meal. By letting your kids choose their favorite fruits, you’re also giving them a sense of ownership in their meals, which can encourage them to eat healthier.
- Fresh strawberries
- Bananas
- Pineapple chunks
- Grapes (red or green)
- Melon cubes (cantaloupe or honeydew)
- Assorted berries (blueberries, raspberries)
- Skewers (wooden or metal)
- Optional: yogurt or chocolate dip
Begin by washing and preparing all of the fruits. Cut the bananas into bite-sized pieces, cube the melon, and chop the pineapple into chunks. For the strawberries, hull them and leave them whole or slice them in half depending on their size.
Once all the fruits are prepared, take a skewer and begin threading the fruits onto it in an alternating order or create a pattern with your child. Repeat until all the skewers are filled with fruit and then serve them as is or with a dip of your choice.
When preparing fruit skewers, consider using fruits that are in season for the best taste and freshness. You can also experiment with different combinations of fruits to keep things exciting—try adding some citrus for a zesty twist!
Additionally, if you’re packing these skewers for lunch, you may want to place a damp paper towel in the lunchbox to keep the fruit fresh longer and to prevent them from browning. For a fun twist, you can also theme the skewers by using only fruits of one color or incorporating small cheese cubes for added variety and flavor.
8. Breakfast for Lunch
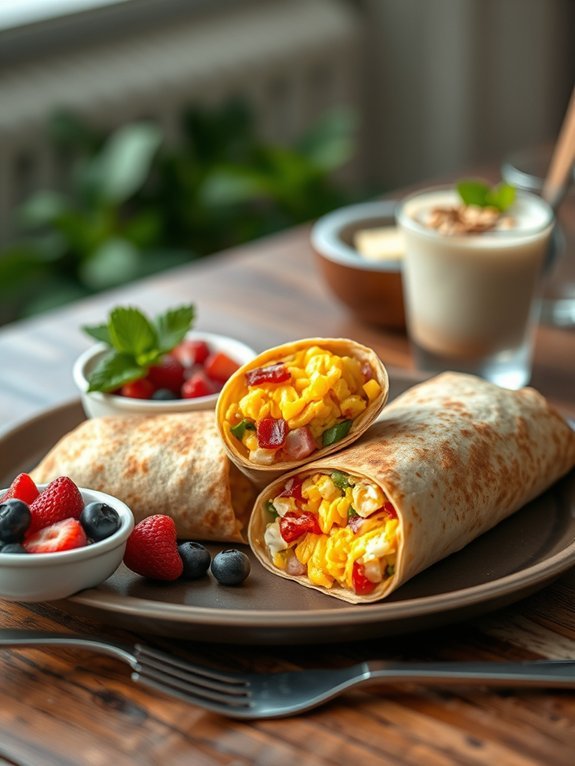
When it comes to packing a delicious and nutritious lunch for kids, breakfast foods are often a hit. Not only are breakfast items generally well-loved, but they can also be easily prepared and transported. One delightful option is a classic breakfast burrito. Packed with scrambled eggs, cheese, and diced veggies, this meal can be customized to fit any taste preference and is as convenient to eat as a sandwich. Plus, it can be made in advance and kept in the fridge or freezer, making it a great choice for busy mornings.
To make the breakfast burrito even more appealing, consider adding ingredients like crispy bacon or flavorful sausage, along with fresh herbs for a burst of flavor. Serving these burritos with a side of fresh fruit or yogurt can create a balanced meal that will keep kids fueled and satisfied throughout their day. With just a little prep time, you can transform breakfast into a fun and tasty lunch experience that kids will actually look forward to.
Ingredients:
- 4 large eggs
- 1/4 cup milk
- Salt and pepper, to taste
- 1/2 cup shredded cheese (cheddar, mozzarella, or your choice)
- 1/2 cup diced bell peppers
- 1/4 cup diced onions
- 4 large flour tortillas
- Optional: cooked sausage or bacon, diced
- Optional: salsa or hot sauce for serving
Whisk the eggs and milk together in a bowl, then season with salt and pepper. In a non-stick skillet, sauté the diced onions and bell peppers over medium heat until they’re soft. Pour the egg mixture into the skillet and scramble until fully cooked. In the last minute of cooking, add the cheese and any cooked sausage or bacon, stirring until the cheese melts. Spoon a portion of the egg mixture onto each tortilla, roll them up tightly, and serve them warm or chill them in the fridge for later.
When preparing breakfast burritos, feel free to involve your kids in the assembly process. They can help choose their favorite fillings and roll the tortillas, which can make lunchtime feel more special for them. If you’re making these burritos in advance for lunchboxes, consider wrapping them tightly in foil or plastic wrap to keep them fresh.
You can also freeze the burritos for up to a month; just reheat them in the microwave or oven before serving.
9. Cheese and Crackers Platter
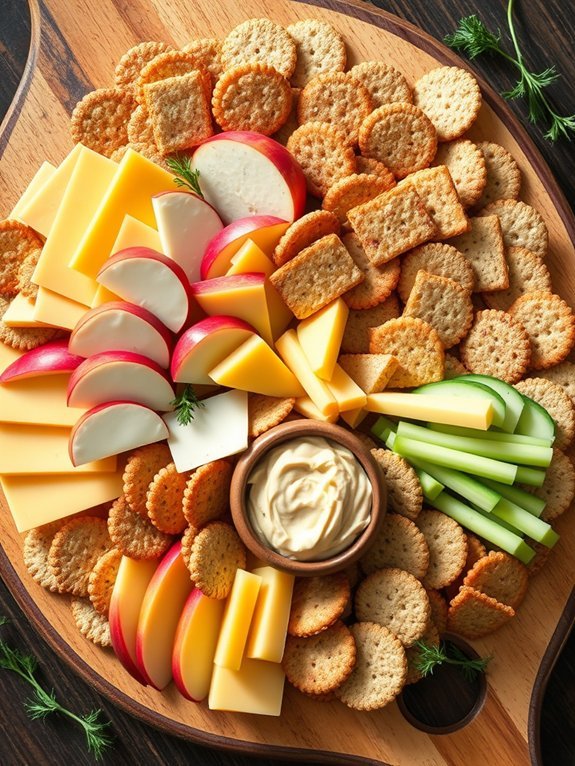
Creating a cheese and crackers platter isn’t only simple but also a delightful way to provide kids with a healthy and fun lunch option. This recipe allows for creativity and variety, making it perfect for children who enjoy exploring different flavors and textures. By choosing a mix of cheeses and crackers, you can cater to individual tastes while ensuring a balanced meal that includes protein, carbohydrates, and essential nutrients.
To prepare a successful cheese and crackers platter, start by selecting your favorite types of cheese. Popular choices for kids include cheddar, mozzarella, and gouda, as they’re mild and appealing to young palates. Pair these with an assortment of crackers, such as whole-grain, flavored, or even homemade varieties.
Don’t forget to incorporate some fresh fruits or veggies, like apple slices or cucumber sticks, to add freshness and color to the platter.
- 4 ounces of mild cheddar cheese
- 4 ounces of mozzarella cheese
- 4 ounces of gouda cheese
- 1 box of whole-grain crackers
- 1 box of flavored crackers (e.g., herb or sesame)
- 1 cup of fresh apple slices
- 1 cup of cucumber sticks
- Optional: small containers of hummus or yogurt dip
Begin by slicing the cheeses into bite-sized pieces or wedges, ensuring they’re easy for little hands to pick up. Arrange the cheeses and crackers on a large platter or cutting board in an aesthetically pleasing manner. Fill in the gaps with the fresh apple slices and cucumber sticks, and place small bowls of hummus or yogurt dip around the platter if using.
When assembling the cheese and crackers platter, feel free to mix and match the flavors and colors to make it visually appealing. Consider including a variety of textures and shapes, as this can be more enticing for kids.
Keep leftovers in a sealed container in the fridge, and remember to replace any perishable items like fruits and dips with fresh ones for next time. Additionally, include toothpicks for fun eating or create themed platters based on favorite colors or characters to make lunchtime even more exciting!
10. Tasty Tacos
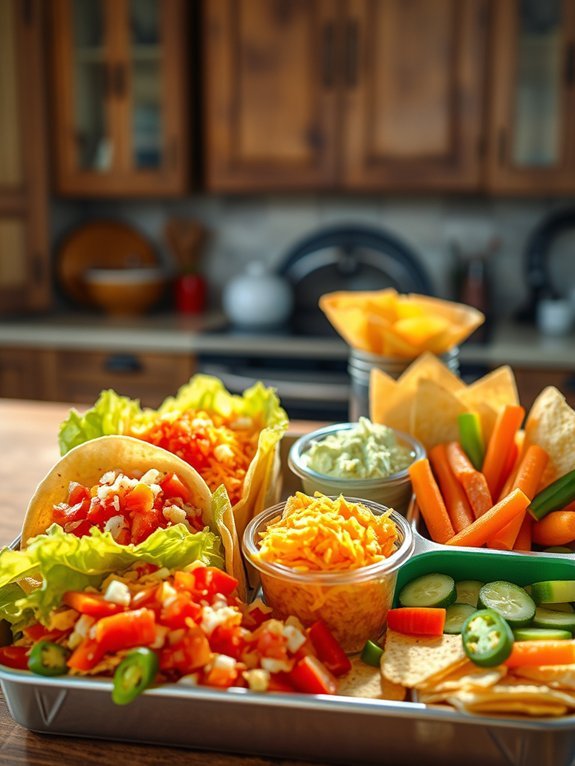
Tacos are a fun and versatile dish that can appeal to kids of all ages. They provide the perfect opportunity to get creative with ingredients and flavors, making lunchtime something to look forward to.
Whether your little ones prefer classic beef tacos or are more adventurous and open to trying chicken or veggie options, tacos are sure to be a hit. Plus, they can be customized right in their lunchbox, allowing kids to build their perfect taco.
Making tacos is easy and allows you to incorporate a variety of colorful and healthy ingredients. For a balanced meal, you might consider using lean meats, fresh vegetables, and a sprinkle of cheese.
To keep it interesting, you can also switch up the types of tortillas you use, from corn to whole wheat, or even soft to crunchy. This recipe is perfect for school lunches, as well as for a fun family dinner!
- Taco shells (soft or hard)
- 1 lb ground beef, chicken, or turkey
- 1 packet taco seasoning
- 1 cup shredded lettuce
- 1 cup diced tomatoes
- 1 cup shredded cheese (cheddar or a blend)
- 1/2 cup sour cream or Greek yogurt
- Optional toppings: diced onions, jalapeños, guacamole, salsa
In a skillet over medium heat, brown the ground meat until fully cooked, breaking it apart as it cooks. Once the meat is browned, drain excess fat, and add the taco seasoning along with a bit of water as per the seasoning package instructions.
Stir and let it simmer for a few minutes. Meanwhile, prepare the taco shells and chop the lettuce and tomatoes. To assemble, place some seasoned meat into each taco shell, then top it with lettuce, tomatoes, cheese, and any additional toppings you desire.
To make tacos extra appealing to kids, consider serving them with a side of colorful veggies or chips for crunch. Getting children involved in the assembly process can also make the meal more enjoyable; let them customize their tacos to suit their tastes!
Guarantee any ingredients are kept separated in their lunch containers if packing for school, so everything stays fresh and appealing until lunchtime.
11. Homemade Sushi Rolls
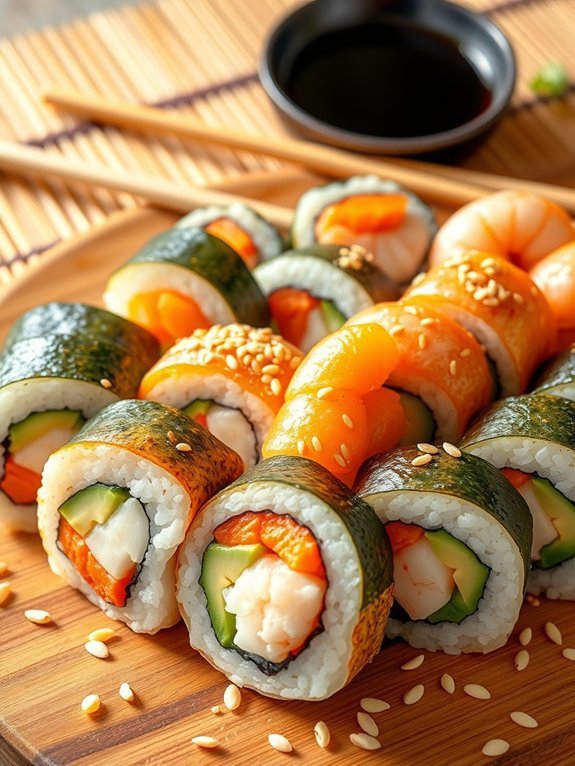
Making homemade sushi rolls can be a fun and engaging activity for both kids and parents. Not only do sushi rolls offer a unique twist to traditional lunchbox meals, but they also allow for creativity and personalization based on individual tastes. The process of rolling sushi can be a fantastic way to introduce children to different ingredients and textures while encouraging them to enjoy healthy foods.
To start your sushi adventure, select ingredients that will appeal to your child’s palate. Whether they enjoy fresh vegetables, cooked proteins, or even fruit, sushi rolls can be customized to fit their preferences. Making sushi at home gives you the opportunity to experiment with flavors and fillings, allowing you to create a delightful meal that’s both nutritious and visually appealing.
- Sushi rice (1 cup)
- Nori sheets (4 sheets)
- Cucumber (1, julienned)
- Carrot (1, julienned)
- Avocado (1, sliced)
- Cooked shrimp or crab (optional)
- Soy sauce (for dipping)
- Sesame seeds (for garnish)
- Rice vinegar (2 tablespoons)
- Sugar (1 tablespoon)
- Salt (1 teaspoon)
Rinse the sushi rice under cold water until the water runs clear, then cook according to package instructions. Once cooked, allow the rice to cool slightly before mixing it with rice vinegar, sugar, and salt.
To assemble the sushi rolls, place a nori sheet on a bamboo sushi mat, spread a thin layer of sushi rice evenly across the nori, leaving about an inch at the top. Arrange the desired fillings such as cucumber, carrot, avocado, and seafood at the bottom edge of the rice, then carefully roll it up using the mat, applying gentle pressure to form a tight roll. Slice the rolls into bite-sized pieces and serve with soy sauce and a sprinkle of sesame seeds.
When making sushi rolls, feel free to experiment with different combinations of fillings to find out what your child enjoys most. You can also add a variety of textures by including crunchy vegetables or soft fruits.
Additionally, having some colorful dipping sauces on the side can make the meal even more exciting. To guarantee that even the youngest children can enjoy sushi, consider using cooked ingredients or vegetarian options.
Remember to involve your kids in the rolling process; it’s a great way to bond and encourage them to try new foods!
12. Snackable Lunchbox Platter
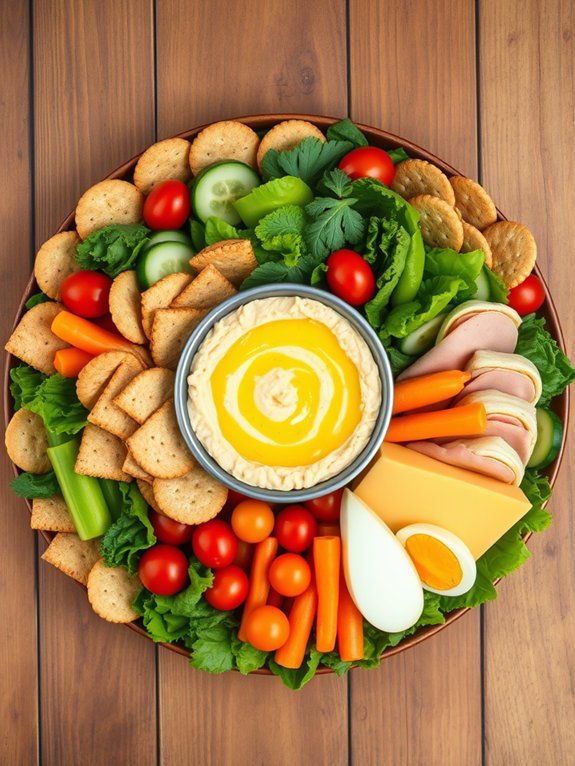
Creating a snackable lunchbox platter for kids is a fun and engaging way to guarantee they’ve a well-rounded meal while enjoying a variety of flavors. This colorful platter isn’t only visually appealing but also encourages kids to explore different textures and tastes. By mixing fruits, vegetables, proteins, and grains, you can design a delightful lunch that will keep them satisfied throughout the day. Plus, it’s an excellent way to sneak in some nutrition without them even realizing it!
To prepare the ideal snackable lunchbox platter, the possibilities are truly endless. You can let your creativity shine by arranging bite-sized pieces of different foods into fun shapes and patterns. Use a combination of their favorite snacks and introduce new items they might enjoy. The goal is to make lunchtime exciting and varied, turning each meal into an adventure that satisfies both taste buds and nutritional needs.
- Whole grain crackers
- Hummus or guacamole
- Cherry tomatoes
- Cucumber slices
- Baby carrots
- Cheese cubes or string cheese
- Apple slices or grapes
- Hard-boiled eggs
- Mini turkey or ham roll-ups
- Unsweetened yogurt or a small container of trail mix
To create your snackable lunchbox platter, start by washing and preparing all the fresh fruits and vegetables, cutting them into manageable pieces. Next, scatter a variety of whole grain crackers and cheese cubes throughout the platter.
Add in small containers of hummus or guacamole for dipping, and include hard-boiled eggs and turkey or ham roll-ups for protein. Finally, arrange the fruits to bring a pop of color to the platter, guaranteeing everything is separated for easy access.
When preparing this platter, feel free to involve your kids in the assembly process. This not only allows them to choose their favorite ingredients but also gives them a sense of ownership over their lunch.
Keep in mind that variety is vital, so aim for a balance of flavors, colors, and textures. Swap out ingredients based on seasonal produce or your child’s preferences, and have fun experimenting with new combinations to keep things fresh and exciting!

