This post may contain affiliate links. Please read our policy page.
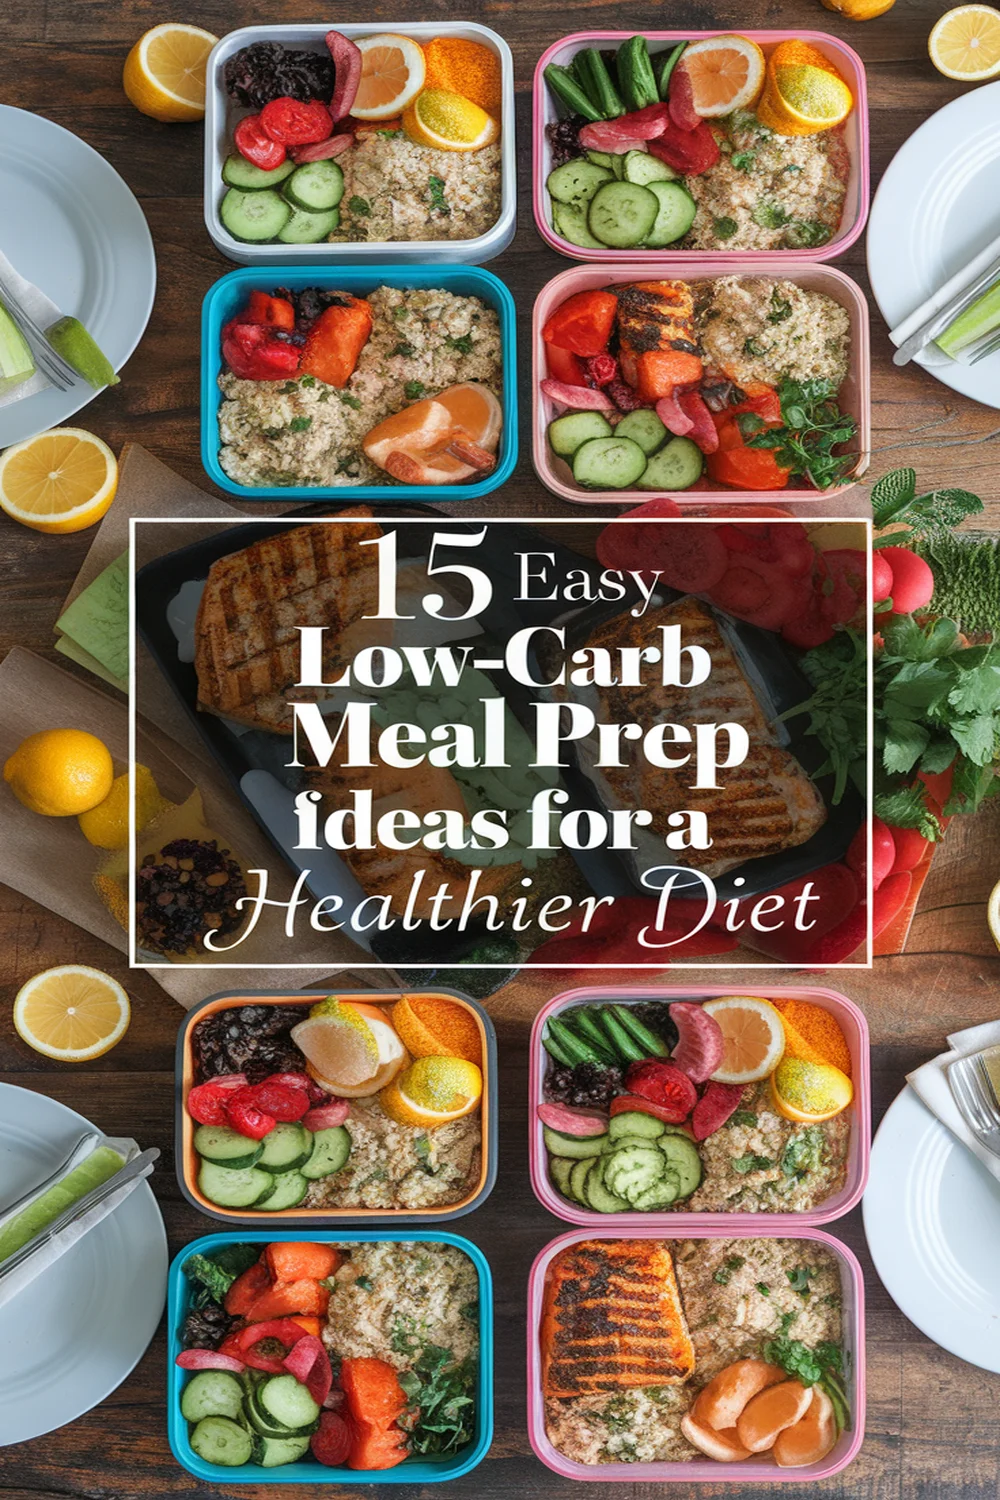
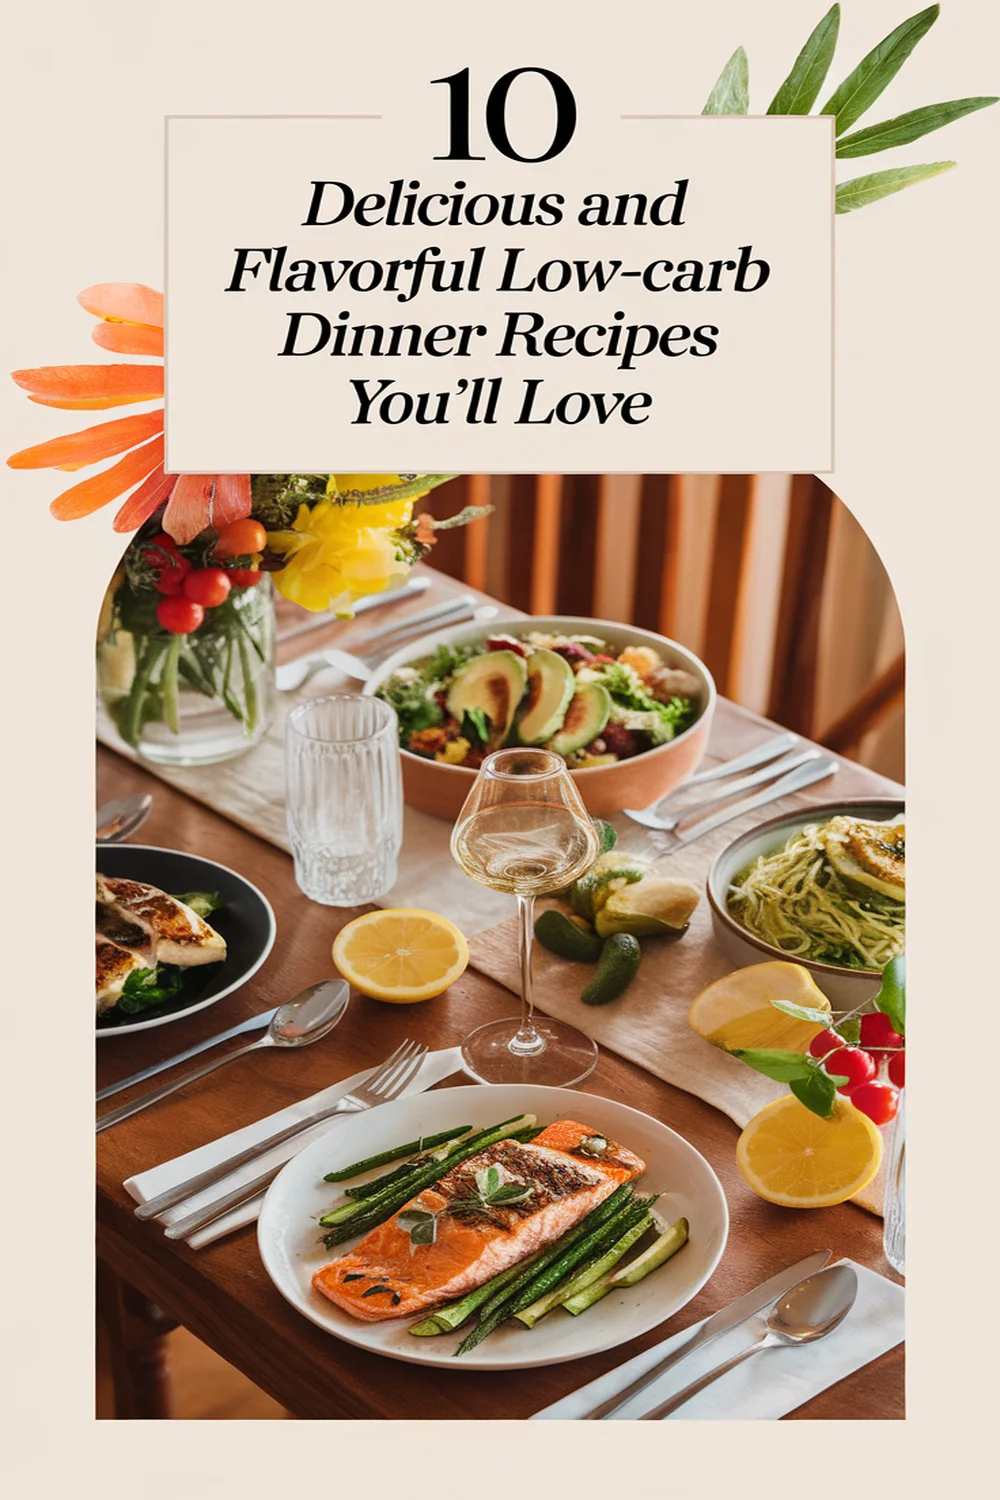
Eating low-carb doesn’t have to be complicated. You can whip up zucchini noodles with pesto and grilled chicken, or try cauliflower fried rice for a satisfying meal. Greek salad with grilled shrimp is great for a fresh option, while egg muffins are perfect for breakfast or snacks. Buffalo chicken lettuce wraps and a sausage and pepper skillet are quick weeknight solutions. Explore coconut curry cauliflower and shrimp stir-fry for more variety. Discover other tasty ideas to keep things interesting!
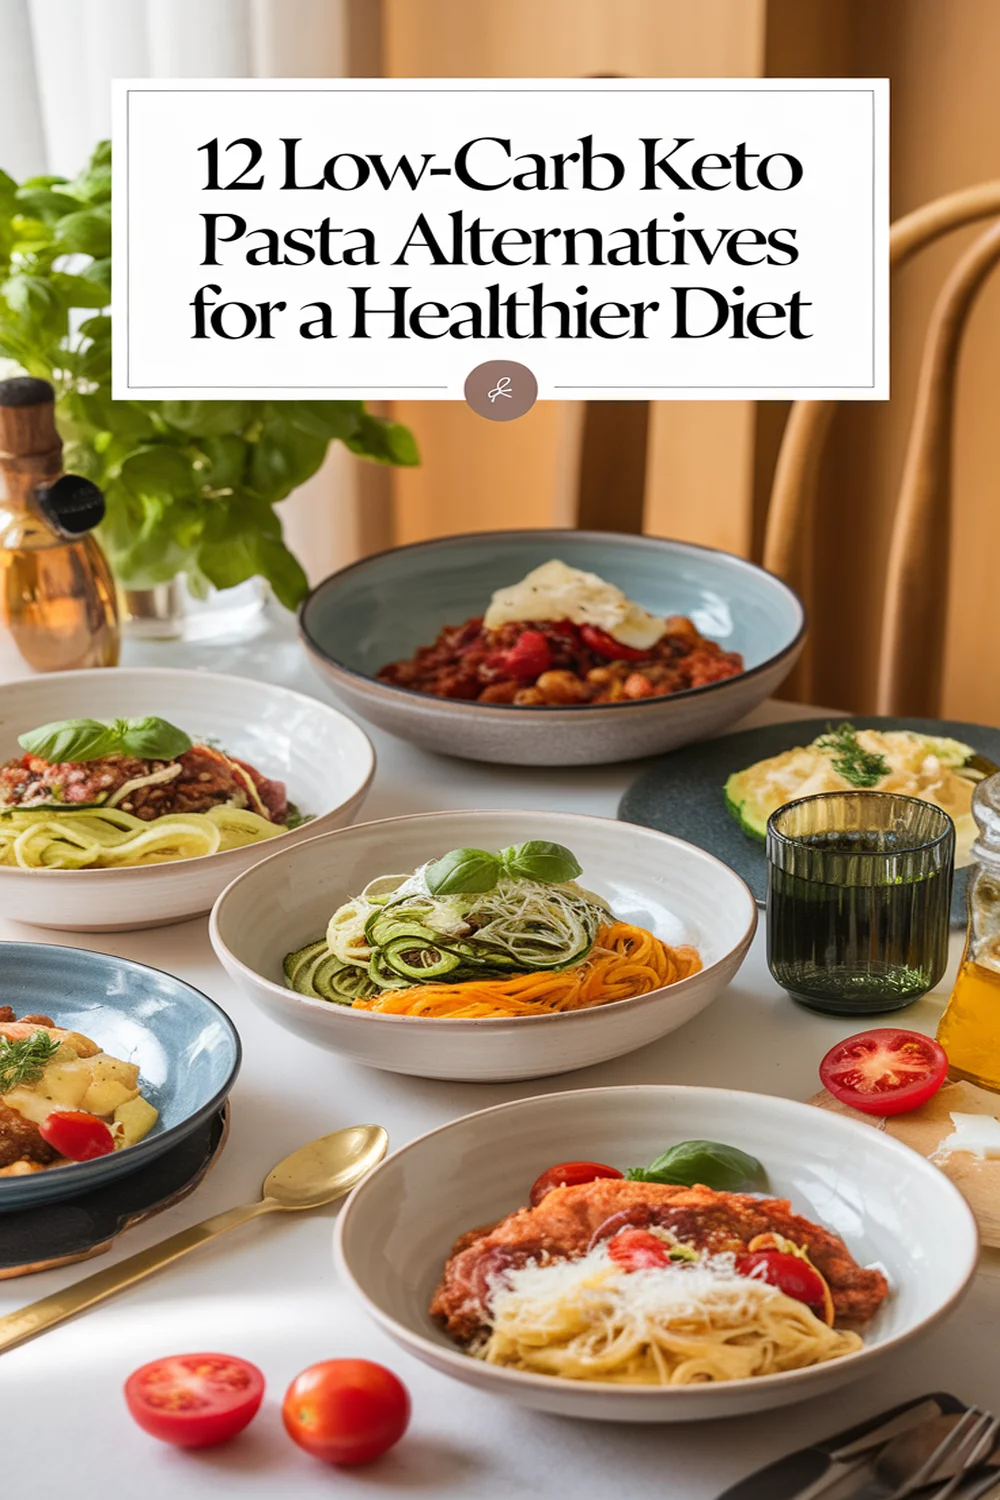
Zucchini Noodles With Pesto and Grilled Chicken
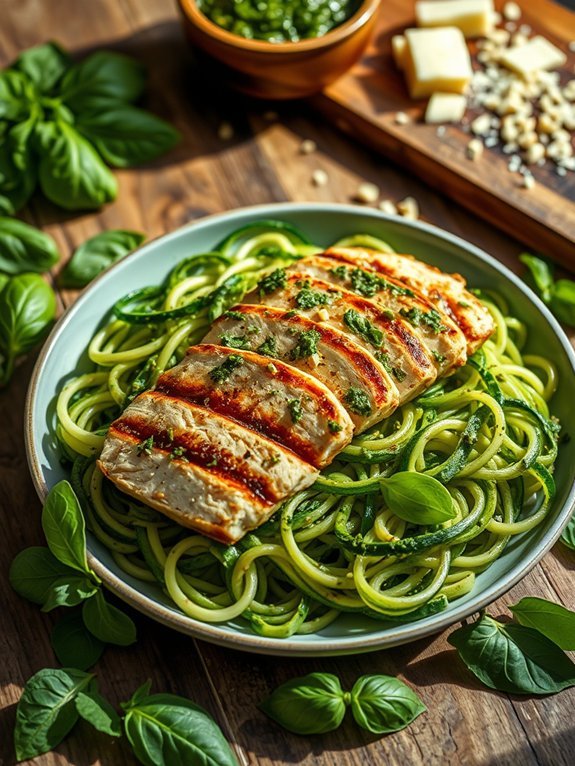
Zucchini noodles, also known as zoodles, are a fantastic low-carb alternative to traditional pasta, making them perfect for anyone looking to reduce their carbohydrate intake while still enjoying a delicious meal. When combined with homemade pesto and grilled chicken, this dish becomes not only wholesome but incredibly flavorful as well. The freshness of zucchini, the richness of the pesto, and the satisfying protein of grilled chicken create a balanced and nutritious dish that can easily become a staple in your meal prep routine.
Preparing this dish is quick and straightforward, making it ideal for busy weeknights or a leisurely weekend meal. You can make the pesto from scratch or use store-bought to save time. This recipe highlights how easily fresh ingredients can transform into a delightful meal, showcasing the versatility of zucchini noodles. So whether you’re looking to impress guests or meal prepping for the week, this dish will undoubtedly please!
- 2 medium zucchinis
- 2 chicken breasts
- Salt and pepper to taste
- 1 cup fresh basil leaves
- 1/2 cup grated Parmesan cheese
- 1/3 cup pine nuts
- 2 garlic cloves
- 1/2 cup olive oil
- 1 tablespoon lemon juice
Begin by spiralizing the zucchinis into noodles and set them aside. Season the chicken breasts with salt and pepper, then grill them over medium heat for about 6-7 minutes on each side, or until fully cooked.
While the chicken is grilling, prepare your pesto by adding the basil, Parmesan cheese, pine nuts, garlic, olive oil, and lemon juice to a food processor, blending until smooth.
Once the chicken is finished cooking, slice it into strips, and toss the zucchini noodles with the prepared pesto. Serve the zoodles topped with sliced grilled chicken.
When cooking zucchini noodles, remember that they tend to release water as they cook, which can make your dish watery. To avoid this, sauté the zoodles in a dry pan for just 2-3 minutes until they’re slightly softened but still firm. This will help maintain their texture and guarantee that the pesto clings to the noodles beautifully without becoming diluted.
Additionally, feel free to customize the pesto by adding ingredients like spinach or arugula for an extra nutrient boost.
Cauliflower Fried Rice
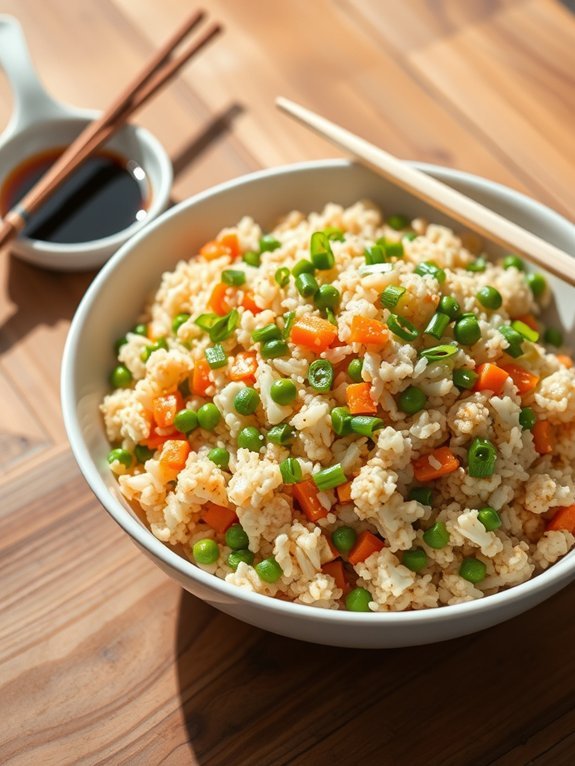
Cauliflower fried rice is a delicious low-carb alternative to traditional fried rice, making it perfect for those looking to reduce their carb intake without sacrificing flavor.
This dish not only plugs in your craving for comfort food but also takes advantage of cauliflower’s versatility and health benefits. With the right vegetables and seasonings, cauliflower fried rice can be just as satisfying as its starchy counterpart.
Making cauliflower fried rice is simple and quick, which makes it an excellent choice for meal prep. The cauliflower rice can be made from either fresh cauliflower or frozen, and it absorbs flavors from the ingredients around it.
Pairing it with protein and a variety of colorful veggies not only enhances the nutritional value but also adds a wonderful crunch and delightful flavors to each bite.
Ingredients:
- 1 medium head of cauliflower (or 4 cups of pre-riced cauliflower)
- 2 tablespoons of sesame oil
- 2 eggs, beaten
- 1 cup of mixed vegetables (like peas, carrots, and corn)
- 3 green onions, chopped
- 2 cloves of garlic, minced
- 2 tablespoons of soy sauce or tamari (for gluten-free)
- Salt and pepper to taste
- Optional: cooked protein of choice (chicken, shrimp, or tofu)
Start by ricing your cauliflower if using a whole head—simply chop it into florets and pulse it in a food processor until it resembles rice.
In a large skillet or wok, heat the sesame oil over medium heat. Add the minced garlic and stir-fry for about 30 seconds until fragrant. Next, pour in the beaten eggs and scramble until fully cooked.
Add your riced cauliflower and mixed vegetables, tossing everything together and stir-fry for 5-7 minutes. Finally, mix in the soy sauce, green onions, and season with salt and pepper to taste, cooking for an additional 2 minutes before serving.
For ideal flavor and texture, make sure you don’t overcook the cauliflower. It should retain a slight crunch, mimicking the texture of traditional fried rice.
Additionally, feel free to customize the dish by adding different proteins or adjusting the vegetables based on what you have on hand. Leftover cauliflower fried rice stores well in the refrigerator, making it perfect for meal prep—just reheat and enjoy!
Greek Salad With Grilled Shrimp
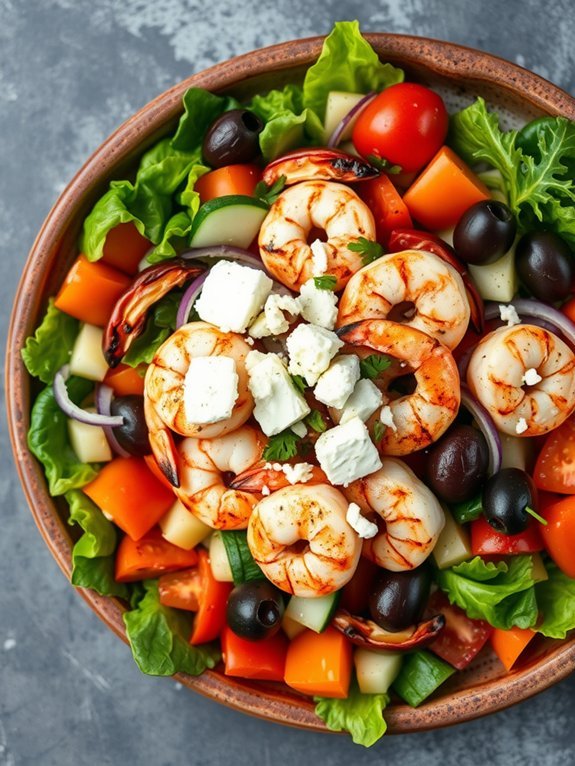
Greek salad with grilled shrimp is a delicious and healthy low-carb option that combines fresh flavors with satisfying protein. This dish isn’t only visually appealing with its vibrant colors but also versatile enough to be enjoyed as a light lunch or dinner. The marriage of crisp vegetables, tangy feta cheese, and succulent grilled shrimp provides a meal that’s both invigorating and filling, making it a great choice for meal prep.
To prepare this dish, you’ll need to gather fresh ingredients that pack a punch in flavor and nutrition. The combination of crunchy cucumbers, juicy tomatoes, red onions, and olives topped with grilled shrimp creates a delightful salad that keeps well in the refrigerator. You can easily make the shrimp ahead of time and toss everything together when you’re ready to eat, making it an efficient choice for busy weekdays.
- 1 pound large shrimp, peeled and deveined
- 1 tablespoon olive oil
- 1 teaspoon garlic powder
- 1 teaspoon dried oregano
- Salt and pepper to taste
- 4 cups mixed greens or romaine lettuce
- 1 cup cherry tomatoes, halved
- 1 cucumber, diced
- 1/2 red onion, thinly sliced
- 1/2 cup Kalamata olives, pitted
- 1 cup feta cheese, crumbled
- Juice of 1 lemon
Preheat your grill or grill pan over medium-high heat. In a bowl, toss the shrimp with olive oil, garlic powder, oregano, salt, and pepper until evenly coated. Grill the shrimp for 2-3 minutes on each side, or until they turn pink and are cooked through.
While the shrimp is grilling, prepare the salad by combining mixed greens, cherry tomatoes, cucumber, red onion, and Kalamata olives in a large bowl. Top the salad with the grilled shrimp, sprinkle with crumbled feta cheese, and drizzle with lemon juice before serving.
When cooking this dish, it’s crucial to not overcook the shrimp, as they can become rubbery. To confirm perfect grilling, look for shrimp that curls up and turns a bright pink color. For added flavor, consider marinating the shrimp in lemon juice and herbs for about 30 minutes before grilling.
You can also customize your salad by adding or substituting other ingredients, such as bell peppers, avocado, or even grilled chicken if you prefer.
Recommended Items
Check out these fantastic products and equipment to elevate your low-carb meal prep—happy cooking!
Egg Muffins With Spinach and Cheese
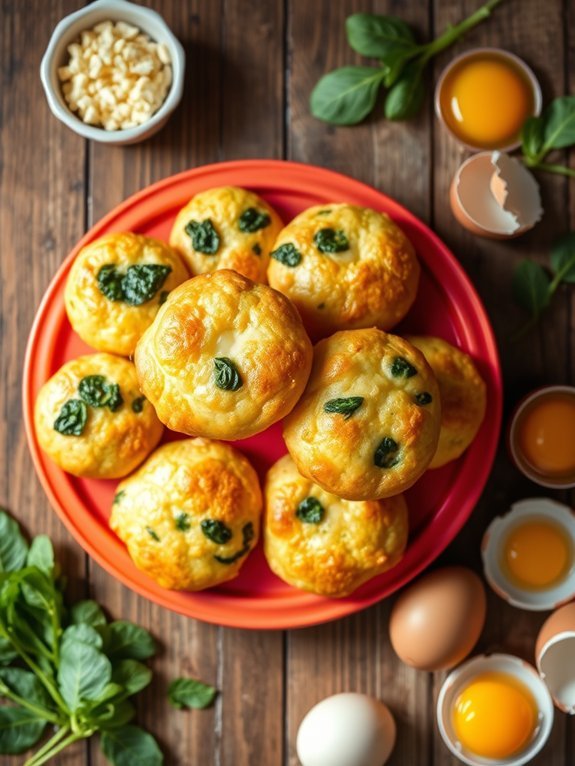
Egg muffins with spinach and cheese are a delicious and nutritious low-carb meal prep option that can help you power through your busy week. These bite-sized treats are loaded with protein and nutrients, making them a great choice for breakfast, a snack, or even a light lunch.
With a simple combination of eggs, fresh spinach, and cheese, you can whip up a batch in no time. Plus, they’re completely customizable—add your favorite vegetables or seasonings to make them uniquely yours.
Cooking egg muffins is a breeze, especially if you have a muffin tin handy. You can prepare them in advance and store them in the fridge, making it easy to grab a quick meal on those busy mornings.
These muffins not only taste great but also deliver on the promise of a healthy, low-carb lifestyle, keeping you full and energized without the carbs. Enjoy them fresh out of the oven or reheat them throughout the week—either way, you’re in for a treat!
Ingredients:
- 6 large eggs
- 1 cup fresh spinach, chopped
- 1 cup shredded cheese (cheddar, mozzarella, or your preference)
- 1/4 cup milk (optional)
- Salt and pepper to taste
- Cooking spray or silicone muffin cups
- Optional: diced onions, bell peppers, or herbs of your choice
Preheat your oven to 350°F (175°C) and grease a muffin tin with cooking spray or use silicone muffin cups. In a large mixing bowl, whisk together the eggs and milk (if using) until well combined.
Stir in the chopped spinach, shredded cheese, salt, and pepper. Pour the egg mixture evenly into the prepared muffin cups, filling each about three-quarters full. Bake for 18-20 minutes, or until the muffins are set and lightly golden on top.
Allow them to cool slightly before removing from the tin. For best results, allow the egg muffins to cool completely before storing them in an airtight container in the fridge.
They can be reheated in the microwave for 30-60 seconds when you’re ready to enjoy them again. You can also experiment with different ingredients, such as cooked meats or other vegetables, to keep your meal prep fresh and exciting.
These muffins freeze well too, so consider making a double batch to have on hand for future meals.
Buffalo Chicken Lettuce Wraps
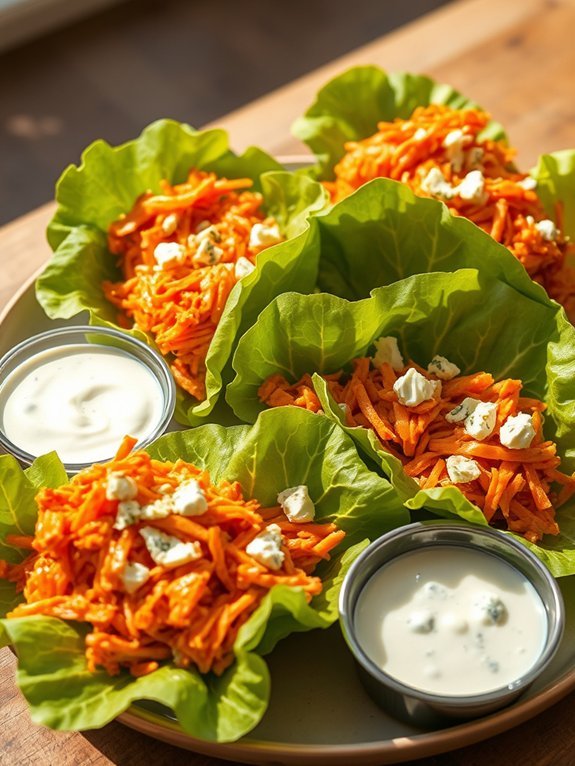
Buffalo Chicken Lettuce Wraps are a delicious and healthy low-carb meal option that can easily become a staple in your meal prep routine. These wraps combine the bold and tangy flavor of buffalo chicken with the crispness of fresh lettuce leaves, providing a satisfying crunch without the carbs of traditional wraps.
Whether you’re looking for a quick lunch, a light dinner, or a flavorful snack, these wraps can be prepared in no time and are perfect for those following a low-carb or keto lifestyle.
Cooking these wraps requires minimal ingredients and effort, making them an ideal choice for busy individuals. The shredded chicken can be made from scratch or you can use pre-cooked rotisserie chicken to save time. With just the right amount of buffalo sauce, these wraps pack a punch of flavor that will keep you coming back for more.
Serve them with your favorite dipping sauce, such as blue cheese or ranch dressing, for an extra touch.
Ingredients:
- 2 cups cooked shredded chicken
- 1/2 cup buffalo sauce
- 1 head of Romaine lettuce (or any lettuce of choice)
- 1/2 cup diced celery
- 1/4 cup shredded carrots (optional)
- 1/4 cup crumbled blue cheese (optional)
- Fresh herbs for garnish (optional)
Combine the cooked shredded chicken with the buffalo sauce in a mixing bowl, ensuring the chicken is evenly coated.
Carefully wash and separate the lettuce leaves, making sure to keep them whole for wrapping. To assemble, place a generous spoonful of the buffalo chicken mixture in the center of each lettuce leaf. Add a sprinkle of diced celery, shredded carrots, and crumbled blue cheese if desired. Finally, fold the sides of the lettuce over the filling and enjoy!
When preparing Buffalo Chicken Lettuce Wraps, it’s important to choose sturdy lettuce leaves for the best wrap experience. Romaine or iceberg lettuce works best due to their crisp texture and durability.
Feel free to adjust the level of spice in the buffalo sauce according to your taste, and don’t hesitate to get creative with toppings—diced avocado, cherry tomatoes, or sliced jalapeños make excellent additions!
Turkey and Veggie Lettuce Cups
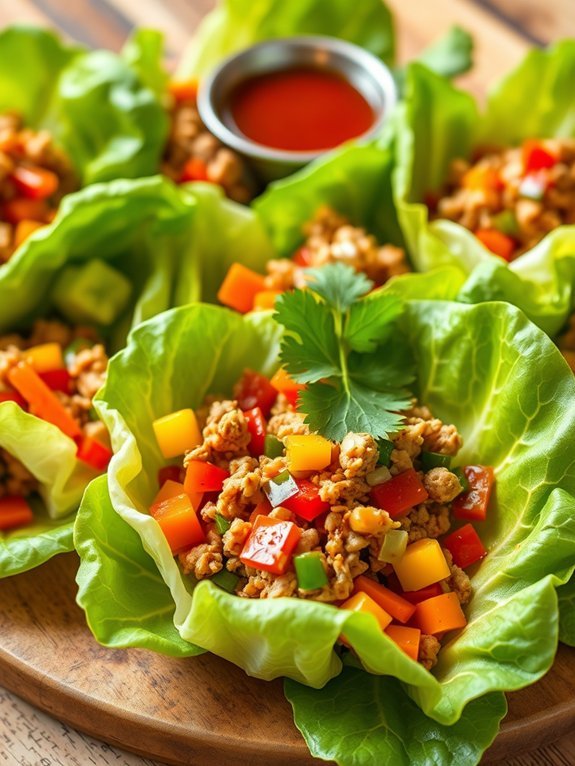
Turkey and veggie lettuce cups are a fantastic low-carb meal prep option that combines a delightful mix of flavors and textures. They aren’t only easy to prepare, but they also offer a healthy way to enjoy a satisfying meal without the added carbs from bread or wraps. The crispiness of the lettuce leaves provides a revitalizing crunch, while the seasoned turkey and vegetables create a delicious filling that will leave you feeling full and satisfied.
Making turkey and veggie lettuce cups is a great way to use up leftovers or unwanted ingredients in your fridge. You can customize this recipe according to your taste preferences, adding or substituting ingredients as you see fit. These cups make for an excellent lunch option or a light dinner that can be quickly assembled, which is particularly handy for busy days or meal prepping for the week ahead.
- 1 pound ground turkey
- 1 bell pepper, diced
- 1 carrot, finely chopped
- 2 green onions, sliced
- 2 cloves garlic, minced
- 1 tablespoon soy sauce or tamari
- 1 tablespoon olive oil
- Salt and pepper to taste
- 1 head of lettuce (romaine or iceberg), leaves separated
In a large skillet, heat the olive oil over medium heat. Add the garlic and sauté for about 30 seconds until fragrant. Then, add the ground turkey to the skillet and cook until browned.
Mix in the diced bell pepper, chopped carrot, and sliced green onions. Stir in the soy sauce or tamari, and season with salt and pepper to taste. Continue cooking for another 5-7 minutes until the vegetables are tender and the turkey is cooked through. Remove from heat.
When preparing your turkey and veggie lettuce cups, it’s best to choose sturdy lettuce leaves that can hold the filling without tearing apart. You might find that the outer leaves of a romaine lettuce head work particularly well, as they’re longer and provide a decent base.
Additionally, feel free to make these cups ahead of time, but store the filling and lettuce separately until you’re ready to eat to avoid soggy leaves. Finally, consider topping your lettuce cups with fresh herbs, avocado, or a drizzle of sriracha for an extra kick of flavor!
Meal Plan for Low-Carb Success
Baked Salmon With Asparagus
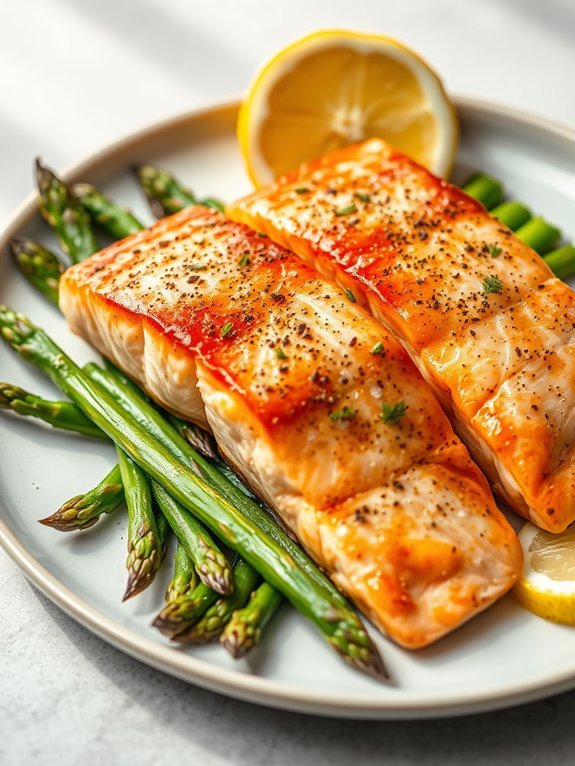
Baked salmon with asparagus is a delightful dish that perfectly marries the rich flavors of salmon with the fresh crunch of asparagus. This meal isn’t only delicious but also packed with nutrients, making it an excellent choice for anyone following a low-carb diet. Salmon is a great source of omega-3 fatty acids, which are beneficial for heart health, while asparagus is rich in fiber and vitamins. Together, they create a satisfying and healthy meal that can be prepared in no time.
Preparing baked salmon with asparagus is an easy and straightforward process, making it ideal for meal prep or a quick weeknight dinner. You can enjoy this dish as it is, or pair it with a light salad for a wholesome meal. The combination of flavors and textures will make you feel like you’re dining at a fine restaurant right from the comfort of your home. Plus, it’s dishwasher-friendly, making cleanup a breeze!
Ingredients:
- 2 salmon fillets
- 1 bunch of asparagus
- 2 tablespoons olive oil
- 2 cloves garlic, minced
- Salt and pepper to taste
- Lemon wedges (for serving)
- Fresh dill or parsley (for garnish, optional)
Preheat your oven to 400°F (200°C). Line a baking sheet with parchment paper and arrange the asparagus in a single layer. Drizzle with olive oil and season with salt, pepper, and minced garlic.
Place the salmon fillets on top of the asparagus and season them with salt and pepper. Bake in the preheated oven for approximately 15-20 minutes, or until the salmon is cooked through and flakes easily with a fork.
When cooking salmon, it’s crucial not to overcook it, as this can result in a dry texture. To ascertain perfect results, start checking for doneness around the 12-minute mark. Also, consider using a meat thermometer; the internal temperature should reach 145°F (63°C) for safe consumption.
For added flavor, you can squeeze fresh lemon juice over the dish before serving or experiment with different herbs and spices to suit your palate. Enjoy this healthy and delicious meal with a side of your favorite non-starchy vegetables for an even more nutritious experience!
Stuffed Bell Peppers With Ground Turkey
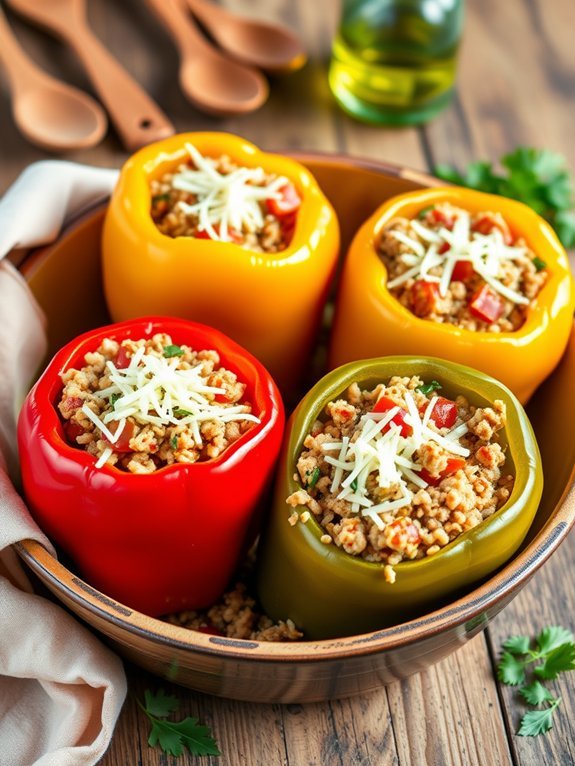
Stuffed bell peppers with ground turkey are a delicious, hearty, and low-carb option for meal prep that will keep you satisfied throughout the week.
These colorful peppers are filled with a savory mixture of ground turkey, spices, and other flavorful ingredients, making them not only nutritious but also visually appealing. They’re perfect for a lunch or dinner that can easily be made in advance, stored in the refrigerator, and reheated when needed. The combination of protein and vegetables in one dish guarantees you’re fueling your body with nutritious food without compromising on taste.
This recipe is versatile, allowing you to customize the filling to suit your tastes or to use up any leftover vegetables you might’ve on hand. You can incorporate chopped spinach, zucchini, or even cauliflower rice into the turkey mixture for added texture and nutrition.
So, gather your ingredients and get ready to enjoy a comforting meal that fits perfectly into your low-carb lifestyle.
Ingredients:
- 4 large bell peppers (any color)
- 1 pound ground turkey
- 1 cup cooked cauliflower rice
- 1 small onion, diced
- 2 cloves garlic, minced
- 1 cup diced tomatoes (canned or fresh)
- 1 teaspoon Italian seasoning
- 1 teaspoon chili powder
- Salt and pepper to taste
- 1 cup shredded cheese (cheddar or mozzarella), optional
- Fresh parsley for garnish (optional)
Preheat your oven to 375°F (190°C). Slice the tops off the bell peppers and remove the seeds and membranes, then place them in a baking dish.
In a skillet, sauté the diced onion and garlic over medium heat until they become translucent. Add the ground turkey to the skillet and cook until browned.
Stir in the cooked cauliflower rice, diced tomatoes, Italian seasoning, chili powder, salt, and pepper. Mix thoroughly to combine.
Spoon the turkey mixture into each of the prepared bell peppers and top with shredded cheese if desired. Cover the baking dish with foil and bake for 25-30 minutes, then remove the foil and bake for an additional 10 minutes until the peppers are tender.
To enhance the flavor of your stuffed peppers, consider experimenting with different spices and herbs beyond the Italian seasoning and chili powder. You could also add some crushed red pepper for a kick or substitute the ground turkey with lean ground beef or chicken if desired.
If you plan to prep these in advance, they can be assembled and refrigerated a day before baking or frozen for up to a month. When reheating, make sure to let them cool properly for even cooking and maintain their delicious flavor.
Eggplant Lasagna
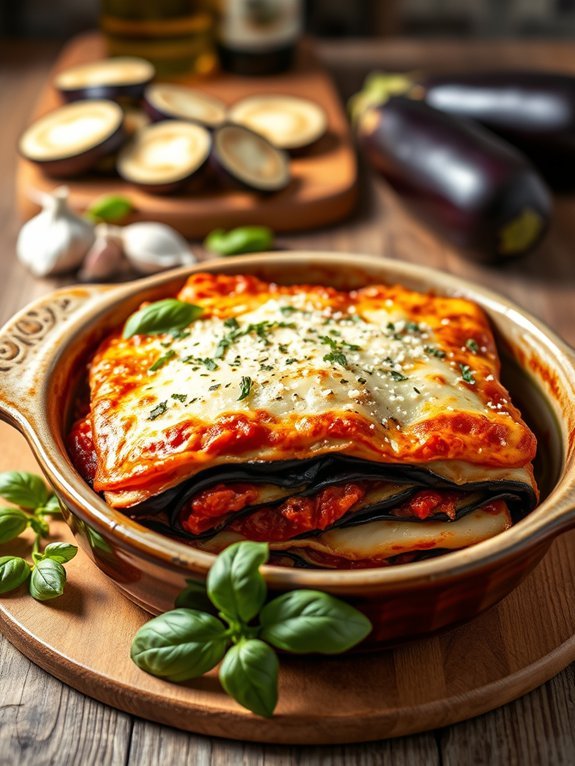
Eggplant lasagna is a delicious and satisfying low-carb alternative to traditional lasagna. By substituting the pasta layers with thinly sliced eggplant, this dish remains hearty and flavorful while reducing carbohydrates markedly. Not only is eggplant lasagna an excellent option for those following a low-carb diet, but it’s also gluten-free and can be easily customized with various fillings and sauces to suit your taste preferences.
This recipe brings together the rich flavors of tomato sauce, creamy ricotta, and savory cheese, all layered beautifully with eggplant slices. The result is a comforting meal that’s perfect for meal prep, as it stores well in the refrigerator or freezer, making it an ideal dish for busy weeknights.
With just a few ingredients and easy steps, you can whip up a satisfying and healthy lasagna that will delight your taste buds without the guilt.
Ingredients:
- 2 medium eggplants
- 2 cups ricotta cheese
- 1 egg
- 2 cups marinara sauce (low-carb)
- 2 cups shredded mozzarella cheese
- 1/2 cup grated Parmesan cheese
- 1 tsp dried Italian herbs
- Salt and pepper to taste
- Olive oil for brushing
Slice the eggplants into thin, long strips using a mandoline or sharp knife, then salt them and let them sit for about 30 minutes to draw out excess moisture. Pat the eggplant slices dry and brush them lightly with olive oil.
In a baking dish, spread a layer of marinara sauce, then layer the eggplant slices on top, followed by a mixture of ricotta cheese, egg, Italian herbs, and salt and pepper, followed by mozzarella cheese. Repeat the layers, finishing with marinara sauce and a sprinkle of Parmesan on top.
Bake the lasagna in a preheated oven at 375°F (190°C) for about 30-35 minutes or until bubbly and golden on top.
When preparing eggplant lasagna, it’s helpful to choose firm, fresh eggplants for the best texture. If you want to enhance the flavor, consider adding sautéed mushrooms, spinach, or ground meat to the layers.
Additionally, letting the lasagna sit for about 10 minutes after baking allows it to set, making it easier to cut and serve. For meal prep, this dish can be made ahead of time and stored in the refrigerator for up to 3 days or frozen for up to 3 months.
Cabbage Stir-Fry With Tofu
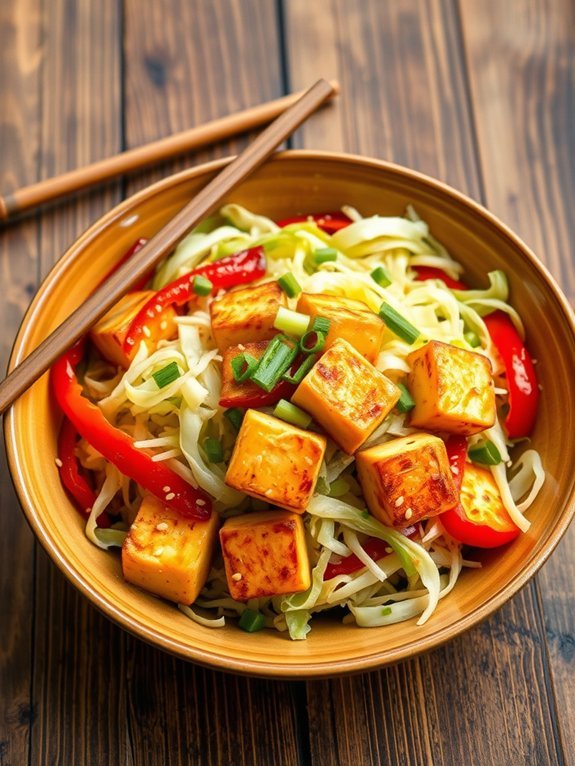
Cabbage stir-fry with tofu is a delicious and nutritious low-carb meal that’s quick to prepare and packed with flavor. This dish is perfect for meal prepping, as it can be easily stored and reheated throughout the week without losing its taste and texture. Using cabbage as the base not only keeps the carb count low, but it also brings a satisfying crunch to the dish. Tofu adds a great source of plant-based protein, making this stir-fry a well-rounded option for anyone looking to enjoy a healthy meal.
The beauty of this recipe lies in its flexibility. You can customize the stir-fry by adding your favorite low-carb vegetables or adjusting the seasonings to suit your taste. With just a handful of ingredients needed, you can whip up a hearty dish in no time. Serve it as a satisfying lunch or dinner, or use it to accompany a larger spread for meal prep.
Ingredients:
- 1 small head of cabbage, shredded
- 14 oz firm tofu, drained and cubed
- 2 tablespoons olive oil or sesame oil
- 3 cloves garlic, minced
- 1 tablespoon ginger, minced
- 1 bell pepper, sliced
- 2 green onions, sliced
- 2 tablespoons soy sauce (or tamari for gluten-free)
- 1 tablespoon rice vinegar
- Salt and pepper, to taste
- Sesame seeds, for garnish (optional)
In a large skillet or wok, heat the oil over medium-high heat. Add the cubed tofu and stir-fry until golden and crispy on all sides, about 6-8 minutes.
Remove the tofu from the skillet and add garlic, ginger, and bell pepper, stir-frying for an additional 2-3 minutes. Then, add the shredded cabbage and continue to stir-fry until wilted and tender, approximately another 4-5 minutes.
Return the tofu to the pan, add the soy sauce and rice vinegar, and mix well. Season with salt and pepper to taste, and remove from the heat.
Top with green onions and sesame seeds before serving.
For the best results, make sure the tofu is well-drained to prevent excess moisture, which can lead to a soggy stir-fry. It can be beneficial to press the tofu before cooking to get it extra firm.
Furthermore, this dish benefits from being cooked at a high temperature so that the ingredients sear nicely and develop a rich flavor. Feel free to add other low-carb vegetables such as zucchini or broccoli to increase the nutritional profile and variety. Enjoy!
Avocado Chicken Salad
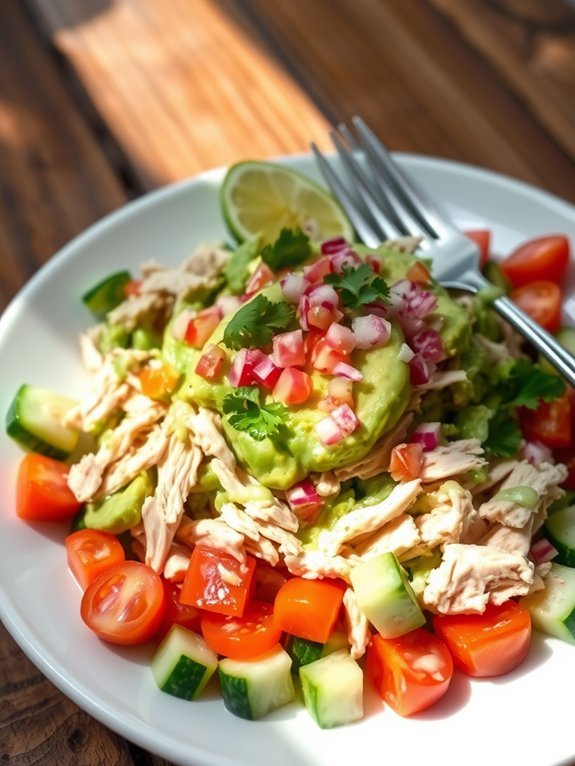
Avocado chicken salad is a delicious and healthy option for those looking to enjoy a low-carb meal without sacrificing flavor. This dish combines tender shredded chicken with creamy avocado, fresh herbs, and a zesty dressing, creating a satisfying and nutritious salad perfect for lunch or dinner. The good news is that it’s quick to prepare, making it ideal for meal prepping for the week ahead.
Using ripe avocados not only adds a rich, buttery texture but also provides healthy fats that help keep you full. You can easily customize this recipe by adding your favorite vegetables or spices to suit your taste. Whether you’re packing it for a picnic, enjoying it on a bed of greens, or using it as a spread for lettuce wraps, this avocado chicken salad is sure to become a staple in your low-carb meal rotation.
- 2 cups shredded cooked chicken
- 2 ripe avocados, peeled and pitted
- 1/4 cup diced red onion
- 1/4 cup chopped cilantro
- 1 tablespoon lime juice
- Salt and pepper to taste
- Optional: diced tomato or cucumber for extra crunch
In a mixing bowl, combine the shredded chicken, diced red onion, and chopped cilantro. In a separate bowl, mash the ripe avocados until smooth, then mix in the lime juice, salt, and pepper. Gently fold the avocado mixture into the chicken mixture until well combined.
If you’re adding extra vegetables like tomatoes or cucumbers, fold them in at this stage. Serve immediately or store in an airtight container in the refrigerator for a quick meal option later.
For the best flavor and texture, make sure to use ripe avocados that are slightly soft to the touch but not overly mushy. If you find your avocados are quite ripe, consider preparing the salad just before serving to keep the avocados from browning.
This dish can also be enjoyed in lettuce wraps or on low-carb bread, offering versatile options while maintaining its healthy profile.
Sausage and Pepper Skillet
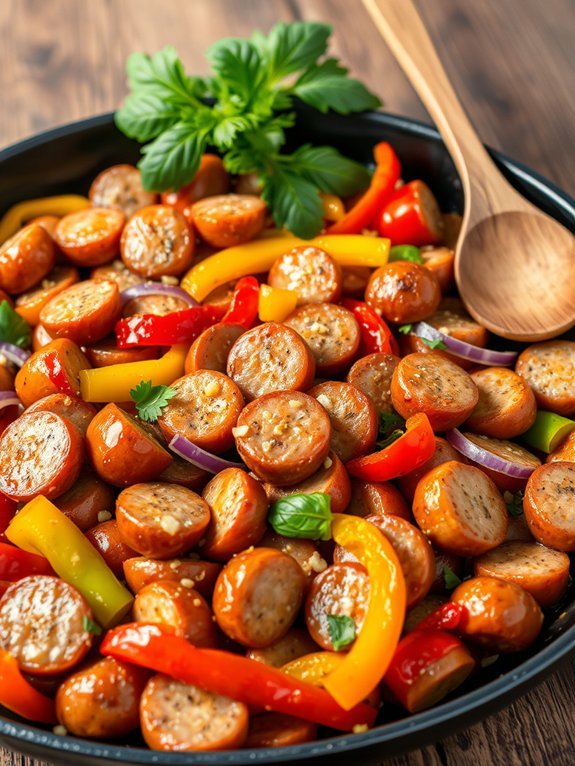
Sausage and Pepper Skillet is a delightful and colorful dish that celebrates bold flavors while keeping your carb intake low. This one-pan meal brings together juicy sausage, vibrant bell peppers, and aromatic onions, creating a delicious combination that’s both satisfying and versatile. It can be enjoyed on its own or served over a bed of leafy greens for an extra dose of nutrition.
This dish isn’t only quick to prepare, making it a perfect weeknight dinner option, but it also keeps well for meal prep throughout the week. The mix of spices and fresh vegetables adds depth and richness, guaranteeing each bite is bursting with flavor. Plus, the simplicity of cooking it all in one skillet means fewer dishes to wash afterward, giving you more time to enjoy your meal.
- 1 pound of Italian sausage (mild or spicy)
- 2 tablespoons olive oil
- 1 large onion, sliced
- 2 bell peppers (any color), sliced
- 3 cloves garlic, minced
- 1 teaspoon Italian seasoning
- Salt and pepper to taste
- Fresh basil or parsley for garnish (optional)
Begin by heating the olive oil in a large skillet over medium heat. Add the Italian sausage and cook until browned and cooked through, about 5-7 minutes. Remove the sausage and set it aside.
In the same skillet, add the sliced onions and bell peppers, sautéing them until they’re tender, about 5-8 minutes. Add the garlic and Italian seasoning, stirring for about a minute before returning the cooked sausage to the skillet. Stir to combine and season with salt and pepper to taste. Cook for another 2-3 minutes until everything is heated through.
When preparing this dish, consider using a mix of different colored bell peppers for visual appeal and varying flavors. If you want to add extra nutrition, feel free to toss in some spinach or zucchini during the final few minutes of cooking.
Also, verify that the sausage is cooked thoroughly; using a meat thermometer can help, with a safe internal temperature of 160°F for pork sausages. Finally, leftovers can be stored in an airtight container in the refrigerator and reheated easily, making it a perfect choice for meal prepping!
Coconut Curry Cauliflower
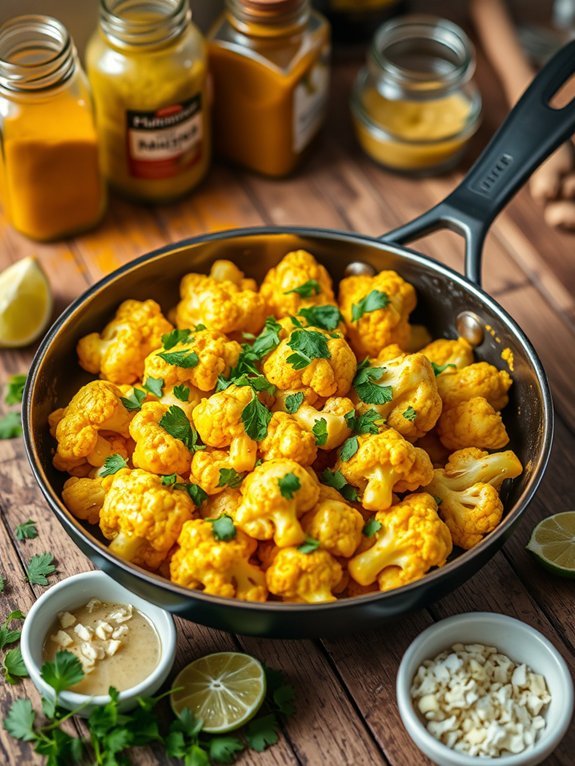
Coconut Curry Cauliflower is a vibrant, flavorful dish that marries the aromatic spices of curry with the creamy richness of coconut milk. This recipe is perfect for low-carb meal prep as it keeps well in the fridge and can be easily reheated throughout the week. The cauliflower florets absorb the fragrant sauce, resulting in a satisfying and nutritious meal that’s both comforting and delicious.
Whether served on its own, as a side dish, or over a bed of greens, this dish is sure to become a favorite. The simplicity of cooking Coconut Curry Cauliflower makes it an excellent choice for beginners and seasoned cooks alike. With minimal prep time and a short cooking process, you can whip up a large batch to enjoy throughout the week.
Additionally, this dish is versatile, allowing you to adjust the spice levels according to your palate. Serve it as part of an elaborate meal or as a quick lunch for a satisfying punch of flavor.
Ingredients:
- 1 large head of cauliflower, cut into florets
- 1 can (400ml) of coconut milk
- 1 tablespoon olive oil
- 1 onion, finely chopped
- 2 cloves garlic, minced
- 1 tablespoon ginger, grated
- 2 tablespoons curry powder
- 1 teaspoon turmeric powder
- 1 tablespoon lime juice
- Salt, to taste
- Fresh cilantro, chopped (for garnish)
Heat the olive oil in a large skillet over medium heat. Add the chopped onion and sauté until translucent, then stir in the minced garlic and grated ginger, cooking for an additional minute until fragrant.
Add the curry powder and turmeric, allowing the spices to bloom for about 30 seconds before incorporating the cauliflower florets. Pour in the coconut milk and bring the mixture to a simmer, cooking until the cauliflower is tender, approximately 10-15 minutes. Finish with lime juice and salt, then garnish with fresh cilantro before serving.
When making Coconut Curry Cauliflower, feel free to adjust the consistency of the sauce by adding more or less coconut milk based on your preference for creaminess. Additionally, you can enhance the dish by adding vegetables like bell peppers or spinach for extra color and nutrients.
For those who enjoy a bit of heat, consider adding red pepper flakes or diced chilies while cooking. This dish not only makes for a delightful meal but is also a great canvas for seasonal vegetables or protein, such as chickpeas or shrimp, for added variety.
Shrimp and Broccoli Stir-Fry
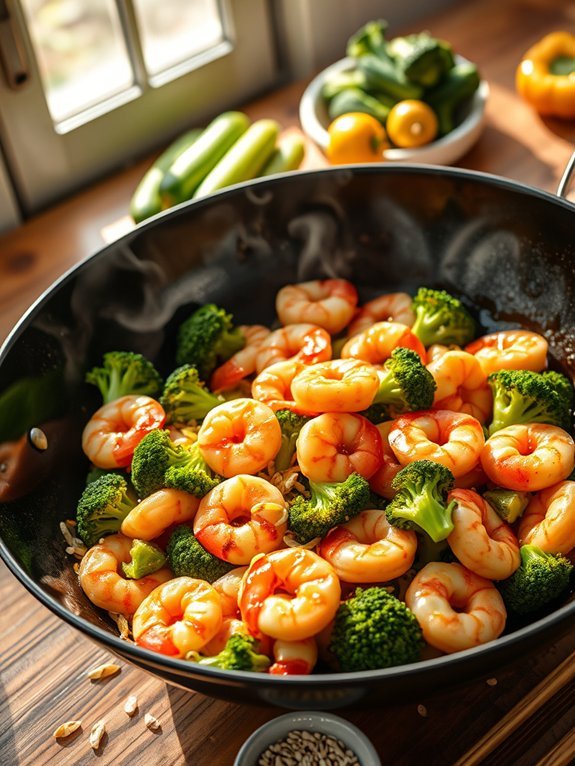
Shrimp and broccoli stir-fry is a quick and nutritious option that fits perfectly into a low-carb diet. This dish combines succulent shrimp with crisp broccoli and a flavorful sauce, making it a delicious choice for lunch or dinner. The bright green broccoli isn’t only visually appealing but also packed with vitamins and minerals, while shrimp provides lean protein, guaranteeing you’ll feel satisfied without the added carbs.
Preparing shrimp and broccoli stir-fry isn’t only simple but also versatile. You can easily adapt it by adding your favorite low-carb vegetables, such as bell peppers or zucchini. This recipe is perfect for meal prep as it holds up well in the fridge, allowing you to enjoy a healthy meal throughout the week.
Ingredients:
- 1 pound large shrimp, peeled and deveined
- 3 cups broccoli florets
- 3 tablespoons soy sauce (or tamari for gluten-free)
- 1 tablespoon sesame oil
- 2 tablespoons olive oil
- 3 cloves garlic, minced
- 1 teaspoon fresh ginger, grated
- Salt and pepper, to taste
- Sesame seeds, for garnish (optional)
Heat olive oil in a large skillet or wok over medium-high heat. Add minced garlic and grated ginger, sautéing until fragrant, about 30 seconds. Then, add the broccoli florets and stir-fry for 3-4 minutes until they begin to soften.
Push the broccoli to one side of the skillet and add the shrimp to the empty side. Cook the shrimp for 2-3 minutes on each side until they turn pink and opaque. Finally, pour in the soy sauce and sesame oil, tossing everything together until evenly coated.
For best results, verify your shrimp are thawed and patted dry before cooking to achieve a nice sear. Don’t overcook the shrimp, as they can become tough; aim for a quick cooking time to keep them tender.
Additionally, you can customize the flavor by adding a splash of rice vinegar or a sprinkle of red pepper flakes if you enjoy a little heat. Enjoy your stir-fry fresh or store it in an airtight container for a meal that’s ready to go!
Chia Seed Pudding With Almond Milk
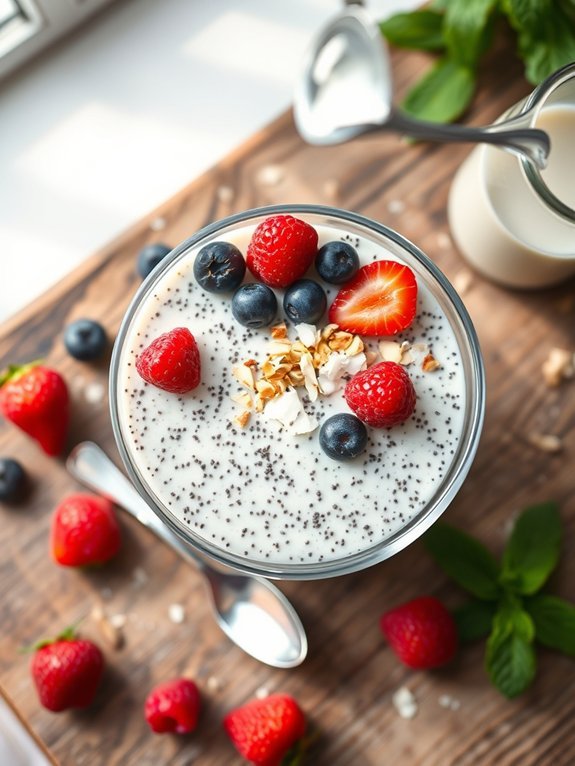
Chia seed pudding is a delicious and nutritious low-carb option that can be enjoyed any time of day. This versatile dish is loaded with fiber and healthy fats, thanks to the tiny superfood seeds that can absorb many times their weight in liquid.
By combining chia seeds with almond milk, you can create a creamy pudding that’s perfect for breakfast, dessert, or a snack. The best part? It requires minimal effort and can be prepared ahead of time for a quick meal on busy days.
To elevate the flavor of your chia seed pudding, consider adding some natural sweeteners or toppings. Vanilla extract, cocoa powder, or a sprinkle of cinnamon can all enhance the taste without adding extra carbs. You can also personalize your pudding by mixing in fruits or nuts for added texture and flavor.
Enjoy this dish chilled for a invigorating treat that satisfies your cravings while sticking to your low-carb lifestyle.
- 1/4 cup chia seeds
- 1 cup unsweetened almond milk
- 1 tablespoon sweetener of choice (like stevia or erythritol)
- 1/2 teaspoon vanilla extract (optional)
- Toppings of choice (e.g., berries, nuts, coconut flakes)
In a mixing bowl, combine the chia seeds, almond milk, sweetener, and vanilla extract if using. Stir the mixture well to verify there are no clumps and let it sit for about 5 minutes to allow the seeds to absorb some liquid.
After 5 minutes, stir again to prevent clumping. Cover the bowl or transfer the mixture to individual serving containers, and refrigerate for at least 2 hours or overnight until the pudding reaches your desired texture.
When making chia seed pudding, remember that the consistency can be adjusted to your preference. If you prefer a thicker pudding, add more chia seeds; for a thinner texture, increase the amount of almond milk.
Additionally, this dish can be made in batches and stored in the refrigerator for up to a week, making it a convenient meal prep option. Experiment with different flavors and toppings to keep your chia seed pudding exciting and enjoyable throughout the week.

